7 production moves chart-topping organic house producers are using
[ad_1]
6. Grance, Soulmac – “Happy Incident”
In organic house, much of the track’s energy comes from the high percussion, but unlike commercial EDM, which can rely on bright, almost sizzling highs, organic house leans toward a warmer, softer approach. Achieving this typically involves additive analog EQ. While digital EQs can offer precise, surgical boosts for a bright, cutting, high-end, analog EQs tend to shape frequencies with a softer, warmer character.
One go-to technique to achieve this warm sheen is by applying an analog emulation EQ to the high end of your drum bus or instrument groups. Whether it’s lead synths, supporting arpeggiators, or the whole drum mix, gently boosting the high shelf with an analog EQ adds a smooth brightness that enhances the mix without becoming harsh.
Digital EQ boosts in the five to eight-decibel range can make a track sound overly sharp and brittle, whereas an analog EQ, like Enhanced EQ, based on tube-series analog hardware, delivers a soft, natural brightness. This is especially effective for organic house, where a subtle lift in the high-end keeps the mix warm and inviting without crossing into sterility.
Let’s listen to an example. Here we have a great shaker loop but the high frequencies still need more life.
[ad_2]
Source link

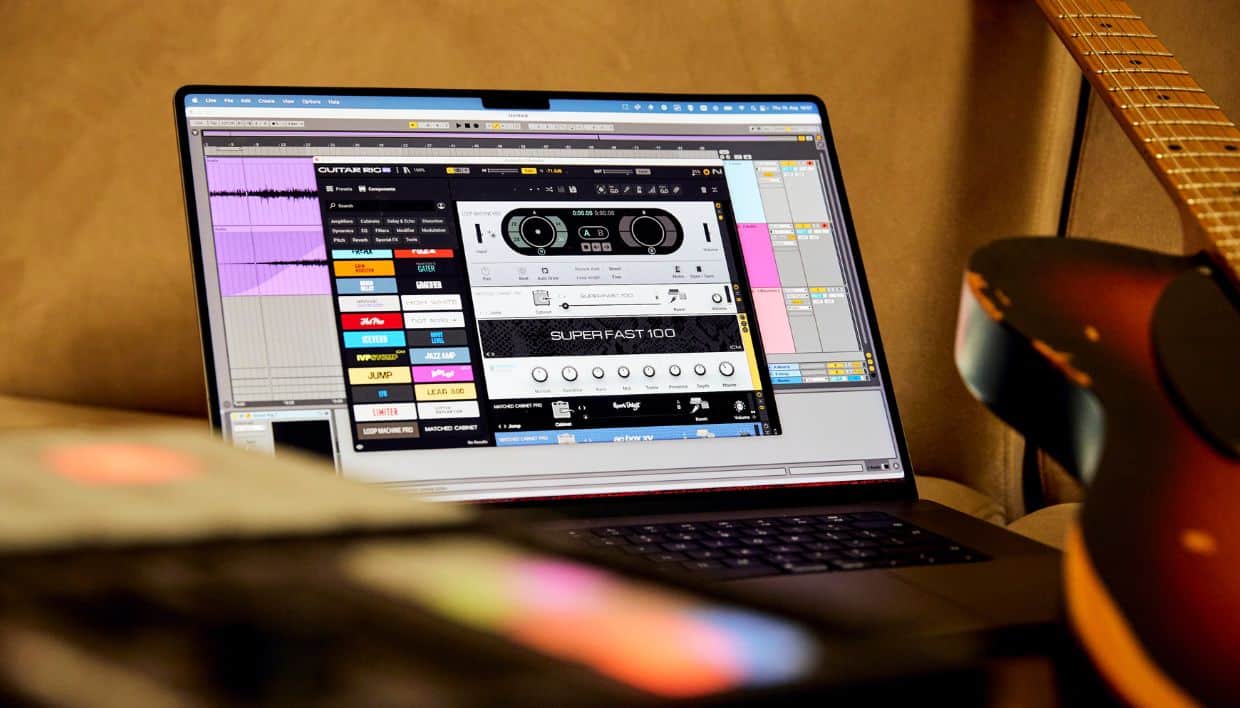
Using Guitar Rig for an analog sound: How Hyperbits gets warm results completely in the box
[ad_1]
It’s honestly a bit of both. I’d lean toward calling it a specialty plugin since I tend to use it for specific tasks, like injecting life and analog warmth into certain elements – usually synth-based leads or chord progressions. It’s great for turning something overly clean or sterile into something with character and depth that fits better in the mix.
That said, I also use it on a group level from time to time, adding subtle saturation or compression to help a stack of sounds blend together. For example, it works really well on layered pads or vocal stacks, giving them a bit of glue and warmth without losing the individuality of each layer.
For me, it’s about flexibility.
Guitar Rig isn’t necessarily something I throw on every track, but when I do use it, it’s because it can solve a problem or add something unique that other tools can’t quite replicate. It’s more about finding the right moments for it rather than relying on it as an all-purpose solution
Hyperbits pro tip: When using Guitar Rig on group tracks, experiment with your favorite dynamic EQ plugin after the chain to tame resonances that might build up from the saturation or compression applied to multiple layers.
Start using Hyperbits tips in Guitar Rig
We wanted to give a massive shoutout to producer, educator, mentor, and wizard on the deck, Serik Slobodskoy AKA Hyperbits, for taking the time out of his busy schedule to chat with us about how he uses Guitar Rig every single day in the studio to achieve massive results.
Time and time again, we are reminded that it’s rarely ever about one massive, drastic move in a track that defines it. Instead, it’s a buildup of hundreds, maybe even thousands, of small and minor changes and adjustments that make music come alive and give it that nuanced and detailed quality we most often associate with warmth.
The best part?
Guitar Rig gives you all of these touch points and modulation stages directly in one single plugin environment so that you can stay focused and get the warm results in your mixes fast and efficiently; making more music that gets top-quality results like a nod from Kasakde just like Hyperbits did (and it’s, in large part, because of tools like Guitar Rig).
[ad_2]
Source link
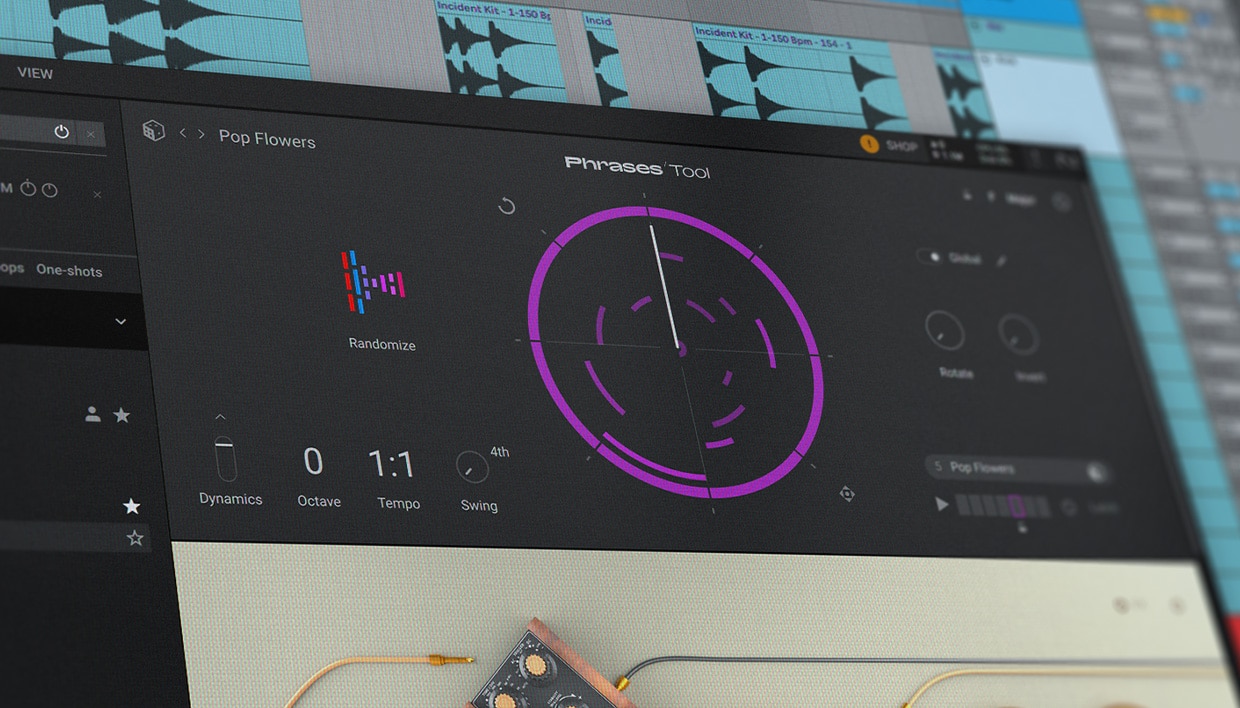
5 ways to use MIDI generators in music production
[ad_1]
With a Phrase tool, you can chop up a melodic loop or sample and assign each MIDI note to trigger a different chop by duplicating the loop across the keys and selecting different start points.
From there, you can program jumps and skips across the sample in precise, customizable patterns, almost like a granular sampler. This method gives you control over the randomness and allows you to fine-tune the glitch effects.
Pro tip: Always re-sample and record the output as you experiment. Even a small parameter tweak can uncover a sound you don’t want to lose.
4. Dynamic ear candy in seconds
This is the flip side of what we talked about earlier – harmonic textures and slower, moving elements like pads. Here, it’s about ear candy: those small details, like melodic riffs at the end of a phrase, guitar runs, or plucks, that fill the mix’s pockets.
These elements are key to achieving a polished, professional sound, but can be tricky to create on your own if for any other reason that, by the time you know you need them, it can be hard to find the creative juice to pick the perfect sound after you just wrote the chords, leads, bass, and maybe even vocal lines.
[ad_2]
Source link

Why layering is the secret to making VST strings sound human
[ad_1]
Modern, tempo-driven genres like hip-hop, melodic house, and trance require even more attention to how these patches interact with your track’s tempo, swing, and groove. Adjusting ADSR parameters like attack, sustain, and release is crucial to ensure the strings move with – not against – your track’s rhythm. Default settings on most patches are often about ninety percent there, but that last ten percent is where the magic happens.
It’s the difference between a groove that feels locked in or one that drags or rushes. Taking the time to align these details with your track’s unique tempo and energy is key and is often a step newer producers overlook. Dialing in these changes is essential to make strings feel alive and fully integrated into your arrangement.
Pro tip: Not all string libraries have dedicated amp envelopes, but almost all still offer ways to control the amplitude over time (which is what we’re after). Words like fade-in and even Glide settings can help soften one layer, leaving space for a brighter-attack layer to work its magic.
3. Keeping the grid on with MIDI placements
One of the biggest criticisms of computer-based music is its reliance on the grid. Whether you’re clicking in notes on the piano roll, heavily quantizing, or dragging in Kontakt’s pre-generated chord progressions, the result can feel rigid and mechanical. This grid-based nature can amplify the lifeless quality often associated with VST and sampler-based strings. However, with just a minute of extra effort, you can transform those strings into something much more human and expressive.
The trick is simple: turn off the grid. Go into your MIDI clips and make small, random adjustments to the timing of individual notes – just nudging them slightly left or right. This doesn’t need to be drastic; tiny variations are enough to mimic the natural imperfections of a live performance. For instance, if you’re working with a four-bar loop, duplicate it across sixteen bars and make subtle timing tweaks to individual notes in each iteration. These minor changes create a sense of organic variation, fooling the listener into hearing the human nuances of a live string section.
This technique requires minimal time and effort but has a massive impact on the realism of your strings. It breaks the monotony of the grid and breathes life into the performance, making it feel authentic and dynamic.
[ad_2]
Source link
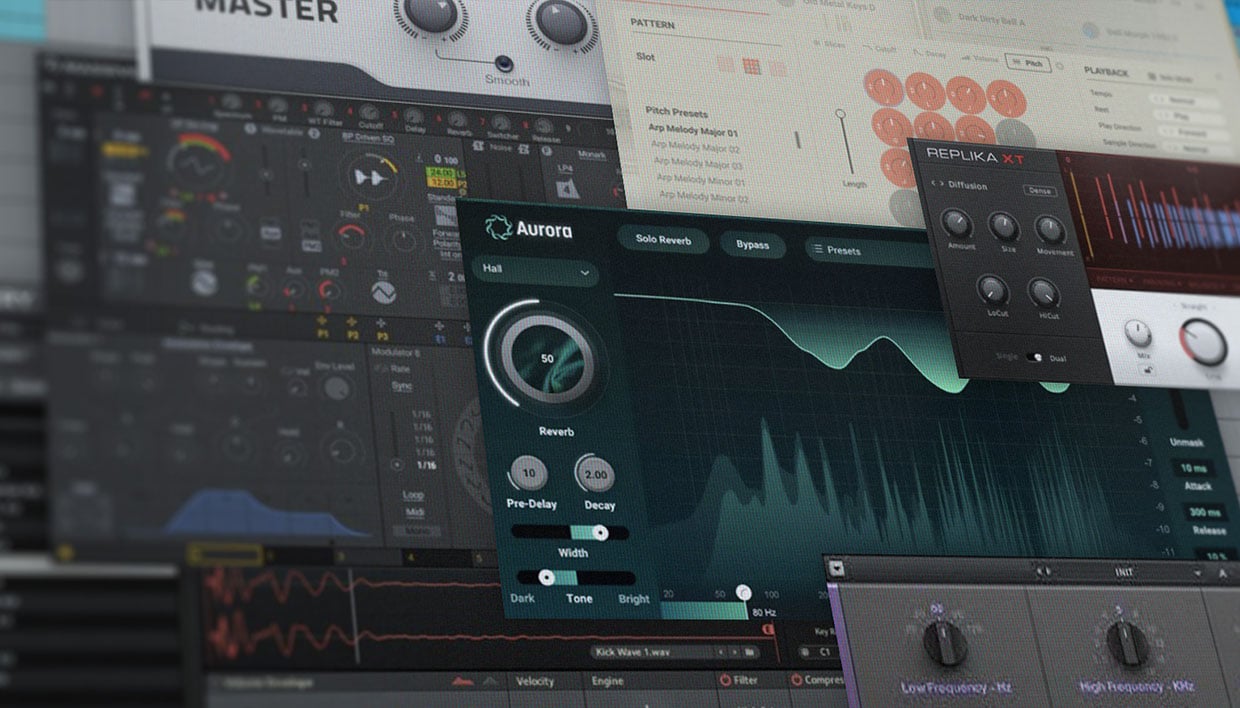
Going beyond reverb and delay for making better ambient atmospheres
[ad_1]
2. Spatial expansion using Split Mix
If you really want your reverb, texture, and space in your track to feel alive, they need to feel larger than life itself. This quality is hard to put your finger on exactly, but it is something that reverb presets can rarely live up to. And it’s something that a lot of producers tend to overlook. But, a little stereo widening can make all the difference, making your track feel open and all-encompassing versus stale, lifeless, and a bit two-dimensional.
You don’t need to go crazy. A little bit of stereo widening can go a long way. Think about using mid-side processing or panning automation to have some of these effects move to the left and the proper channels to create more room in your mix. A bit of width helps glue ambient layers together while still giving them enough space to breathe.
In Guitar Rig, the “Split Mix” module lets you do just that. Adjusting the width parameter to about 60-70% opens up the space without overdoing it. For an alternative approach, use the ‘Crossover Split’ setting in Split Mix. This allows you to split the signal by frequency, applying different effects to separate bands. This brings out a nuanced texture that changes across the frequency spectrum, giving your ambient atmospheres a new layer of depth and dimension.
Pro tip: A mix is all about contrast. Use Split Mix to create different ambiences on the left and right channels, which will result in an ultra-wide and highly detailed stereo field that is greater than the sum of its parts.
[ad_2]
Source link

Top 10 DJs to look out for in 2025
[ad_1]

2025 is here, and the new year brings a fresh list of talented DJs to watch. Whether you’re into house, techno, bass, drum and bass, or hip hop, our list of the top DJs to look out for in 2025 that will inspire you. These DJs have the potential to reach the masses with their releases, and break out on the international festival and club scene. You can support these rising DJ stars by following them on socials, and catch their sets when they play out in your area.
Our list of top DJs to look out for in 2025 appears in alphabetical order. Jump to these DJs:
- A Hundred Drums
- Austin Millz
- DJ Miss Milan
- Flight School
- HNTR
- Mary Droppinz
- me n ü
- Raid Kyu
- Shay De Castro
- Siobhan Bell
Follow along with this tutorial using Traktor Pro 4.
1. A Hundred Drums
Thunderous bass and pulsating rhythms embody the music of A Hundred Drums. Gabrielle Watson cultivates a sound that encapsulates experimental hip hop, psychedelic bass, and indigenous hand drums. In early summer 2021, A Hundred Drums released a politically potent EP, Enough Is Enough, on ZEDS DEAD’s Deadbeats label. A Hundred Drums chose to use her music to deliver substance alongside sound, and this release outlines the struggles of being Black in America. Since then, she’s continued to release a steady stream of tracks, singles and EPs.
Watson cut her teeth in dark and sweaty basements showcasing icons of the UK dubstep and drum & bass scenes, and has traveled to festivals far and wide to hone her mixing skills. A Hundred Drums now shares lineups with some of the biggest acts in electronic music and collaborates with producers and vocalists across a multitude of genres.
2. Austin Millz

Austin Millz is an American DJ, producer, and songwriter from Harlem, New York. He’s established himself as a genre-bending icon. Austin is a trailblazer who has performed with artists like Quincy Jones and Beyoncé; his music is a deeply textured fusion of soul and dance-floor euphoria. With his unparalleled mastery in the intersection of hip hop and dance music, Austin has a special gift for producing an extraordinary blend of music styles, pulling influences from different genres.
The boundless energy in his live performances challenges the status quo and invites the crowd into a new space that questions conventional notions of music and culture. He’s best known for his remix, “Feeling Good – Austin Millz Remix” and his single “Bad Behavior” which features Remi Wolf. His 2023 EP, “breathwork’ collaborates with Alina Baraz, Sabrina Claudio, and Justine Skye.
On Austin Millz’s Instagram account, he frequently posts reels that feature his live remixes using Maschine.
3. DJ Miss Milan

DJ Miss Milan, also known as ‘The Fairy Vibemother’ has developed a promising career from her passion for music and entertainment. Hailing from New York City, she built her brand organically from humble beginnings to the rising star she is today. She’s been the DJ and hype girl for acts such as Justine Sky, Saweetie, and is now the official DJ to Doechii. Recent successes in her career include performing for Beyonce’s Renaissance tour, BET Awards, and Coachella Festival to open up for Doja Cat on her sold-out tour.
Her work ethic and impact has captured the eyes of publications like Rolling Stone where she has been featured in their Icon & Influencers campaign proving that “The Fairy VibeMother” is a brand that provides the vibes worldwide. Miss Milan’s belief in being limitless has led her to expand from DJ to producer as she plans to create music and work with artists to release future projects.
4. Flight School
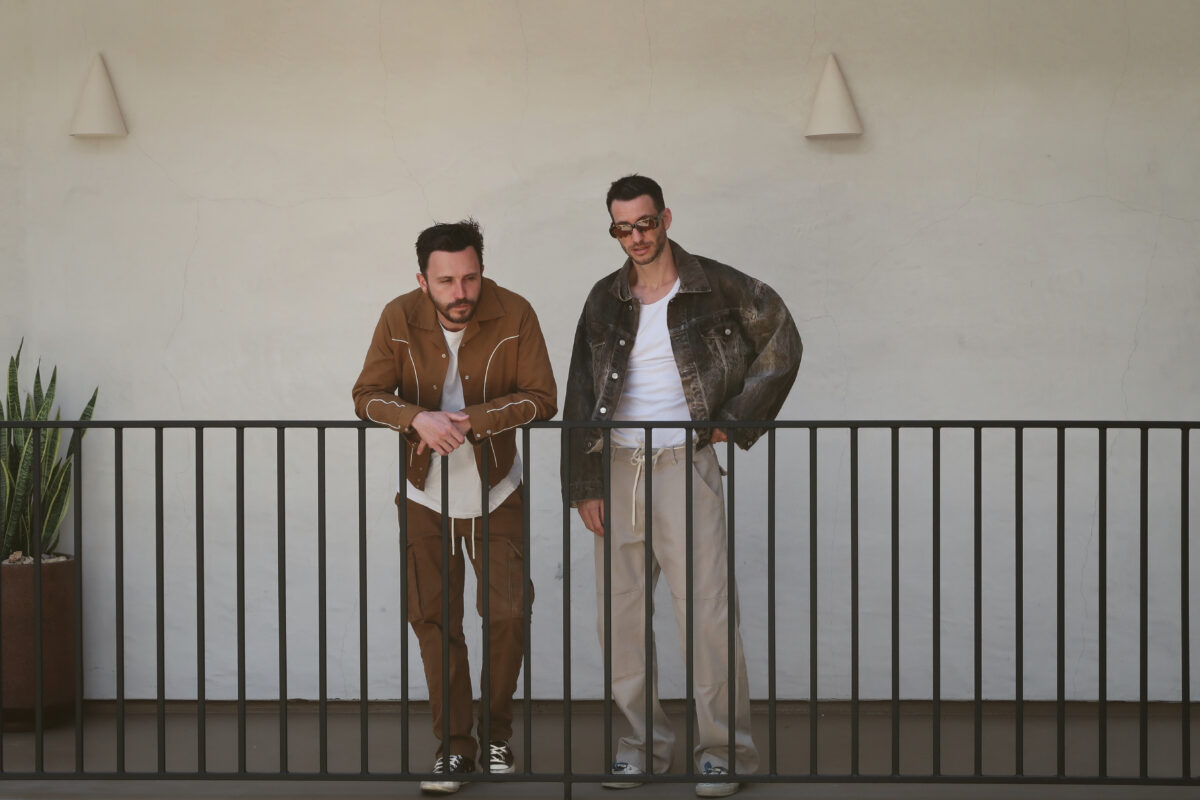
Flight School is the merging of Canadian battle DJ turned producer Conor Cutz and L.A. based open format DJ Guillaume Viau. The duo is newly signed to Kygo’s Palm Tree Records, a worldwide venture with Sony Music. With their newly inked deal, Flight School plans to rollout a fresh sound that combines drum and bass and breakbeat, and highlights globally renowned songwriters and vocalists.
Flight School received early support on their remixes from The Chainsmokers and The Lost Kings, which lead to producing official remixes for The Chainsmokers. Conor and Gui have a history of producing genre-blending hits, and were named iHeartRadio’s ‘Future Stars’ early in their career. Flight School’s debut single ‘Figure It Out’ ft. CVBZ was a Canadian radio Top 20 charting single, and their 2023 release “Undertow” w/ XIRA went viral on TikTok.
In the studio, Flight School uses Monark for its heavy analog low end, Session Guitarist Electric Sunburst for amazing guitar riffs, and Hybrid Keys for washed out piano sounds.
5. HNTR

HNTR is the Juno award winning producer, DJ, event curator and label head at No Neon who’s shaping the scene with his sound. His music is a heavy-hitting and dark blend of techno, rap, and house. HNTR positioned himself for early successes with releases on Factory 93 and Mau5trap. He went on to make history by winning the first Underground Dance Music Juno Award – The Juno Awards are akin to the Grammys in Canada.
In 2024 HNTR’s viral hit “Yes B!tch,” a collaboration with Danny Avila, Sam Wolfe, and vocalist Rome Fortune, gained international attention, reaching millions of streams and becoming a Beatport #1 record worldwide. With the success of “Yes B!tch”, HNTR received support from heavyweights like John Summit, Dom Dolla, Adam Beyer and more. In the studio, HNTR uses Native Instruments’s iZotope plugins to finesse his productions. With a slew of releases slated for 2025, HNTR is an artist you’ll definitely want to keep an eye out for.
6. Mary Droppinz

Mary Droppinz provides an eclectic sound that travels all over the dance spectrum and takes listeners on a journey across genres, seamlessly blending electro, breaks, house, acid, techno, UKG, speed garage, minimal dubstep, drum and bass, and hip hop all in one set. Her technical skill as a DJ has turned her into one of the top DJs in the dance music scene.
Over the last year alone, Mary has played across the US and internationally taking on major stages including Spybar, Amnesia Ibiza, Mission Ballroom, Greek Theater Berkeley, Elsewhere NYC, Brooklyn Mirage, Red Rocks Amphitheatre, Coachella, EDC LV, Dirtybird Campout, Seismic, Groove Cruise, Desert Hearts, and held a residency at Discopussy in Las Vegas.
Additionally, she’s released exclusive mixes for Diplo’s Revolution on Sirius XM and the infamous Cutsnake + Mates radio show. Mary’s productions are as versatile as her DJ sets. Her combination of breakbeats and acid-driven tracks have become recognizable to listeners. Her discography includes 2x EP’s on Zeds Dead’s Altered States, remixes for Justin Martin and LP Giobbi, and her productions have received support from the likes of Steve Aoki, Destructo, BLOND:ISH, REZZ, Claude Vonstroke, Mikey Lion, Anabel Englund, Sofi Tukker and Lee Foss.
Mary Droppinz’s mission is to educate her audience about different sounds in electronic music, and truly connect those experiencing it to each other and the music.
7. me n ü

me n ü is a female DJ, production, and writing duo. Originally from Chicago, the duo are currently based in Calgary, Canada. me n ü started their socials at the end of November 2023 and built a large fanbase.
After coining the term “hope house” to describe their style of music, their debut single “JUMP” has garnered over six million streams across all platforms. It’s also gotten editorial love on Spotify’s “Created by Women,” “Fresh Finds Dance,” Apple Music’s “Chill House” and “Breaking Dance”, Pandora’s “Pandora Chill”, and more.
Since the release of their first single, me n ü have been getting regular rotation and organic support on all singles, including their newest release “WONDER” from Sirius XM and Sirius XM Chill. Tiësto and Galantis have supported their productions, and an official Galantis x me n ü remix was released in early August. Most recently, they had their main stage festival debut in October at Breakaway in Nashville. Whether it’s their pulsating beats or heartfelt lyrics that draw you in, you might just fall in love with me n ü at first listen.
8. Raid Kyu
Raid Kyu is a composer and turntablist/DJ whose musical style combines piano compositions with electronic, hip hop and jazz. Raid has composed several soundtracks for theatre plays and instrumentals for hip hop artists, but he is also known for his incredible Scratch skills which have allowed him to collaborate with some of the world’s greatest DJs. Raid uses Native Instruments hardware in his sessions and live sets, including Kontrol Keyboards and Traktor Pro 4.
Raid’s a musical genius; on his latest release Stray Cats & Sunsets, he plays the piano, drums and scratches on the decks. Be sure to check out Raid’s unique releases, video performances and live shows in 2025.
9. Shay De Castro
Shay De Castro is a thrilling techno talent from the United States. Her commitment to studio artistry has landed her on a selection of the techno scene’s most iconic labels such as Factory 93, mau5trap, and Kraftek. Her distinctive sound quickly caught the attention of techno’s elite, and Shay’s productions have received support from industry heavyweights like Adam Beyer, Amelie Lens, ANNA, Nicole Moudaber, Richie Hawtin and more.
This LA-based artist now performs on global stages, delivering high-octane concerts that captivate dancefloors.
As a performer, she’s played at some of the most notable venues and festivals across the globe, with bookings at hot spots like Exchange LA, Superior Ingredients NYC, Sisyphos Berlin, and Beyond Wonderland. Shay recently joined Eli Brown for a sold-out West Coast tour, further cementing her reputation as a must-see live act. With her passion for techno and powerful sound, you can be sure to see more of Shay in 2025.
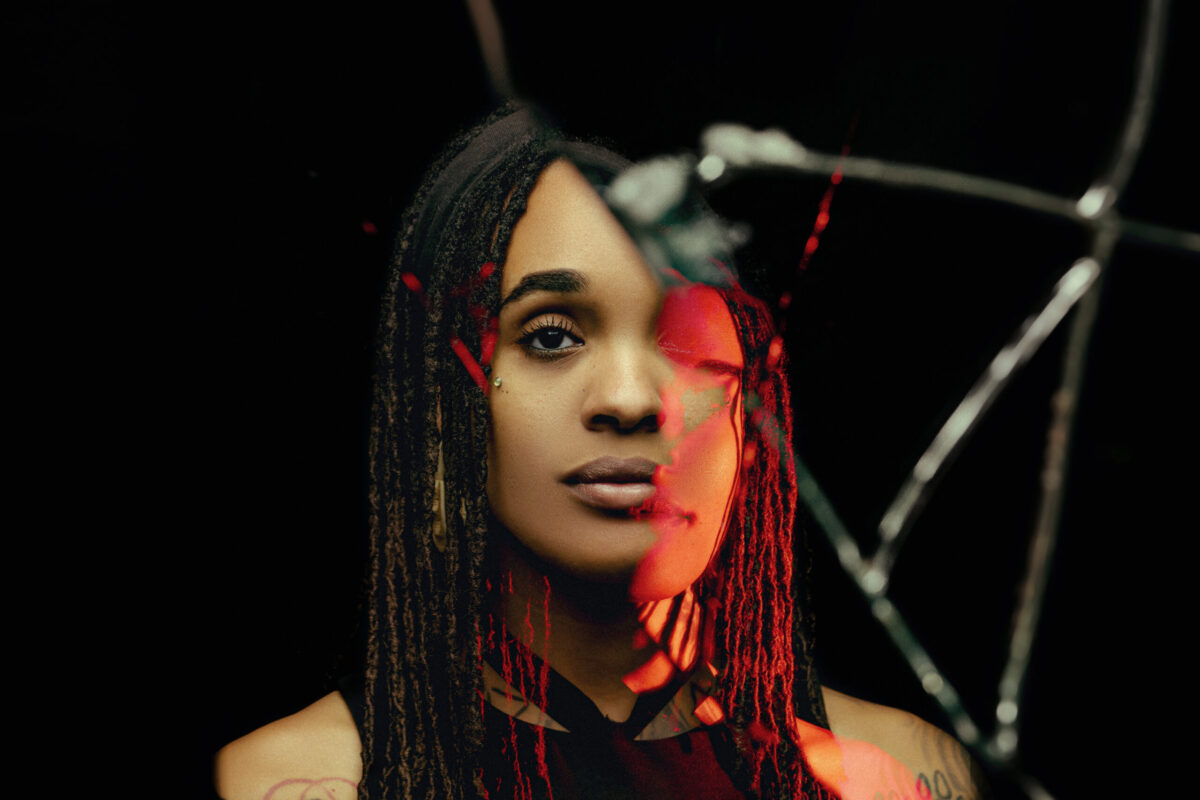
10. Siobhan Bell

Siobhan Bell, a London-born and raised DJ, producer, artist and tastemaker, has become one of the most in-demand talents on the international circuit. Bell began DJing in the East London Scene, launching her DJ career by performing Boiler Room sets, and holding a DJ residency on London’s NTS Radio. From opening up for Lil Nas X, Megan Thee Stallion, Summer Walker, Skepta and Wizkid to DJing and collaborating with Versace, Vogue, Christian Dior, Amiri, ComplexCon, Karl Lagerfeld, and Fendi, Siobhan proves the sky’s the limit when it comes to doing what you love.
In addition to Djing and producing, Siobhan has been featured in campaigns for Nike, Revlon and Dr. Martens and in the pages of i-D, Highsnobiety, Wonderland, Notion, Dazed and British Vogue. Siobhan has amassed a strong online presence that spans the globe, and her superstar status can be attributed to her propensity for navigating the ever-evolving spaces where music and fashion collide.
Get inspired by these up-and-coming DJs
Are you inspired by this list DJs, and want to start DJing yourself? Get started DJing with Traktor Pro 4, it’s the best way to learn to DJ.
Traktor Pro 4 allows you to create and organize your music library, mix together tracks and add effects. Download a copy of Traktor Pro 4, and check out more of our articles online about how to DJ. Make 2025 the year to start DJing, and get out there yourself on the scene. Maybe next year we’ll feature you on our list of top DJs to look out for!
The post Top 10 DJs to look out for in 2025 first appeared on Native Instruments Blog.
[ad_2]
Source link
How to program your first sounds with Massive X
[ad_1]
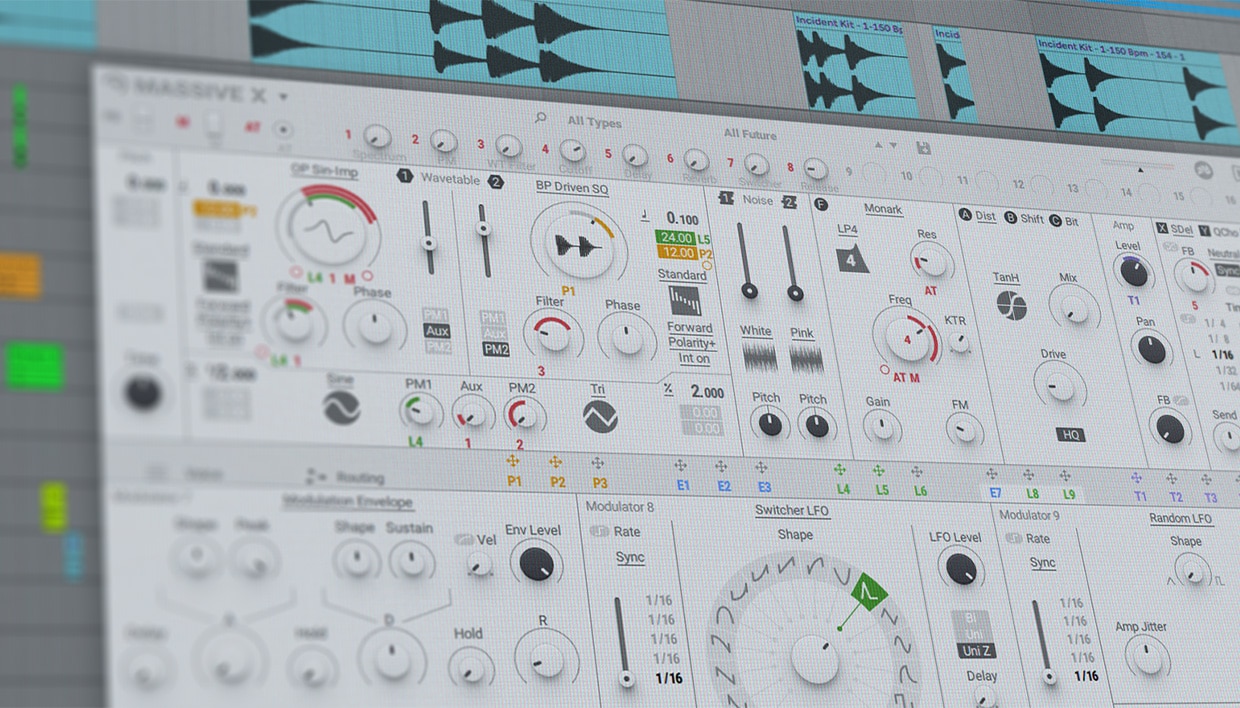
What is Massive X?
Massive X is a synthesizer plugin with powerful wavetable oscillators, multimode filters, customisable routing and a selection of insert and stereo effects.
Does Massive X have standalone?
Massive X does not have a standalone application, which means that it needs to be used within a DAW. Massive X VST, AU and AAX version plugins are available.
Does Massive X have presets?
Massive X does indeed include many, many presets, and these can be a great way to get started with the synth. To access Massive X’s preset library, click the patch name, which when the synth launches will be ‘Init – Massive X’
[ad_2]
Source link
Mastering club-ready dance music with Ozone: Nihil Young’s advice on in-the-box mastering for a massive sound
[ad_1]
Beyond mastering, I often use Ozone 11 modules in the mixing process, whether on individual channels or mix buses. These modules are incredibly versatile, whether for dynamic EQing, handling resonances (Stabilizer/Clarity), tackling specific low end issues (Low End Focus), or shaping transients. In some cases, I use them to experiment with sound design – like transforming sounds entirely using Stabilizer’s Transient Mode. Both the Exciter and Imager are also invaluable tools during mixing, offering excellent tonal shaping and spatial control.
For dance music, I prioritize low-end tightness, punch, and stereo imaging, while for acoustic or melodic genres, I focus on warmth, natural dynamics, and tonal balance. For example:
- Melodic techno: I emphasize subtle midrange details and target a loudness of around -7 LUFS.
- Drum and bass: I ensure the sub bass is controlled, transients remain sharp, and loudness is pushed as far as possible, sometimes reaching -3 LUFS.
Ozone isn’t just for mastering…
I frequently use its modules in mixing, too – whether for taming resonances with Dynamic EQ, addressing low-end issues with Low-End Focus, or adding tonal character with Exciter. Sometimes I even use tools like Stabilizer in transient mode to experiment with sound design.
Modules like Imager and Exciter are particularly useful for shaping spatial and tonal aspects during mixing.
[ad_2]
Source link
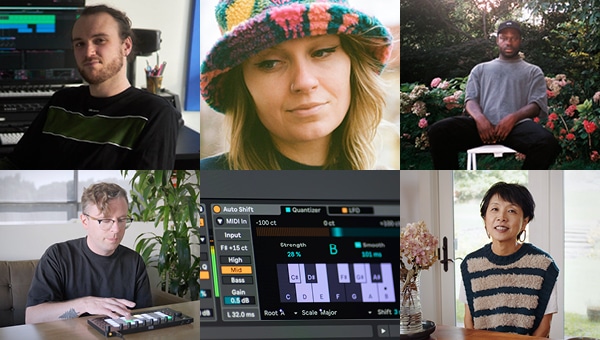
Going Deeper into Sound: Eight Standout Features, Videos and Tutorials from 2024
[ad_1]
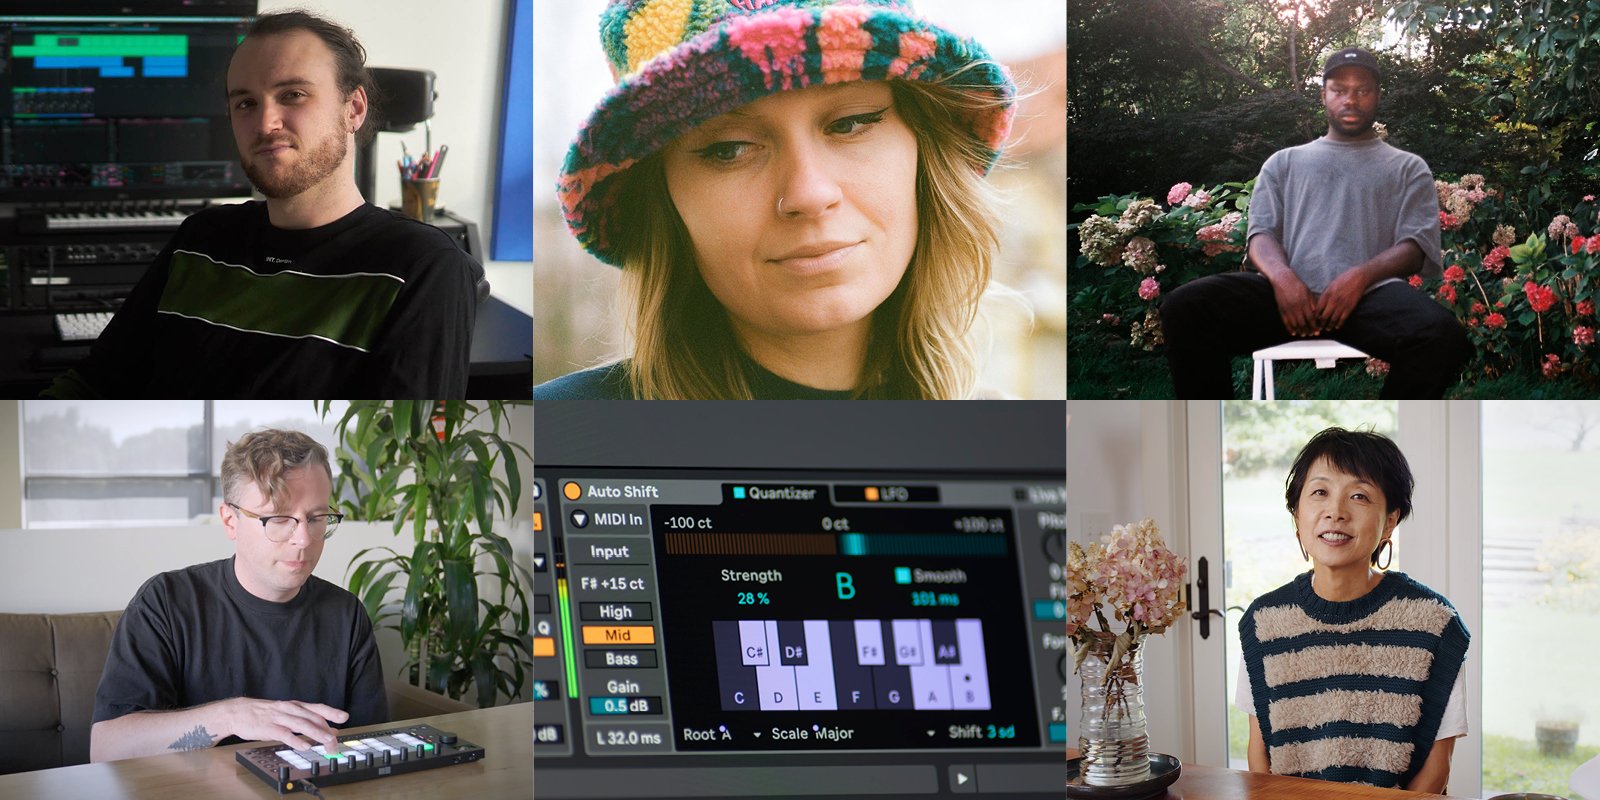
Wrap up 2024 by checking out some of our favorite tutorials, videos, and features from across the year, and head into 2025 with all the music-making inspiration you could wish for.
100 One Things
Take a look back at the first 100 episodes of One Thing, the monthly video series bringing you easily digestible tips, tricks and inspiration from artists around the globe, and be sure to check out 2024 highlights from Yuka C. Honda and Iftah Gabbai.
Doing Music: A podcast about musical ideas

2024 was the year we started a podcast – discussing musical ideas, techniques, and strategies with the artists who use them daily. Take a listen through the archived episodes and pick up a dose of inspiration.
Aho Ssan: Sound from inside the Rhizome
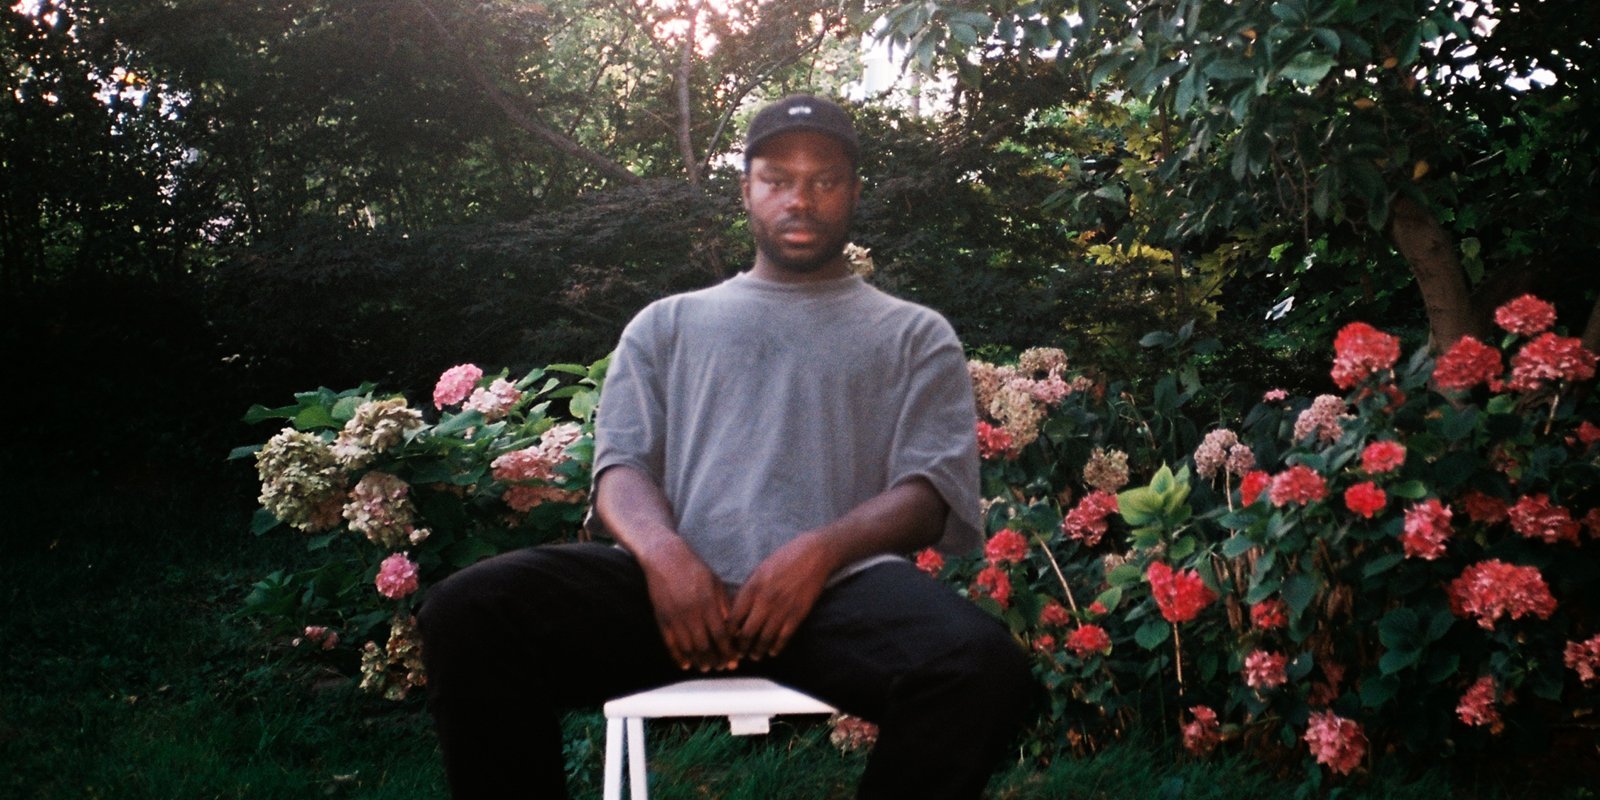
Discover the rhizome with Aho Ssan, who unpacks his lattice-like approach to production and collaboration and shares a Max for Live device created exclusively for the article.
Make a Beat in Minutes with Move
See how producer and Ableton Certified Trainer Jamie Blake puts together a complete beat on the newly-released Ableton Move in just 10 minutes using resampling and automation techniques, a custom Drum Rack exported from Live and Move's built-in microphone.
Download the Live Set of Nadia Struiwigh’s Track “Leelow Waters”

Get the lowdown on Nadia Struiwigh – the Dutch artist making waves with her machine-heavy blend of techno, ambient, and electro. Plus, download the Live Set of her track "Leelow Waters" for free.
20 Years of Operator

2024 marked 20 years of Operator – Ableton Live's first built-in synthesizer, designed by Ableton co-founder Robert Henke. Dive into the device's history and download over 100 presets from Robert and Ableton instrument designer Christian Kleine.
Designing Dub Chords in Ableton Live with El Choop
Explore the enduring nature of the dub techno sound with London-based artist El Choop, who dissects his reverent yet forward-thinking technique, all made with Live's expansive range of effects, filters, and modulation possibilities.
Explore Live 12.1’s Auto Shift
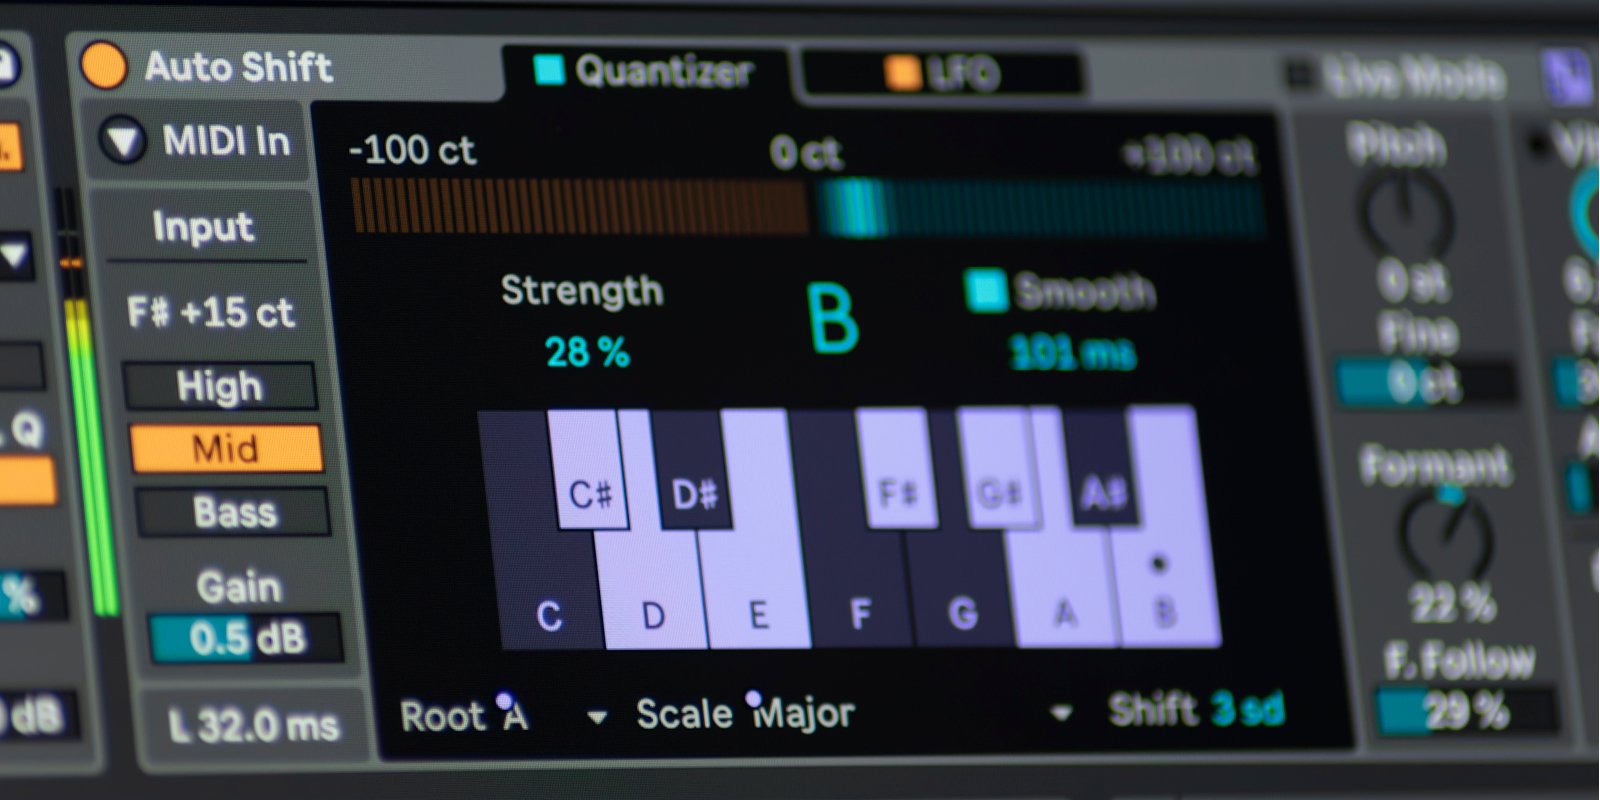
The release of Live 12.1 saw the introduction of real-time pitch correction to Ableton Live. Learn how to get warm, wide, and perfectly pitched vocal harmonies – and much more – with this tutorial from Side Brain.
[ad_2]
Source link
Enhance your drum beats with Neutron 5 Transient Shaper
[ad_1]
What is a transient shaper?
Before we dive in, what does a transient shaper do?
A transient shaper is used to manipulate the attack and sustain characteristics of a sound. It focuses on the transient portions of a sound – the initial peaks or hits, like the snap of a drum or the pick of a guitar string – and allows precise control over how these transients are emphasized or suppressed. This makes it easy to control how punchy, snappy or roomy a drum track sounds.
So, is a transient shaper just a compressor? No, it’s not: while they do share similarities in that they allow you to control the dynamics of the input signal, the big difference is that transient shapers are dependent on a threshold level in the same way compressors are. Transient shapers will alter all audio inputs in the same way regardless of the input level, whereas compressors rely on the input level to determine how to affect the sound. So, how these effects are controlled and how they affect the sound are different.
Multiband transient shaping might sound like an intimidating concept to the beginner, but it’s a very simple technique to achieve with Neutron 5 Transient Shaper. Crucially, it’s easy to hear how the effect affects the audio input signal, so you should have little trouble getting to grips with it.
[ad_2]
Source link