5 underrated parameters in Massive X for sound design
[ad_1]
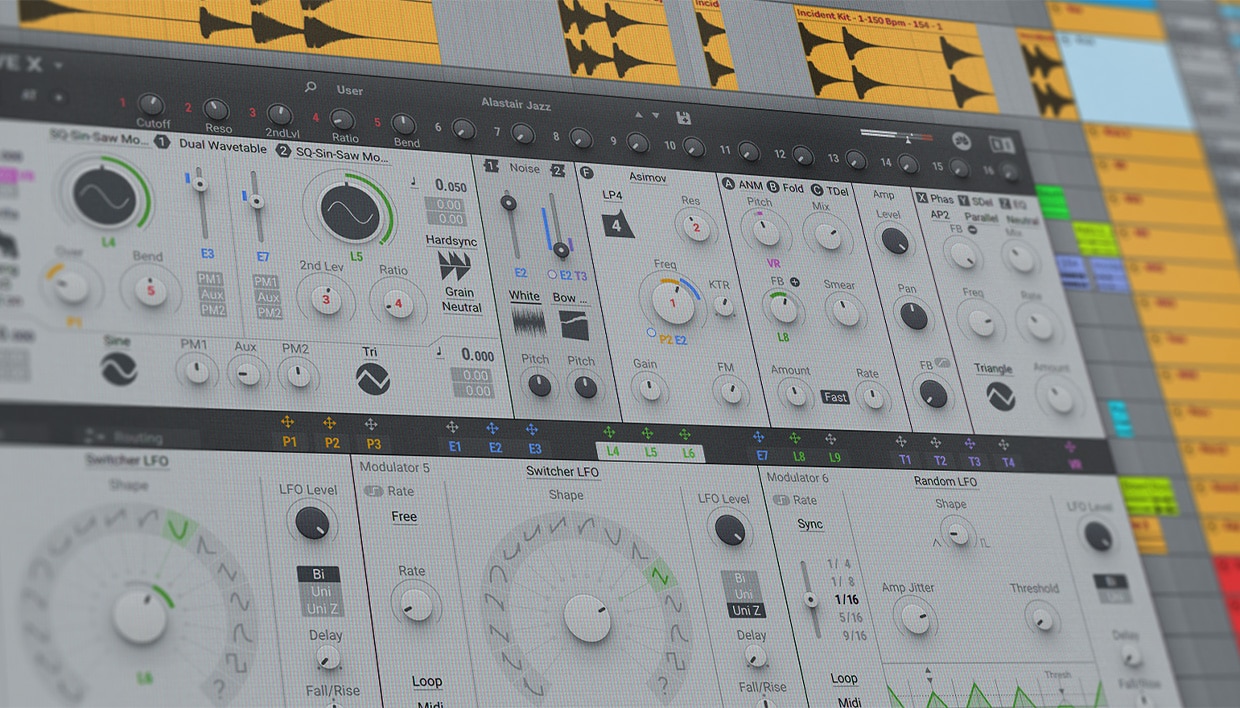
1. Custom noise tables
Adding a touch of white or pink noise to your sounds can really help them stand out in the mix and introduce an analog-like grit that gives digital synths a more out-of-the-box feel. While traditional noise tables like pink and white noise are great, custom noise tables can be a highly undervalued feature in synths like Massive X.
Importing your own unique noise banks can bring fresh textures and a personal touch to your sound design. For instance, incorporating a Foley loop can transform a simple white noise sample into something with warmth and a multi-timbral crunch, adding piano-like action to virtually any instrument.
Custom noise tables have an edge over standard ones because they break away from predictability. With standard noise tables, once your audience picks up on the consistent bite or attack, it can start to feel monotonous, like a mosquito buzzing in your ear with every chord or lead hit. On the other hand, custom noise tables offer nuanced, evolving sounds that keep listeners engaged.
By using complex modulation parameters in synths like Massive X, such as an LFO adjusting pitch or a key tracker, you can create a sound that’s almost in tune with your Foley-based noise sample. This approach adds variety and interest, moving away from the repetitive blast of standard noise with each key press.
Pro tip: If you’re incorporating a Foley loop or any found sound in your track to add texture, consider using that same file as the source for your white noise. This technique boosts cohesion in your track, allowing you to repurpose similar elements creatively. It’s an effective way to get more out of less, enhancing the overall unity of your track’s sound.
[ad_2]
Source link
Why it works: Recreating the production tricks that got Jakatta – “American Dream” to the top of the organic house charts
[ad_1]
4. The final drop has something new
More commercial genres of EDM have the luxury of more formulaic compositions where the second drop section is usually just the same as the first with an extra blast of white noise or maybe the filter cutoffs slightly more open. It’s simple, effective, and works on massive systems. But organic house music often needs to be more nuanced, adding entirely new elements or groove layers to make the final drop hit. For PROFF, the final drop, around 4:35, brings in a brittle, strummed counter-melody to keep the groove fresh and exciting.
From a producer’s perspective, these small little additions can often be the hardest to include since we usually feel like we’ve written ourselves into a corner at this point and can’t possibly drum up something that could crank up the track’s energy that final notch. But that’s where generator tools and plugins like Schema: Light come into play.
Schema: Light is packed with acoustic-inspired patches and presets that generate tons of melodic ideas and sequences for you to cycle through with your core melodic and groove loop playing until you, seemingly by magic, stumble upon the perfect combination of sequences, patches, and riffs that align perfectly for that last little bit of melodic sauce you need.
Pro tip: While fishing for that perfect patch, start locking various parameters that you stumble on, be it scale, riff, or layer, so that you slowly work towards exactly what you’re looking for instead of feeling like you’re shooting in the dark for a random preset to work perfectly.
[ad_2]
Source link
Drum processing in melodic techno with Hannes Bieger: Club-ready percussion made fast and easy
[ad_1]
Make club-ready percussion today
We want to give a special thank you to Hannes Bieger, whose approach to drum programming highlights just how critical these details are for creating tracks that resonate in both live and studio settings. Whether it’s the flexibility of VST samplers like Battery 4, the importance of tuning each drum to fit the mix, or the personal touch of modular percussion, Hannes shows that the smallest decisions can have the biggest impact.
If there’s one takeaway here, it’s that great drum programming isn’t just about finding the right sounds – it’s about shaping those sounds to fit the track and elevate its energy. Listening to Galaxies, you can hear how these techniques come together, resulting in a cohesive album that feels as dynamic as it does intentional. For producers looking to refine their drum work or anyone seeking inspiration from one of techno’s leading minds, there’s much to learn from Hannes’ process.
Take a listen to Galaxies and see how these ideas translate into the music and get inspired on the different ways that Battery 4 can give you the tight, punchy control over your drum sequences that you need to make chart-topping melodic techno like Hannes Bieger!
[ad_2]
Source link
How to use seventh chords in modern music
[ad_1]
What is a seventh chord?
To benefit from the information in this article, you have to understand what a chord is and how to form one. We’ll run through this quickly now, but be sure to check out this article on harmony if you want to get a more in-depth look into this concept.
A chord is what happens when you play multiple notes at the same time. We have a standard way of making chords by taking alternating notes from a scale and stacking them on top of each other.
At its core, a seventh chord is a four-note chord built by stacking these intervals above a “root note” (that just means the note you’re starting with). While a basic triad consists of three notes (root, third, and fifth), a seventh chord adds a fourth note: a seventh interval above the root. This additional note adds colorful harmonic texture and opens up new possibilities for writing chord progressions and voice leading.
Let’s use the example of a C major scale to outline this idea. This scale has the notes C, D, E, F, G, A, B in it. To get a C major triad, we’ll take the first note of the scale (C), skip the next note, use the one after that (E), and repeat with the next notes. Therefore the C major triad consists of the notes C, E, and G. That sounds like this:
[ad_2]
Source link

6 reverb tricks for punchy organic house
[ad_1]
4. Clean bass, lush mid-range
If you want a track to hit hard in a club, nailing the balance across the frequency spectrum is key. The low-end needs to be ultra-clean to drive the groove, while the high-end should be bright and warm to cut through. But the real magic of organic house lies in the mid-range – it’s where that lush, dreamy atmosphere takes shape, wrapping the track in the kind of texture that defines the genre.
But it’s when you balance all three, that the mix hits with both power and depth.
It’s easy to rely on reverb presets to handle space and texture in a mix, but doing so without fine-tuning can create issues in your track’s low and high ends. Most presets don’t automatically account for the punchy, clean sub-bass required in club-friendly mixes, where the kick and bass dominate. Similarly, they often let the high frequencies – especially above 12,000 Hz – linger in a way that might sound lush in the studio but becomes overwhelming on large sound systems in big spaces.
Use onboard EQ or tonal shaping tools to cut the low end and avoid muddying the subbass. The same goes for the high end, too; roll off some of the ultra-high frequencies of your reverb drums so that the bright sizzle is denser in the studio to accommodate the natural reverb of the larger clubs you ideally want and anticipate the music to be played in.
This ensures that your hats, snares, and shakers cut through both small studio monitors and larger club systems, delivering clarity and impact no matter where your track is played.
Pro tip: When shaping your reverb, listen to the natural ‘pitch’ of the reverb you’ve shaped and try to align it so it fits musically with the rest of your track!
[ad_2]
Source link
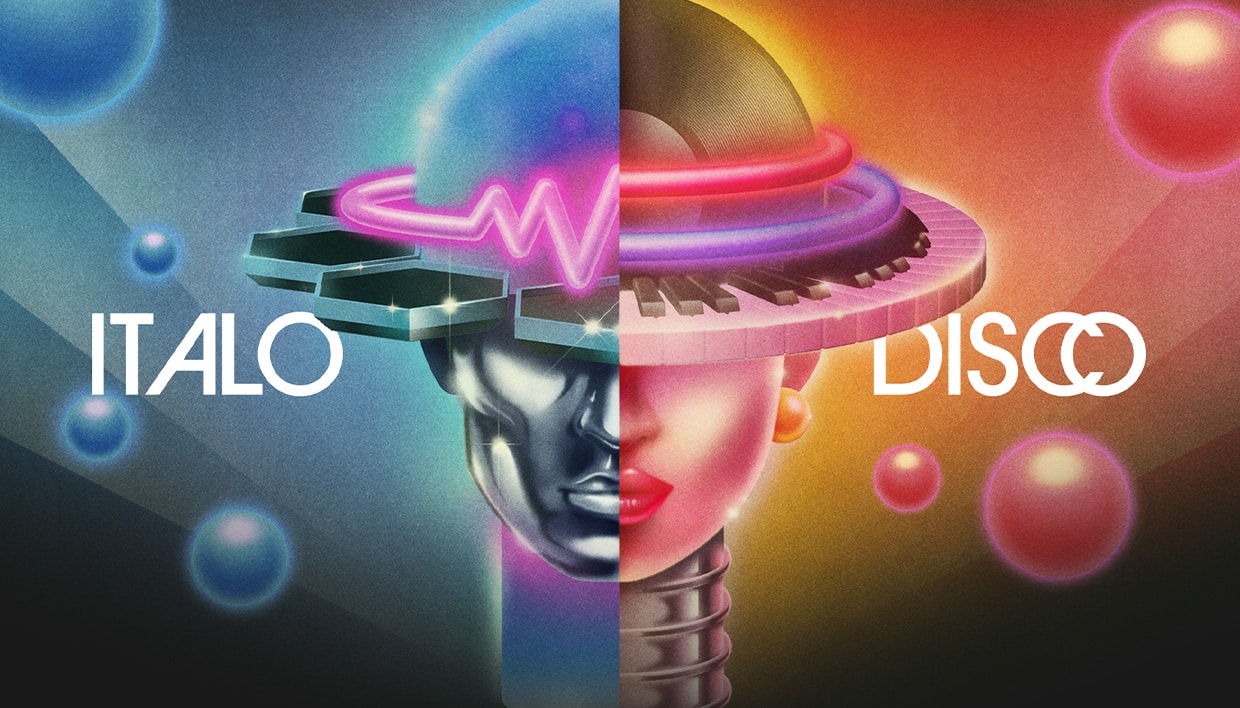
What is italo disco music? Everything you need to know to make it
[ad_1]
The original form of lo-fi electronica, Italo disco helped shape the future sound of dance music with its driving beats, energetic bass lines and catchy melodies. So, what is Italo disco music, and how does it differ from its progenitor disco?
In this guide to making an Italo disco track in your DAW, we’ll explore different examples of Italo disco music before learning how to create your own. We’ll use Native Instruments Discoteca Drums, Discoteca Keys, and the Italo Disco Leap Expansion, all of which are compatible with Kontakt 8 and the free Kontakt 8 Player. We’ll also use iZotope Ozone 11 for mastering.
Here’s how the final track sounds:
[ad_2]
Source link
How to make electronica music: a guide for producers
[ad_1]
What is electronica music?
While electronica is technically a genre, it has a broad spectrum of subgenres within it. That makes its hard-to-define sound more of a creative philosophy than a genre. Electronica emerged around the 1990s. Its move from the dancefloor gave producers space to break away from traditional structures of electronic music and experiment with sound design, textures, and rhythm.
Its influences are wide-ranging, pulling from ambient, downtempo, glitch, and even classical music. This experimental nature makes electronica an evolving genre that continues to transform through producers’ innovations.
To get a better sense of electronica’s breadth, let’s explore three standout tracks:
“Cirrus” by Bonobo is a classic that displays the ability of a producer to combine organic and electronic elements. Bonobo’s use of layered percussion and melodic hooks shows electronica in full form:
[ad_2]
Source link
Introducing the NKS Hardware Partner Program: Hands-on control of over 2,000 instruments with your favorite production tools
[ad_1]
For the past decade, NKS (Native Kontrol Standard) has revolutionized modern music production by integrating hardware and software, enabling intuitive workflows, and creating a unified browsing experience.
Now, we’re making it easier than ever for you to explore new sounds on your favorite controllers with the NKS Hardware Partner Program. Whether you’re using hardware from Akai Professional, Novation, Nektar, Korg, or M-Audio, you can easily use the NKS ecosystem in your favorite keyboard controller – with over 2,000 NKS-compatible instruments from more than 250 brands at your fingertips.
NKS compatibility on your favorite keyboard controller
NKS compatibility will be offered on these keyboard controllers:
Akai Professional: NKS integration will support the MPK Mini Series (MPK Mini, MPK Mini Play, and MPK Mini Plus).
[ad_2]
Source link
Progressive house reverb techniques: inside Shingo Nakamura’s mixdowns
[ad_1]
As I’ve mentioned before, it’s crucial to carefully consider whether the reverb is truly necessary and, if so, what the appropriate parameter settings should be. Instead of applying reverb after grouping, I apply it to each part individually and fine-tune them accordingly.
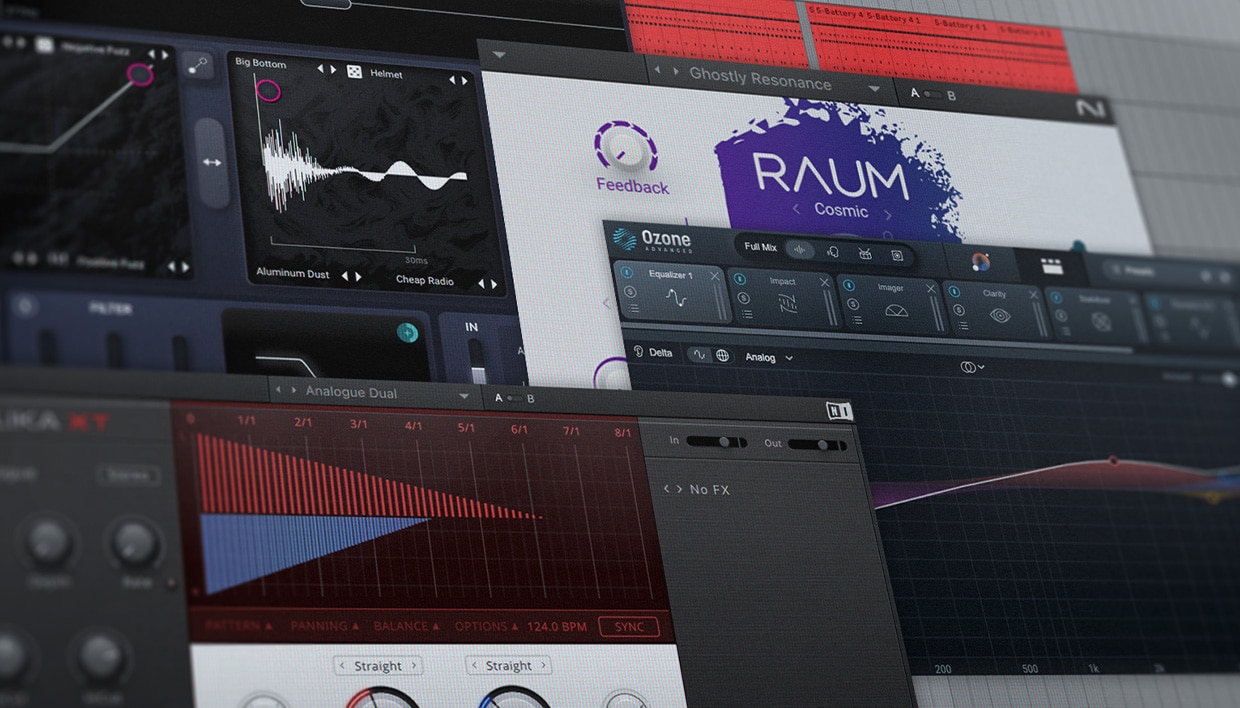
When I use Raum, I often only adjust the Mix, Decay, and Low Cut parameters. Since I use reverb frequently, Raum has become indispensable due to its user-friendly interface and the ability to achieve the desired sound with its simple parameters.
Additionally, applying EQ before and after the reverb is important. Before applying reverb to sounds like pads or synths, I cut the low end below 400 Hz using EQ. After applying reverb, I make adjustments using Raum’s Low Cut and High Cut, as well as an additional EQ. It allows for a clearer sound with minimal reverb.
[ad_2]
Source link

Empowering creativity: women and non-binary producers making waves in Brazil
[ad_1]
What can we in a, still male-dominated, music industry do to work towards redressing the balance?
CAMZ: It’s going to take time to balance the scales, but some promoters are starting to adopt inclusivity clauses for their events. It’s crazy to think that even today, many festival lineups feature 90% male DJs. If promoters commit to promoting inclusivity, the audience will eventually embrace this new approach – and once that happens, there’s no turning back.
Joyce Muniz: Any kind of change should be made with intention. Labels and institutions need to approach their releases with an open-minded selection of artists, including women, non-binary individuals, queer people, and people of color. There’s a wealth of talent out there, and today, it’s absolutely possible to have a diverse roster of artists.
What music events or releases are you looking forward to most in 2025?
CAMZ: I’m looking forward to taking Lady Of The House to big conferences like Miami Music Week and IMS Ibiza.
Joyce Muniz: I’m really excited to be back with a new EP on Exploited Recordings, set to drop in April 2025. My remix for one of my favorite artists, Dina Summer, should be out soon as well. There are also a few exciting collaborations coming this year. But for now, I’m thrilled to be spending some time in Brazil.
Breaking barriers with music in Brazil
The Lady of the House demo competition marks an exciting milestone in championing diversity within Brazil’s vibrant electronic music scene. Spearheaded by Brazilian ambassador CAMZ, this initiative is more than just a competition – it’s a powerful platform for amplifying the voices of women and non-binary talent in music production.
The competition is open now and closes 29 January 2025. Winners will be selected shortly after. Enter your demo here.
[ad_2]
Source link