
Breathe life into your samples: The Towerz method for authentic sound in dance music
[ad_1]
Replicating acoustic instrumentation has to be done with grace. You need to make sure that the dynamics are there and feel played. You need to tastefully disguise the layers and fit them into the room using reverb and compression. You need to ensure smooth transitions between notes and have the proper wavelength.
Generally speaking, it’s good to use most sample-based instrumentation in an additive sense, but not as the main character. That does depend on the library as well. Not all sample-based libraries are created equal. Some are better at mimicking reality than others.
Start making sampler-based instruments sound real
We’d like to extend a massive thank you to Towerz for joining us and sharing his expertise on making sampler-based acoustic instruments sound lifelike as if played by a real musician. He really hit the nail on the head, emphasizing that a lot comes down to layering, attention to detail, and using the right Kontakt libraries.
These details might seem obvious once you know they’re there, but are often overlooked by newer producers. Knowing these intricacies is crucial in turning sampler-based instruments into lifelike sounds. Hopefully, by the end of this interview, Towerz has given you a fantastic starting point to replicate these techniques and achieve similar results in your own music.
And as always, none of this would be possible without powerful tools like Kontakt 8, so be sure to check it out through the link below.
[ad_2]
Source link

5 music production tips from techno legend Kevin Saunderson
[ad_1]
5. Balance hardware and software in your productions
While acknowledging the power of modern software, Saunderson still appreciates the tactile experience of working with hardware synthesizers and controllers. He combines the best of both worlds, using Ableton and Maschine alongside classic synths like the Matrix and Moog Sub 37. “I appreciate the new school, but I still like a combination of hardware and software.”
Kevin also brings his video home with key advice for new producers about mastering a few tools thoroughly rather than spreading yourself too thin:
“Learn your tools, don’t use too many synthesizers and keys, and plugins, especially in the beginning. Get a few things that you need and learn them well.”
Start learning your tools
We hope you’ve been inspired by Kevin Saunderson’s music production tips. Explore Maschine+ and start making your next song using hands-on programming with premium instruments and effects.
[ad_2]
Source link
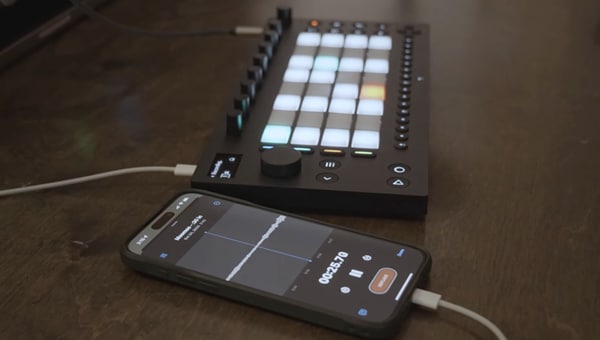
Flip Samples from Your Phone with Move’s Latest Update
[ad_1]
[ad_2]
Source link

Why contrast matters in sound design: longstoryshort’s approach with Kontakt
[ad_1]
When layering samples in Kontakt, keeping things clear is key. What’s your approach for making sure all those layers stay distinct and hit right?
I like to put a ton down, and remove later.
A lot of the times when I’m working, I will speed-run numerous ideas, put down everything that sounds good to me at the moment – and delete or move it around the project. If it’s not adding anything, so be it. Speaking of layering, one of my favorite moves with Kontakt is to browse some of the libraries like Straylight and Pharlight – you can get impressive drone notes and atmosphere quickly.
Try picking one that works well with a higher note – something like C4-C5, and then something that works well down an octave from there or two. Play the drones at the root note of the scale and then play your chord progression only with a nice fat Reese bass underneath – EQ out the drone notes low end and anything that gets in the way and you’re already off to a great start for an atmospheric, moody songstarter.
Now fire up something like Una Corda and play the chord progression, and you’re off to the races.
[ad_2]
Source link
5 tips for organizing your sound library
[ad_1]
5. Back up your sounds
Many producers have stories where they’ve lost dozens if not hundreds of hours or work because of a hard drive failure. If your sounds are stored in a single location, all it takes is one accident, loss or hardware failure to wipe out your entire library.
Working without backups is an unnecessary risk, and if you value the time you’ve spent developing your sound library and project archive it makes sense to take precautions in this area.
External hard drives are relatively cheap – because you’re not working from these backups, you can use a cheap HDD rather than a fast SSD – so your first line of defense should be to back up your sounds on at least two external drives in addition to whatever drive you work from. This will ensure that even if there’s a problem with one of the backups, you’ll have at least one other backup to restore your data from. Dedicated backup software such as Carbon Copy Cloner for MacOS is available to make creating backups easier.
Ideally you’d want an “offsite” backup, in case that, say, your studio is struck by a meteorite while you’re out getting coffee. If that’s not practical for you or you’d just like a more convenient solution, consider making a backup of your sound library in an online storage space, for example a Google Drive or Dropbox.
It’s also possible to backup your whole computer with automated online backup services like Backblaze, and this alongside regular local backups will give you peace of mind that your sound library isn’t at risk.
Start organizing your sound library today
In this guide we’ve looked at five ways to make it easy to organize your sounds, improve your production workflow, and protect your work for future use.
If you’d like to learn more about music making with Native Instruments check out Kontakt 8, What is Kontakt?, Getting started with Kontakt to create music and The 100 best free Kontakt instruments in 2025.
[ad_2]
Source link
What are pads in music production? A guide to creating lush soundscapes
[ad_1]
What’s the difference between a synth and a pad?
Pads can be created with synths, but of course not all synth sounds are pads. Typically pads have long amplitude envelope attacks and release times, which means that they fade in and out smoothly, and often pads will feature some kind of filter modulation or modulation-based processing that keeps their sound gradually moving and evolving. Let’s create our own pad sound now to solidify our understanding of what pads are, and what makes a good pad sound.
How to make pads in music
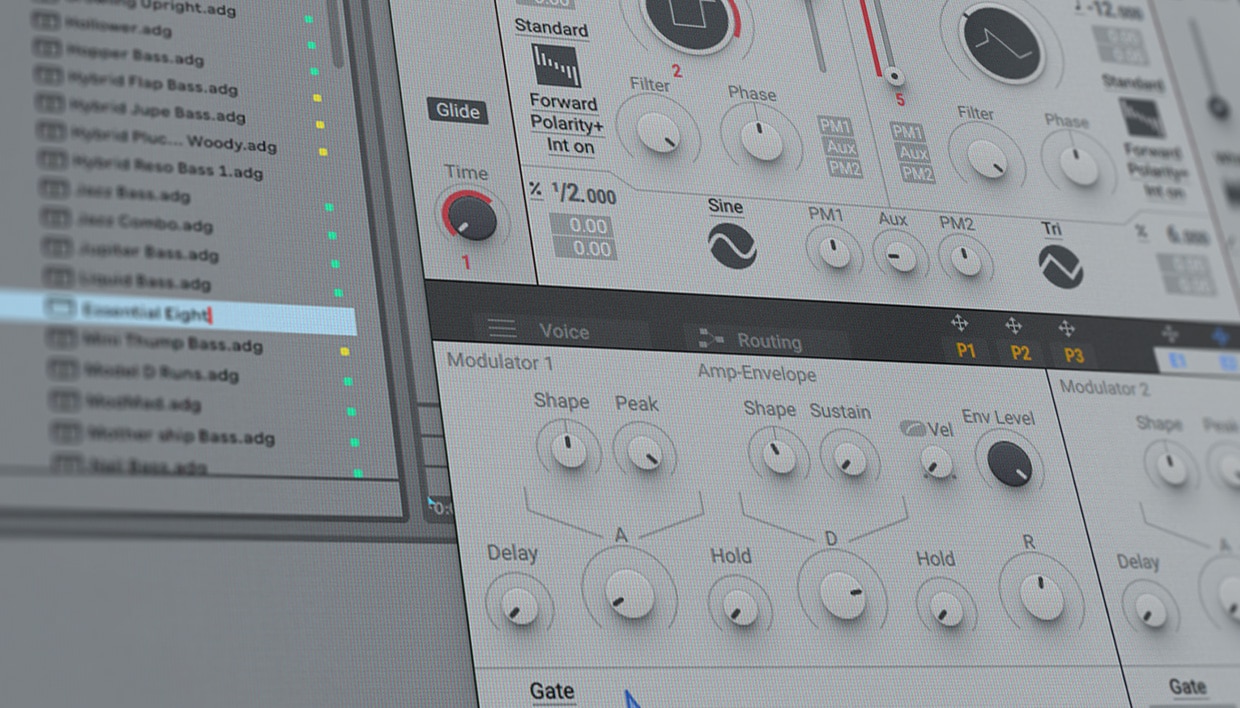
1. Create a smooth amplitude envelope
Let’s start by adding Massive X onto a MIDI track in our project. Let’s check out the initial patch’s amplitude envelope in the bottom left-hand corner of the interface. Here we can see that the A (Attack) and R (Release) knobs are set quite low, giving us quick attack and release times, and a snappy sound.
[ad_2]
Source link
Glitch effects in music production: free download and DIY tutorial
[ad_1]
What is a glitch effect?
A glitch effect is the deliberate use of digital errors, stuttering artifacts, and unpredictable sonic disruptions to create weird textural elements. It’s a form of controlled chaos — distorting, stretching, chopping, and resampling sounds to create something unexpected.
Glitch sounds first emerged as a happy accident from malfunctioning CD players, digital distortion, and corrupted audio files. Over time, producers started replicating these unpredictable elements with sampling, granular synthesis, and creative editing. Now, glitch is a staple in electronic subgenres like IDM, glitch-hop, and experimental music. They are also used in films to create strange sci-fi effects.
You can hear some glitchy rhythms and digital artifacts in “Bucephalus Bouncing Ball” by Aphex Twin:
[ad_2]
Source link

Layering synths for a modern sound: How Syence layers Kontakt for massive results
[ad_1]
Layering multiple synths and samples together to get a cohesive sound that’s greater than the sum of its parts isn’t so much a secret in music production, but it does seem like something that is hard to quantify. Because of this, most new producers spend years or trial and error throwing sounds together to get that massive, nuanced sound that their favorite artists easily pull off.
If only actionable advice and overarching workflows could make layering sound straightforward, right?
Luckily, Syence, a duo based out of southern California, has found the recipe for success when it comes to layering. Zach, one of the members, came to chat with us about how he layers libraries and sounds in Kontakt 8 to produce his unique take on modern music, one that has all the punchy and clarity of commercial dance music paired with the swagger and energy of the underground.
With a recent release on Anjunabeats and a nationwide tour on the horizon to support the release of this 2024 capstone release – their first album next to happiness – there is no better time to hear how they work their magic and how tools like Kontakt (and others) have shaped their sound and defined their career.
[ad_2]
Source link
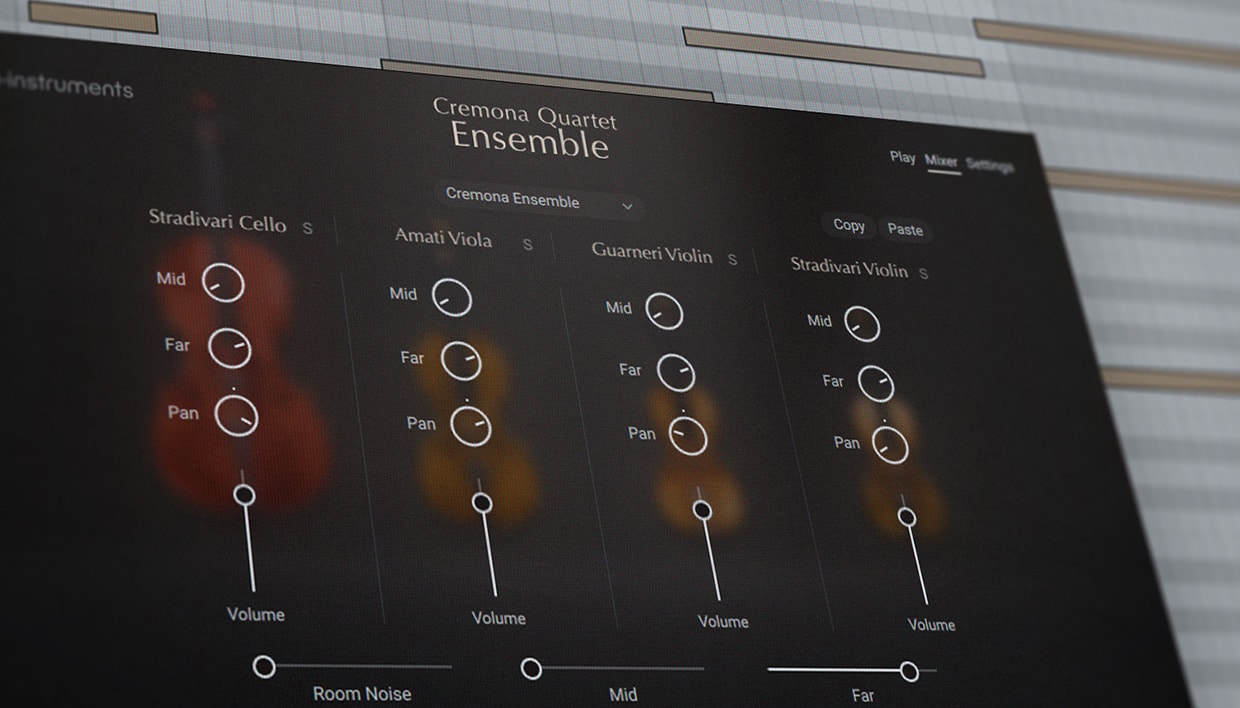
5 scoring tips using Cremona Quartet Ensemble
[ad_1]
How are strings arranged?
Strings are arranged by following a series of creative steps based on the aspects of arrangement: rhythm, harmony, instrumentation, and form. Once you have the basic idea for your string section, go through each of these aspects in turn, deciding how to approach them based on the kind of string composition you want to make.
Rhythm (when notes happen in time) and harmony (how the pitches of the notes combine to create chords) are the building blocks of a musical arrangement. Complex rhythms will create more energy and excitement than simple ones. Major harmonies will sound more uplifting, minor harmonies more sombre, and dissonances (clashing notes) can create tension.
Instrumentation means deciding which string instruments should play which notes in your score. There are many smart ways to use instrumentation to get the best out of your string ensemble – we’ll get into some below.
Finally, form means deciding what structure your string arrangement should have. Are there two different melodies that happen one after the other? Is there a repeating chorus with verses in between? When you’re happy with the previous steps, move the MIDI material around in your DAW to create the form that sounds best to you.
[ad_2]
Source link

Sound design in organic house: Sinca shares the creative magic of Massive
[ad_1]
There’s a balancing act in blending both synthesized and organic sounds. But one thing to keep in mind is that organic house is at its best when percussive elements such as bongos, shakers, claps, and toms, are sampled, or even recorded for authenticity. These earthy textures provide a foundation for introducing more synthetic elements like leads or arpeggios without losing the organic feel.
One other effective technique is a good “call and response.” For example, use a plucked guitar preset like “Physical Spain” in Massive to reply to your primary lead. Layering these moments ensures a dynamic and engaging mix.
Balancing stereo width and spatial effects, like panned claps or stereo delays, further integrates recorded and synthesized parts. Together, they create a soundscape that feels alive yet cohesive.
Pro tip: Blend melodic house or indie dance elements into my organic house foundations for originality. Massive, though not always a go-to plugin for this genre, adds unique textures that stand out
[ad_2]
Source link