
Drum programming in house music with Machine: Saraga shares advice on next-level grooves
[ad_1]
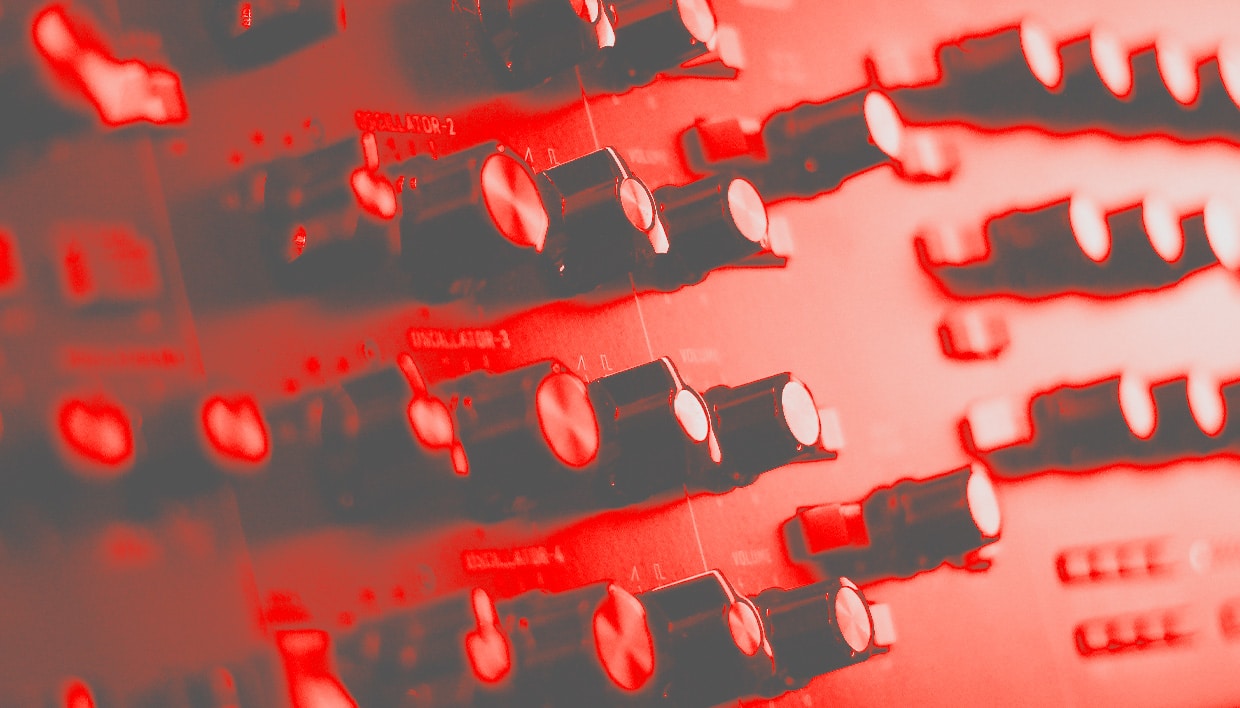
Making percussion that comes alive
A special thanks to Saraga for joining us and sharing his approach to transforming a standard drum groove into something next-level using Maschine.
The key takeaway is that while house music relies on a predictable 4/4 pattern, it’s the creative use of the space between kicks, hats, and claps that makes the drum groove come alive. Humanized syncopation and unique drum sound design are what elevate a basic groove to a professional level.
Thanks again to Saraga for discussing how Maschine’s functionality is pivotal to his sound, studio workflow, and Stardust Records.
[ad_2]
Source link
What is modulation in music production? How to use it to bring life to your track
[ad_1]
What is modulation in music production?
Before we get hands-on with examples, let’s understand what modulation in music is. Essentially, it is the changing of a sound’s properties over time. Instead of keeping parameters like pitch, volume, or tone static, modulation allows you to manipulate them dynamically. This movement can be subtle like a slight vibrato on a lead — or extreme, like a chaotic bass growl.
Modulation makes a track feel alive. Without it, synths can sound rigid, and effects might feel flat. Used correctly, modulation adds depth, motion, and variation, and can make simple elements more engaging.
Modulation applies to almost every aspect of sound design and mixing. It’s used in synthesizers, effects processing, and mixing techniques to create movement in different ways. The most common types of modulation include:
- Synth modulation: Using LFOs, envelopes, and other modulation sources to dynamically alter a synth’s sound.
- Modulation effects: Effects like chorus, phaser, and flanger that add motion to a sound.
- Frequency modulation (FM) and amplitude modulation (AM): Synthesis techniques where one waveform changes the sound of the other. These are relatively similar techniques in theory but differ in what aspects of the waveforms are used as a modulation source.
An example of synth modulation can be heard in Skrillex’s classic brostep track “First Of The Year (Equinox).” Listen to the growling synths that start at 01:27. Here Skrillex is modulating various parameters over time like wavetable position and filtering to achieve an aggressive “growl.”
[ad_2]
Source link
How Black V Neck uses Ozone to keep their mixes loud without killing dynamics
[ad_1]
How important is achieving a loud, polished mix for standing out in today’s streaming-focused music market?
Not as important as we’d like, but still very important. I often play the devil’s advocate and argue that the idea is more important than the mix, but I think we can all agree there are limitations to that argument.
Even the untrained music enjoyer can tell if something sounds objectively bad, why give them a reason to skip your track?
There IS such a thing as good enough (and knowing when to stop), but finding that line can be very difficult for a starting artist with so many variables at play; what sounds to use, how loud to make the bass relative to the kick, are the kick and bass in phase, why does my snare suck, does my arrangement make sense, is my EQ supposed to look like a fine-tooth comb (no, not usually)… it can be a lot to juggle.
I will always present the argument, do what you love. Do you love spending time figuring out why your mix doesn’t sound like your favorite artist? Then don’t do that. Do you love practicing for hours to perfect and understand your craft? Then do that.
Realizing that what you like to do versus what you have to do is important, and finding a balance between them will do wonders for your mental health and your creativity. It should never be looked down upon to use the tools available to you to make the best art you can.
There’s a reason people buy sample packs, spend money on engineers, and even AI. So if that’s what it takes to get your mix to the next level, even if it’s temporary, then do it. You’re only hurting yourself by beating your head against that hypothetical wall. Set your ego aside, your art is far more permanent than you are.
Take the time to study, watch youtube videos, and cross examine your research. Make sure you have multiple viewpoints on the same subject matter and don’t take anyone’s word at face value. Trial and error is your best friend because you can’t shortcut experience, even with mentorship. In my opinion, the only things that will make you stand out in an oversaturated market is a passion for your art, authenticity, and consistency.
[ad_2]
Source link
Timeless sound in production: lessons from St. Lucia on blending past and present
[ad_1]
What are some of your favorite processing and resampling techniques?
I have a few amps and outboard effects in my studio that I love running things through.
Often the goal isn’t even to make things sound ‘better’, the sounds are already so good. It’s more to give them more of a unique sound of my own and almost make them slightly smaller and bring them into my world more.
I honestly barely use any effects plugins in my sessions because I’ve learned that I get more unique sounds by using what I have in my studio. You could obviously do the same thing with plugins, but I like limiting myself as much as possible to what I have that’s around me. I feel like people are drowning in options these days, and it’s kinda a luxury to be limited. So almost every instrument I record I either mult the sound out (meaning send it to and record back in) while I’m recording to my Stereo Space Echo RE201 setup and Dimension D.
I then just have those tracks as the effects already in my session and I can blend them as I see fit. I’m very conscious of phase and so I always make sure that the Dimension D or whatever I record back in is phase aligned using a plugin called Auto Align that is very useful, it might seem like a small thing but you’d be surprised at home much of a difference it makes, especially over the course of a whole session.
So after that initial recording, depending on the sound, I’ll try reamping the sound through one of my amps (I have a Vox AC30, a Fender Twin Reverb and a vintage Ampeg SB-12 that live in my studio) which then goes to an ISO cab called a Rivera Silent Sister (which I found out about from RAC) and I have two mics that live in there. Of course in the reamping it’s also very important to use a reamp box so that the impedance etc is correct for an instrument level input on an amp.
[ad_2]
Source link
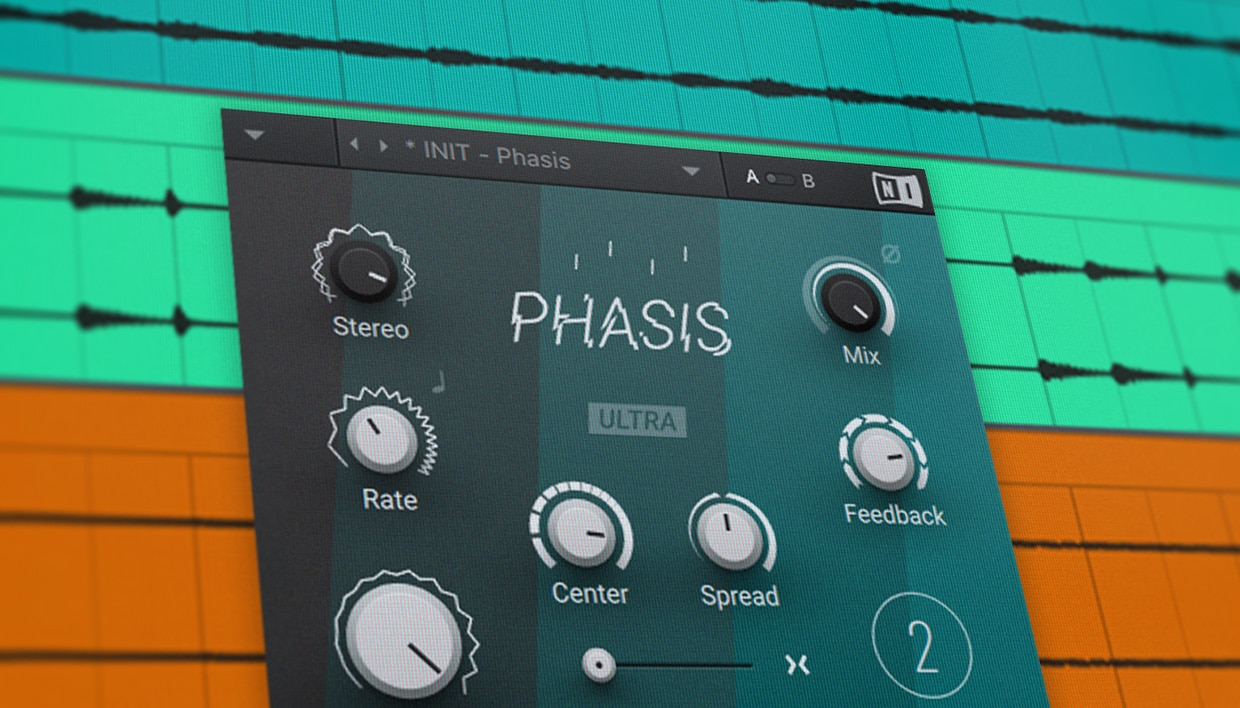
What is the phaser effect? How to use phasers in music production
[ad_1]
What does a phaser actually do?
As mentioned, phaser effects are reliant on all-pass filters. All-pass filter is a type of filter that affects the phase of a signal without changing its amplitude. Unlike low-pass, high-pass, or band-pass filters, which alter the strength of certain frequencies, an all-pass filter allows all frequencies to pass through at equal volume but shifts their phase by different amounts.
A phaser effect is built using multiple all-pass filters in series. In isolation all-pass filters aren’t audible, but when the original dry signal is mixed in and the filter cutoff frequency of the filters are modulated by an LFO, the interaction between the original and phase-adjusted signals creates phasing’s sweeping, swirling effect.
Let’s look at Phasis’ interface to see the most common types of Phaser FX parameters.
[ad_2]
Source link
What is pluggnb music? How to make your own pluggnb tracks
[ad_1]
How to make a pluggnb beat
1. Compose a chord progression
Musicality is arguably a more important part of pluggnb than it is of trap. While trap beats can revolve around as little as one or two chords, more involved jazzy chord progressions are the foundation of the majority of pluggnb beats. So then, let’s begin with the composition of a suitable smooth, jazzy pluggnb chord progression.
Set your DAW’s project tempo to 130 BPM.
[ad_2]
Source link
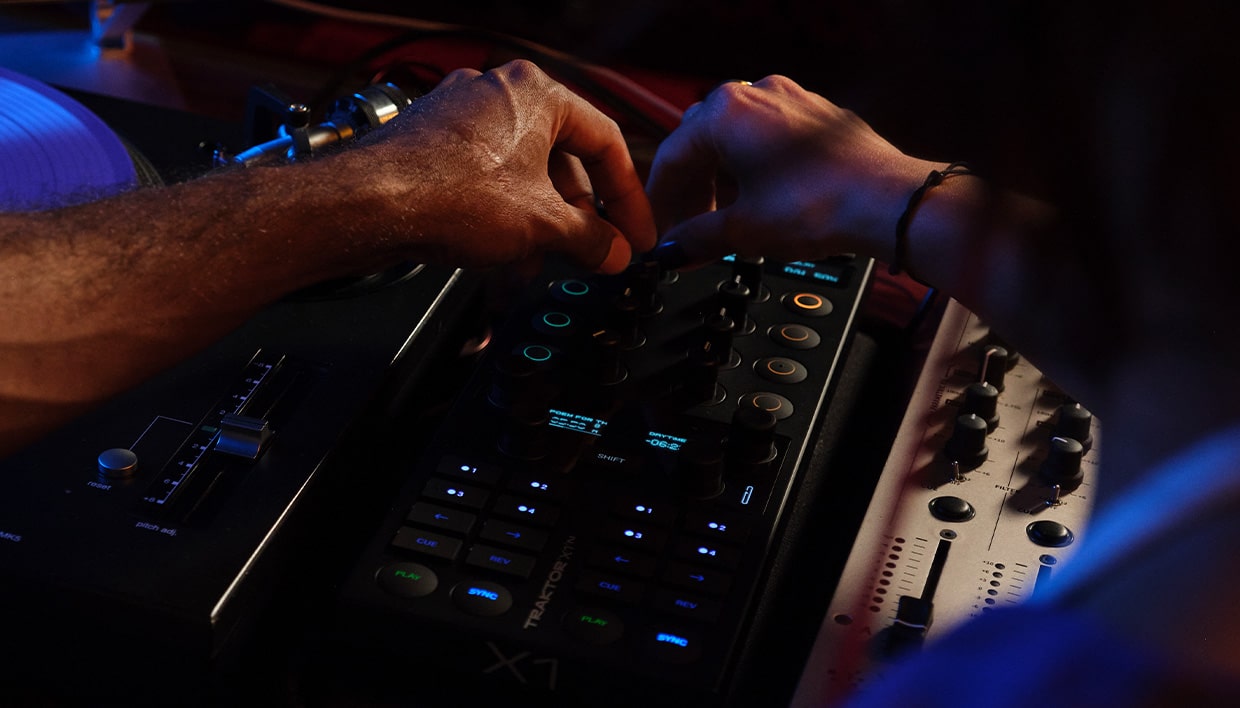
Learn how to DJ with Traktor: Explore beginner and intermediate courses from Crossfader
[ad_1]
How would you describe your teaching style? What makes the Crossfader approach unique or effective?
At Crossfader, we teach DJing like building with Lego – it’s not just about individual bricks (or buttons and features) but about understanding how they interlock to build something complete and dynamic.
We show students how each tool – like beatmatching, loops, effects, and mixing techniques – acts as a building block. These fundamental elements may seem separate at first, but when combined in different ways, they create entirely new possibilities in a DJ set.
Then, we guide them through different combinations, demonstrating how the same foundational techniques can be used in various ways to achieve different creative outcomes. Just like in Lego, where the same set of bricks can be assembled into countless designs, DJing is about using core techniques to craft unique and expressive mixes.
Traktor is a powerful platform, but it can feel complex at first. We simplify it by breaking things down into real-world workflows, helping students connect features in a way that makes sense.
How has your team’s experience as DJs influenced your approach to teaching Traktor?
Our team isn’t just made up of instructors – we’re DJs first. We were real resident DJs, working six nights a week and playing a wide range of genres and styles. This constant adaptation taught us invaluable on-the-job knowledge that we now pass on to our students. We’ve played in clubs, on radio, at festivals, and we’ve experienced the real challenges DJs face. That means we don’t just teach “textbook” techniques – we teach what actually works in live settings.
For Traktor, that’s crucial. It’s one of the most innovative DJ platforms, and knowing how to use its features effectively can unlock incredible creative potential. We’ve been in the DJ industry for over 15 years and have grown alongside the technology. We started DJing before controllers and powerful software features were the norm, honing our skills on traditional setups.
As the industry evolved, we embraced new innovations like HID mode and Traktor’s controllers, integrating them into our live sets throughout the last decade. This hands-on experience allows us to teach students how to blend new tools into their DJ workflow seamlessly.
What advice would you give to aspiring DJs who are just starting out, especially those interested in using Traktor?
- Master the fundamentals before chasing complexity. Traktor has some of the most powerful features in any DJ software, but it’s easy to get lost in them. First, focus on learning beatmatching, phrasing, and track selection. Effects, stem separation, and looping are tools to enhance your mixes, but the foundation is key.
- Listen to music. Focus on understanding what makes up a song – the elements, sounds, sections, and phrases throughout. Notice the changes in energy, the instruments introduced, and how tracks are structured. Developing this deep musical awareness will make it easier to shape your workflow and use Traktor’s features to enhance your mixing rather than overcomplicate it.
- Practice in real-world scenarios. Don’t just mix in isolation. Record your sets, play for friends, and experiment with different genres. The best way to grow as a DJ is to step outside your comfort zone and put yourself in situations where you have to react, adapt, and perform.
- Be aware of what makes Traktor unique. Traktor stands out for its Remix Decks, its deep customizability, and its powerful effects. While it’s important not to focus on these advanced features too early, being aware of their potential will help shape your journey. Understanding how Traktor allows for creative manipulation beyond traditional DJing – whether through live remixing, effect layering, or customized mappings – will give you a strong foundation to grow into its full capabilities over time.
- Finally, enjoy the process. DJing should be fun, expressive, and creative. With Traktor, you’ve got a powerful toolset – so dive in, explore, and make it your own.
Start leveling up your DJ skills
We want to thank the team at Crossfader for sharing how they approach teaching DJing with Traktor and what skills they recommend DJs work on to improve their skills. No matter what your skill level is, there’s no better time to learn something new.
[ad_2]
Source link
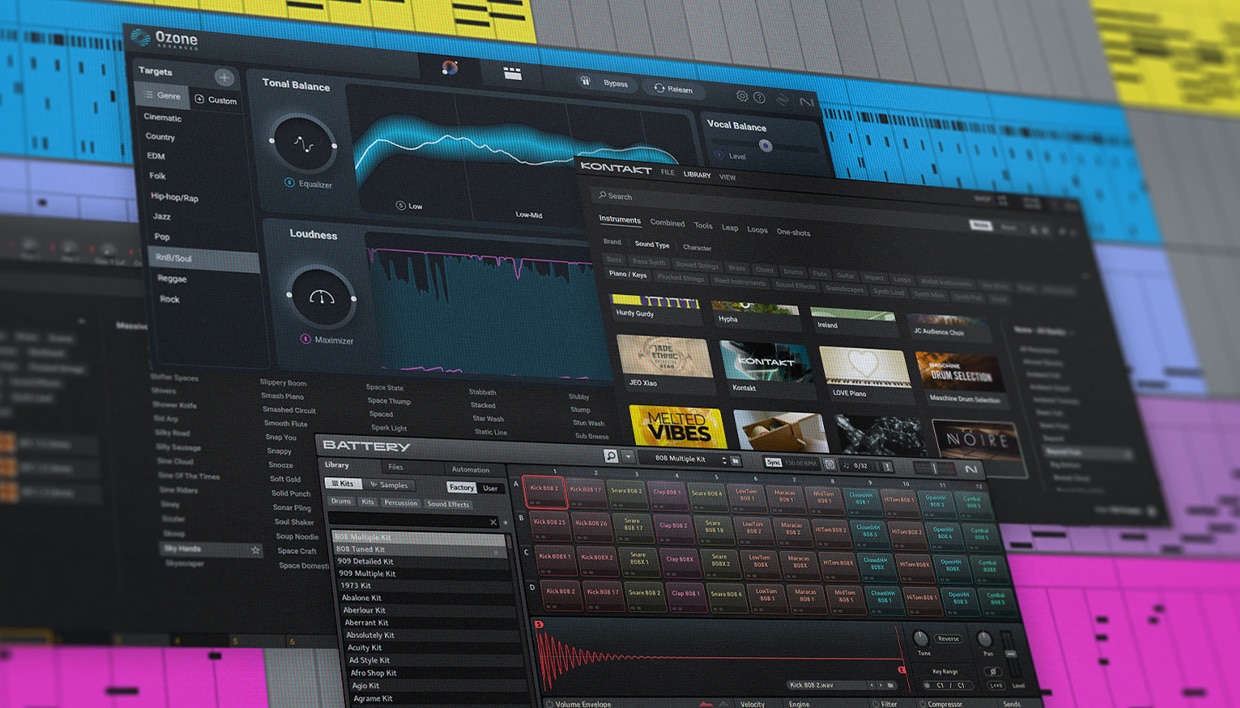
Introducing custom User Chords in Maschine 3
[ad_1]
Here are some of the key highlights of the new User Chords that can help you elevate your sound:
Explore unique harmonic structures: Go beyond standard chord voicings and create entirely new and interesting harmonic combinations, unlocking possibilities for more original and distinctive musical ideas.
Tailor your sound to specific genres: Craft sounds that are suited to the nuances and harmonic characteristics of different music genres.
Create personalized chord sets: Build and save your own libraries of favorite or signature chord voicings. These personalized sets can be easily recalled later for use in different projects.
Easy chord creation: The process of creating custom chords is designed to be intuitive. Users can simply select the desired notes on the pads to build their chords. Lit pads visually indicate which notes are included.
Real-time preview and editing: Preview your custom chords as they are being built. Mistakes can be easily corrected by simply selecting a note again to remove it.
Key and octave manipulation: Once a chord is created, you can shift it up and down octaves and even change the root note while maintaining the same chord shape, simplifying the process of experimenting with different keys and harmonic contexts.
Integration with other Maschine features: User chords can be used in conjunction with other Maschine functionalities, such as the arpeggiator, to generate interesting melodic and rhythmic patterns.
Start personalizing your sound
The introduction of User Chords in Maschine 3.1 empowers you to explore unique harmonic territories and personalize your sound in exciting new ways. From crafting genre-specific voicings to generating entirely original harmonic progressions, try it yourself in Maschine!
[ad_2]
Source link

Achieving analog warmth in the box: Avoure on mastering for millions of streams
[ad_1]
What does “analog warmth” mean to you in the context of mastering, and why is it so desirable, yet difficult to achieve, in a digital workflow?
To start, it’s important to understand the core difference between analog and digital sound:
Analog sound is essentially an electrical signal that represents sound waves in their natural, continuous form. This is where the “magic” comes in – analog signals have slight nonlinearities and even a bit of unpredictability, which give the sound warmth, life, and character.
Digital sound, on the other hand, works differently. It converts the signal into a sequence of numbers, making it precise and predictable. Originally, digital was designed as a highly accurate tool, though over time, it evolved to encompass a variety of “flavors” that give it more depth and versatility.
Our brains are naturally wired to respond to “nonlinear sound.” Think about it – the rustling of leaves in the wind, the sound of waves crashing on the shore, or even the echo of birdsong in a forest. These sounds are never the same twice, and this unpredictability makes them feel alive. It’s psychoacoustics at play. While it’s hard to explain exactly why, we instinctively find this kind of sound more engaging and pleasing.
The challenge of recreating analog warmth digitally lies in the complexity of emulating all those little nuances: the behavior of microchips, circuits, filters, and the randomness of electricity itself. Building these algorithms is incredibly demanding, both in terms of development and computing power.
[ad_2]
Source link
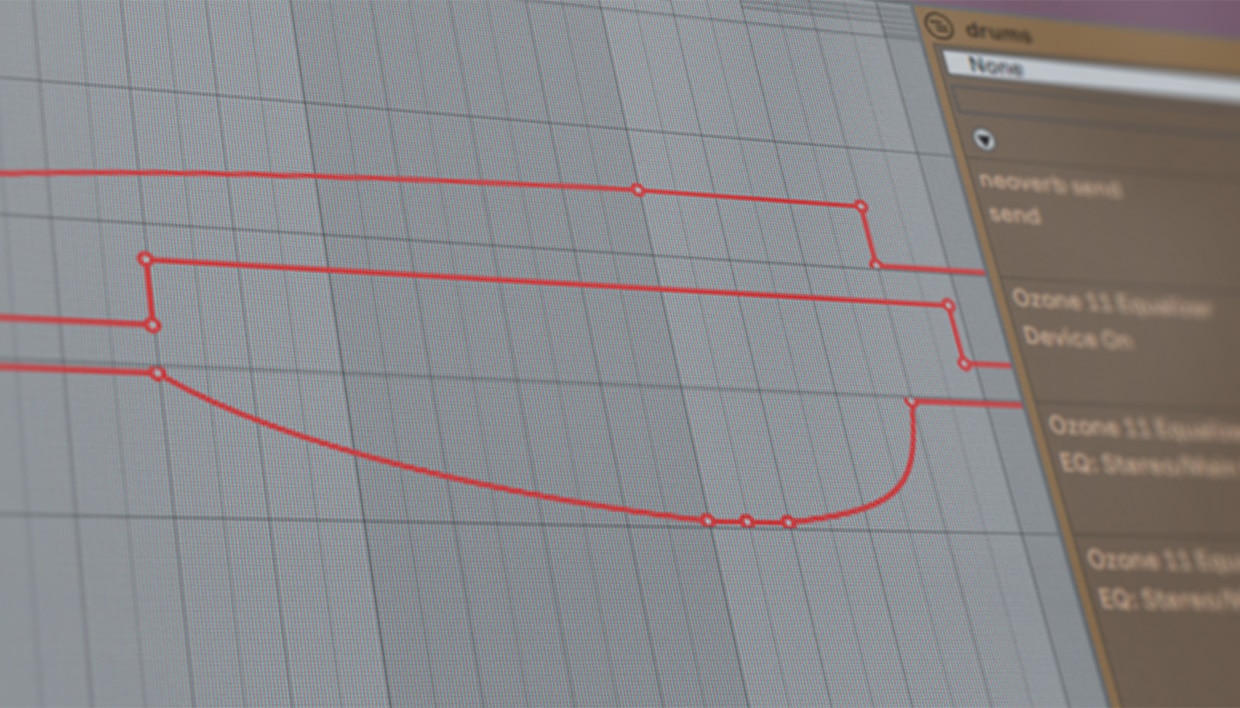
How to use automation in music production
[ad_1]
Automation in music is a valuable tool. A modern DAW project might feature dozens (or even hundreds) of parts. There’s no way you can keep on top of them all with a single pair of hands and eyes. By automating parameters, you can add sophisticated details to your projects that will be perfectly reproduced each time you play it back.
The simplest kind of automation is probably a volume fade. By automating the volume of a part in your DAW, you can make a new part emerge from nothing, or create a fade out at the end of a track. But automation in music goes much deeper than this.
Most modern DAWs (such as Logic Pro, Pro Tools, and Ableton Live) let you automate parameters right across a project, from synths and effects to global parameters. You can use automation to create filter sweeps, give complex movement to a synth part, switch on and off effects, or even change the tempo of your song halfway through.
[ad_2]
Source link