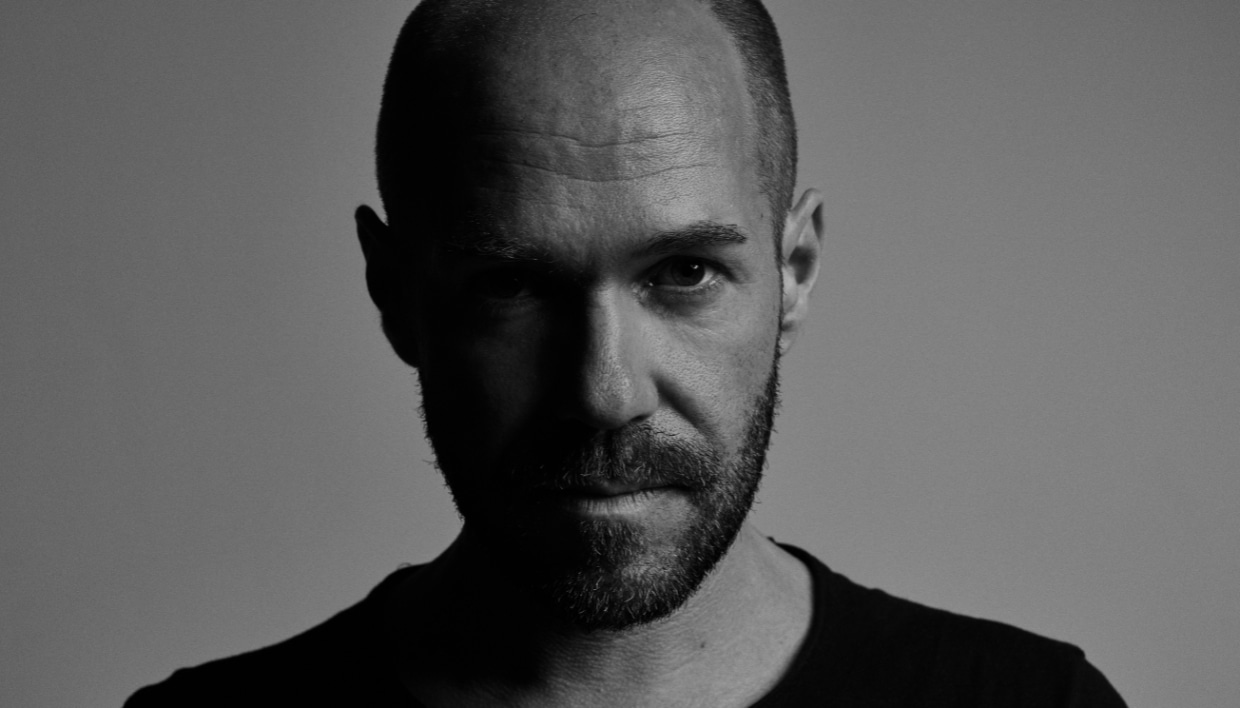
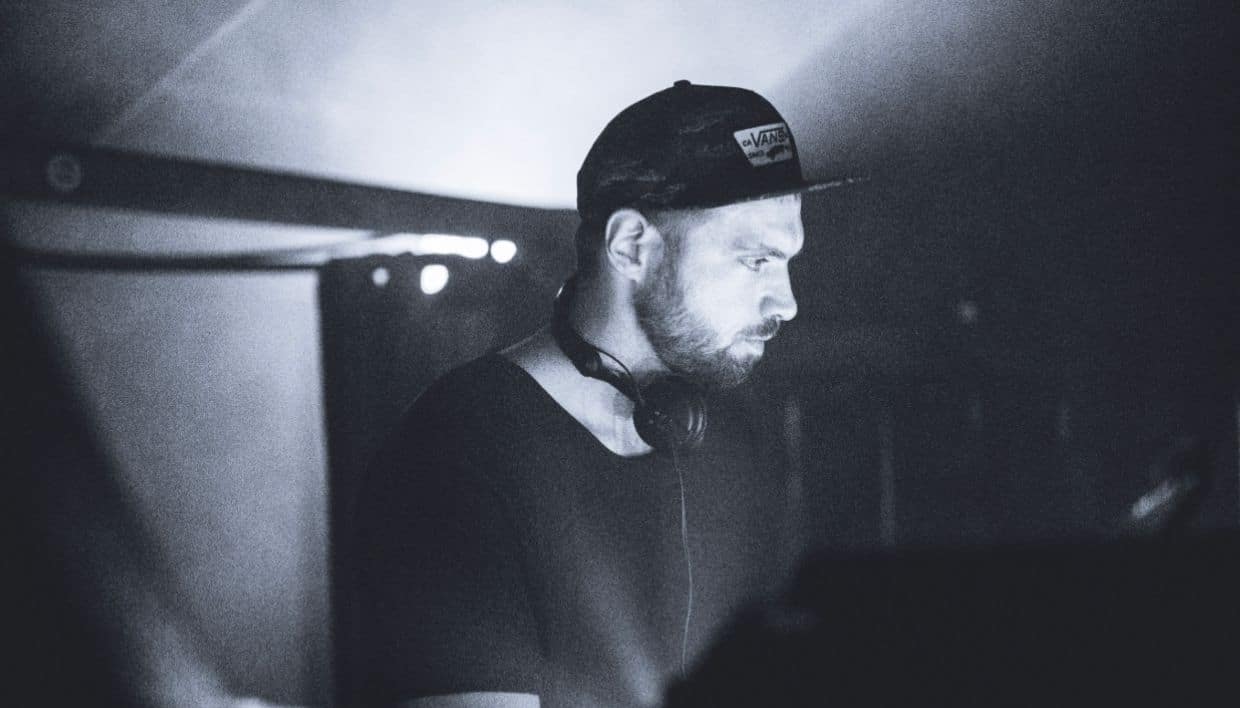
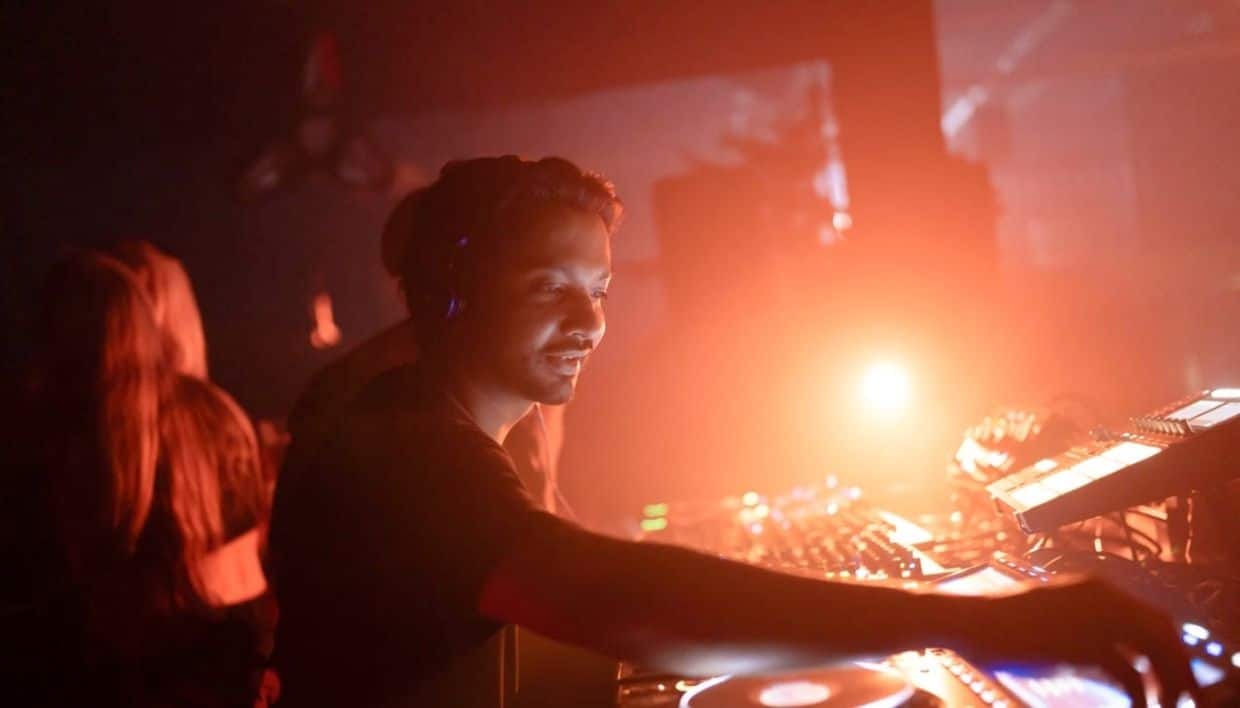
Martin Roth on going DAWless: “Touching knobs and keys is the main craft”
[ad_1]
Electronic producers often lean on visual cues – grids, meters, and waveforms – when working in a DAW. But for veteran artist Martin Roth, removing the screen from the equation has become essential to staying creatively grounded.
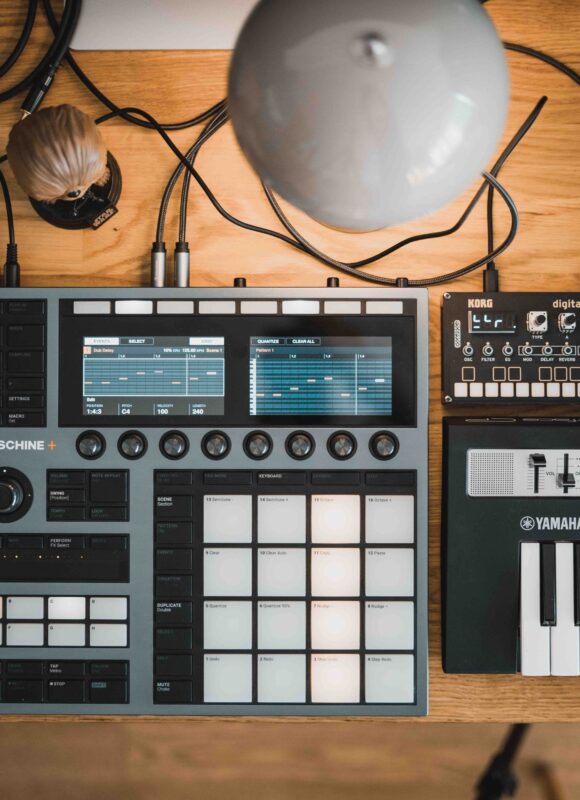
Moving toward a DAWless workflow with tools like Maschine+ has helped him reconnect with the tactile side of making music, where instinct and physical interaction matter more than polish or speed.
Martin’s approach reflects a broader shift among experienced producers: doing less on-screen, and more by ear. With his Moving On EP set to release on Anjunadeep May 27 – including the long-awaited title track “The Song That Plays At The End Of Your Childhood” – and a string of analog-themed projects coming through his own Analog People imprint, the timing lines up well to explore how Maschine+ fits into his evolving process.
In this interview, Martin shares how DAWless production helps him avoid creative burnout, why staying hands-on leads to better results, and what it means to bring childhood curiosity back into modern studio work.
Jump to these sections:
- How going DAWless changes your creative mindset
- Why tactile control with Maschine+ helps you focus
- Balancing hardware workflows with release timelines
- Arranging without a DAW and committing to ideas early
- Lessons from early creative risks that still apply
- Simplifying your setup without limiting creativity
Before we get into the conversation, download two Maschine freebies that Martin created; one arp sound pack that you can hear in the Instagram video below, and one Maschine kit from his track “Synth City.”
Download Maschine sound pack free
Want to learn more? Take a look at Martin’s notes for the freebies.
Do you think going DAWless forces you to think differently about music? If so, how?
The most important part of creating music is to be still psyched and amazed – like my childhood days, in front of the piano and as a teenager playing with my first analog gear. This isn’t easy, as I have been doing this for quite some time already. Techniques, styles, approaches and audiences have changed several times and naturally, things are becoming routine. This can kill the artistic approach and I run the risk of stumbling into established patterns.
I try to stay excited by reminding myself how everything started. I envision myself as a guest in my own youth: innocent, everything is allowed, not overthinking. There are simply no rules. AND the computer screen and mouse are not dominant. The main craft is touching knobs and keys.
When I do this, the focus is more on the ears and less on the eyes.
And it must be simple. I hate it when results take too long to achieve. Fortunately, simplicity is better in every way: it’s easier to mix, handle, and process, both for the listener and the technical creator as well.
DAWless equals portability. I’m more likely to pick up an instrument that’s ready to go and can be used anywhere I feel comfortable. No cables should be tethering me to an AC outlet or monitor system. A laptop powerbank and a 15V UBC-C power converter will do the trick here.
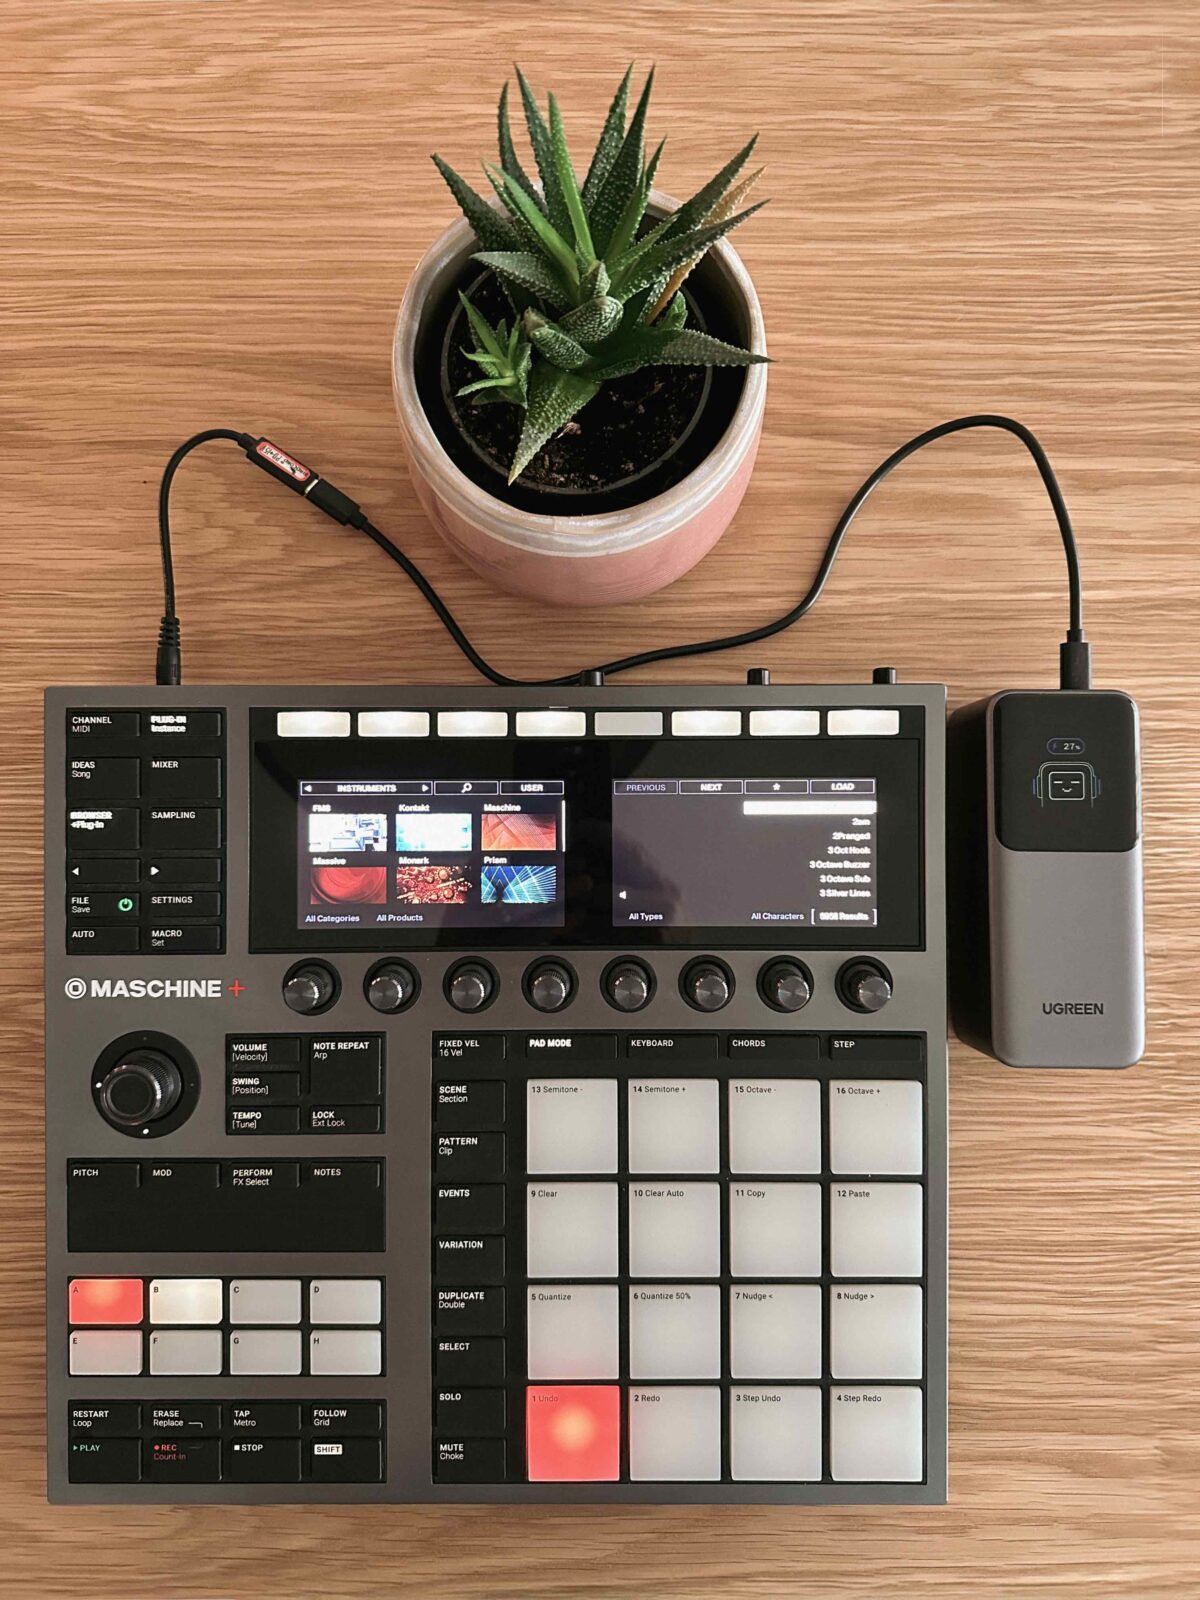
Devices like Maschine offer a lot of tactile control – do you think having that hands-on element helps you stay more focused compared to working entirely in a DAW?
I love my DAW. I know it is still better inside out compared to all the external boxes and keyboards I have – I can rush through several processes like mixing and sometimes sound design.
But when it comes to the general idea of the track and even sometimes the arrangement, it has to happen in the playground or “sandbox” like Maschine+. You get a more honest and heartfelt result with hands on control.
With the industry’s emphasis on fast output, do you think hardware workflows help or hinder staying on schedule?
The internal Maschine+ instruments and plugins provide a solid foundation for fast output, covering mono/poly synthesis, FM synthesis, wavetable synthesis, and drum synths.
If you don’t want to wait for additional VSTs to be implemented, you can explore the vast selection of Reaktor ensembles in Maschine+.
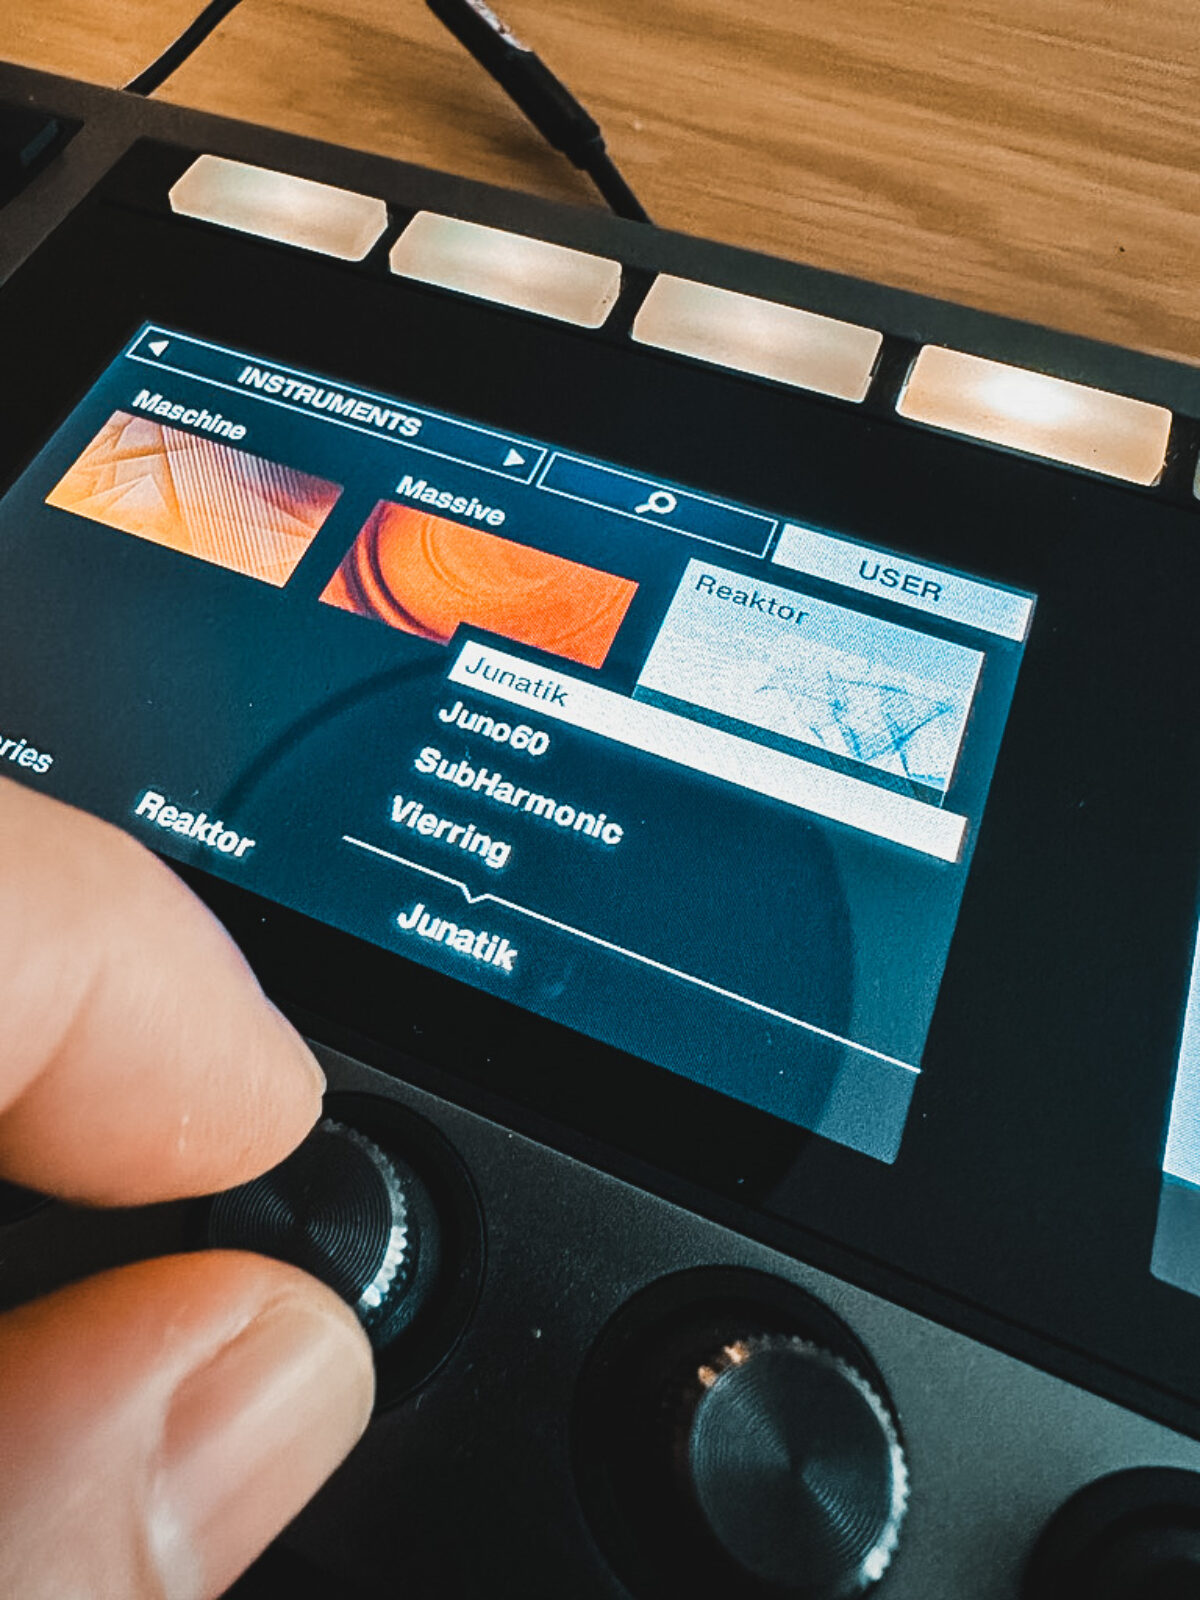
Simply select your favorite ensemble, open it in Reaktor on your Mac or PC, pick any preset at random, save the ensemble (.ens) again, and place it in the Native Instruments / User / Reaktor folder on your Maschine+ SD card.
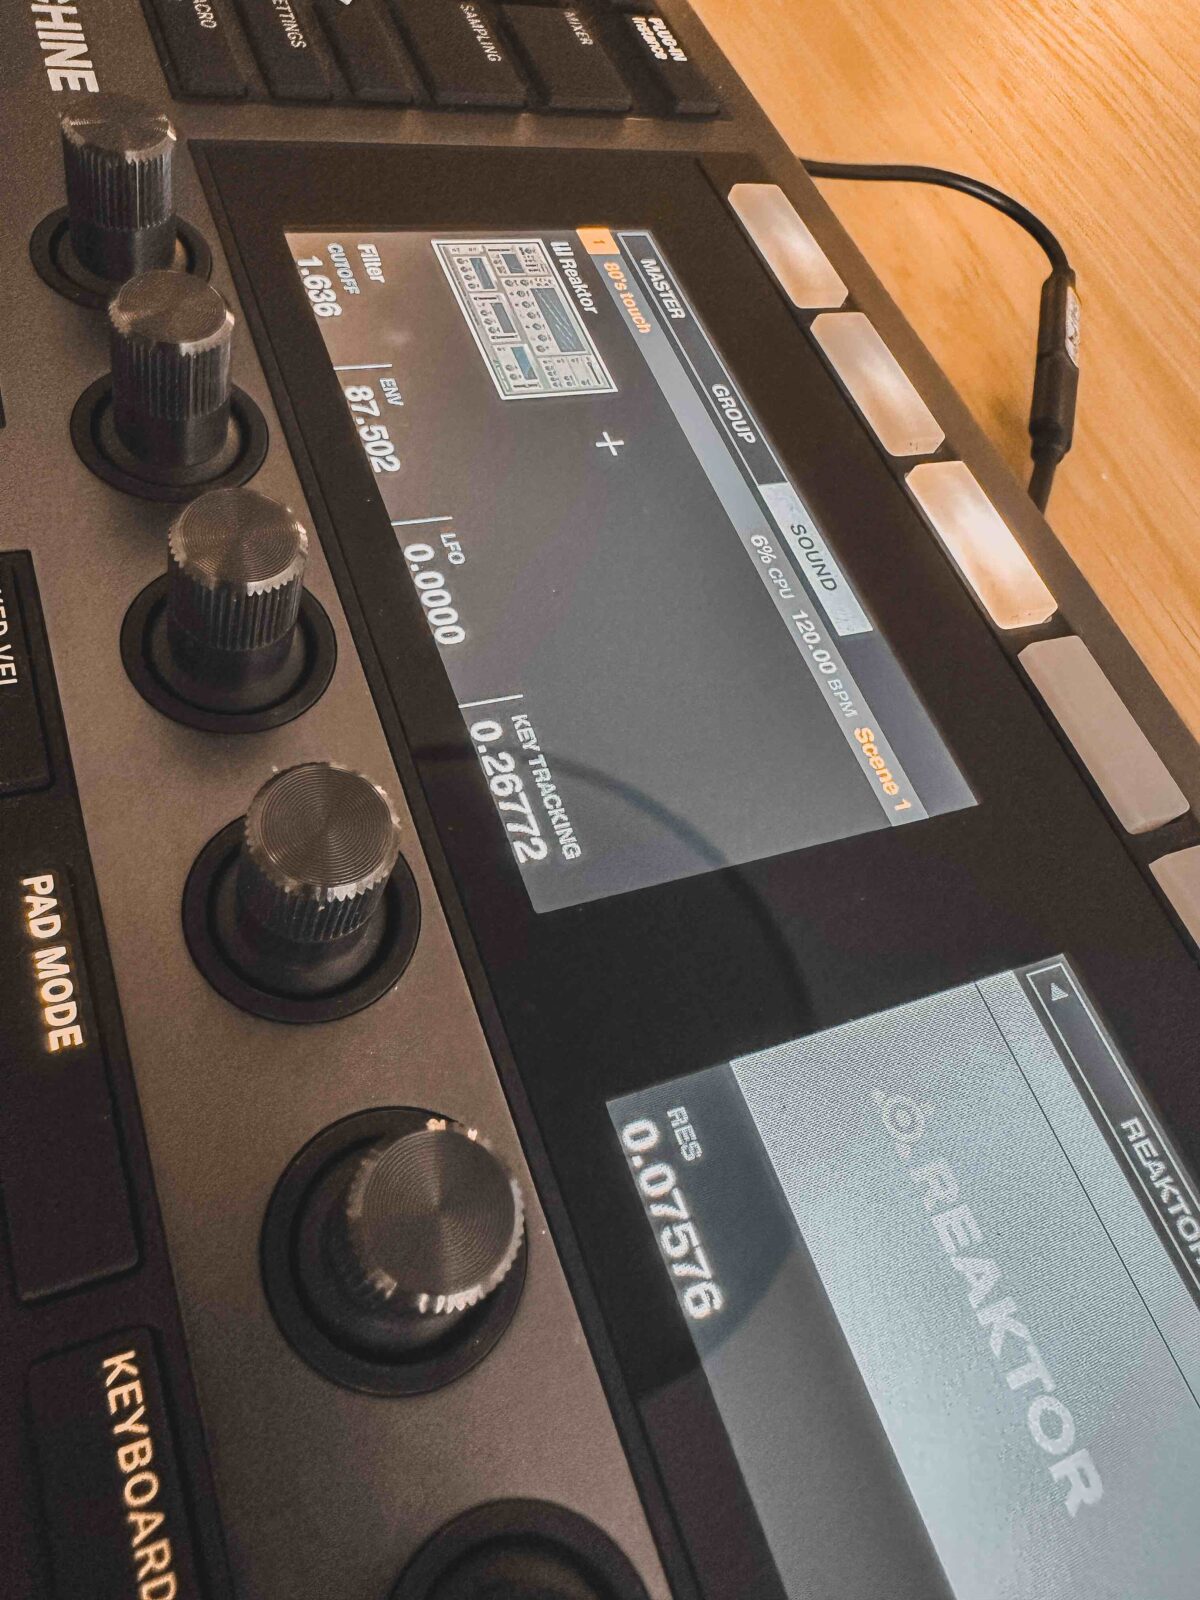
You can then access all your favorite ensembles and all of their corresponding presets directly, and they even load faster than on your desktop.
In regards to the industry’s emphasis on fast output: even though I function under pressure and have written some of my best pieces in just hours rather than weeks, sometimes I don’t like it. Things take time to develop – or better – to incubate.
Just by sitting on the HD – once the time is right you know.
How do you approach layering sounds or creating arrangements in a DAWless environment with tools like Maschine?
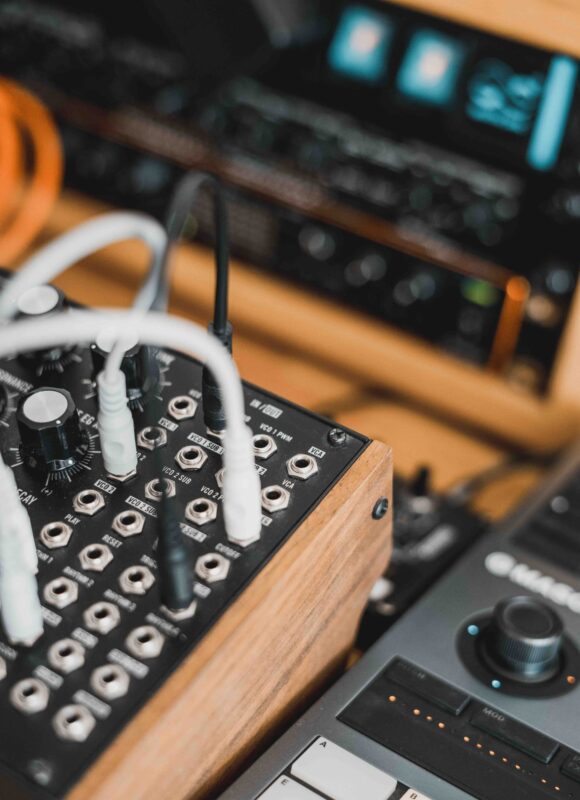
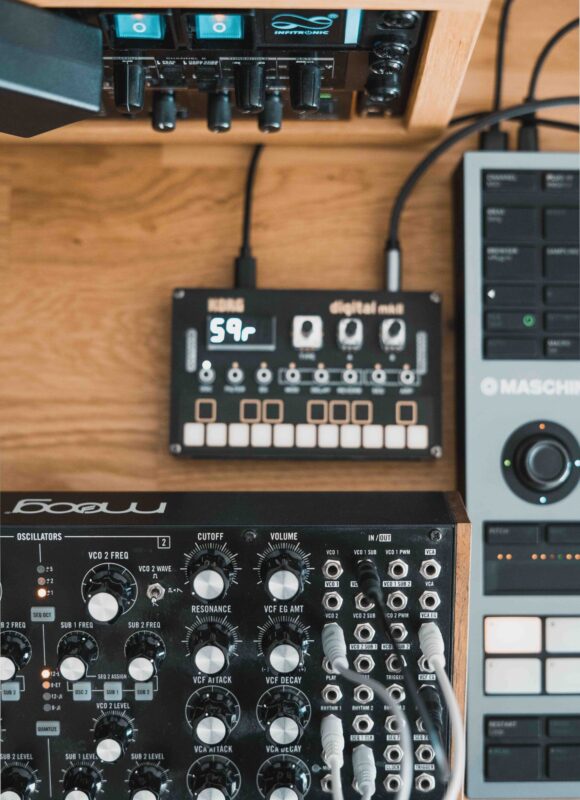
I frequently set up my Maschine as a main DAWless hub, it’s quite easy. Many small external units and synths only need a USB connection to the Maschine+ for power, MIDI, and even audio. You can then select their MIDI inputs and outputs directly in the settings and start playing right away in an empty Group/Sound – even routing them through internal effects if desired.
As you can see above, If you need additional audio inputs or outputs, you can easily expand your setup with a USB audio interface – my choice is the Focusrite Scarlett 18i20.
Honestly, I am so well versed in arranging my music in a DAW that I am tempted to do it there – however, I am continuing to learn it the classic way, which is without the DAW. I’m still arranging a song by how it sounds and not how it looks good in boxes and in a grid.
With a DAW, there’s also the risk of trying to add non-essential things before you are committed to the arrangement, which doesn’t happen as much when you’re in a DAWless setup.
With all that being said, I recommend arranging a song as early as possible. Fortunately, Ableton Live gives you the possibility to do it in a “classic way” in that it lets you mute and unmute parts while playing with automation. This is helpful when you’re trying to figure out how song structure works on a specific part.
My current setup is arranging it as far as you can in a DAWless setup, committing to the parts by printing them into WAV files and then doing the final mixing and arranging steps in a DAW.
What’s a mistake you’ve made early in your career that taught you a lot about balancing creative risks and industry demands?
In the early days, I was much more of a risk taker. The music I created when I was younger was not as polished, but at the same time, it was more special. My first ever record was the worst-sounding record on the label at that time, but it became successful because the vibe was right.
Fast forward to now, we intentionally add errors, flaws, and noise on purpose so that it sounds more realistic, unique, and human.
For producers feeling overwhelmed by tools and options, what’s your advice on focusing their setup without limiting their creativity?
Less is always more.
While there are plenty of options to build, shape and generate a sound through many plugins, limiting yourself is always beneficial. I need to remind myself of that every day.
When I had my first synth and my first sampler, I knew these tools inside and out. I knew every parameter hidden deep in menus, and I learned tricks to circumvent any limitations.
I feel the same way about Maschine+. There are so many things on my wishlist for Native Instruments to develop, but we can’t just wait for all those updates to come. It’s important to be good at what’s already there and pushing its boundaries.
Start producing in a DAWless environment with Maschine
Big thanks to Martin for pulling back the curtain on how he’s using Maschine+ to stay creatively sharp. It’s easy to get stuck staring at a screen, chasing polish instead of ideas – but stepping away from the DAW, even for a while, can shift your whole mindset.
That’s what came through the most in this convo: working with hardware isn’t about nostalgia or purism – it’s about staying excited to make music. Keeping things tactile, keeping them a little messy, and not overthinking every step. Maschine gives Martin that kind of playground, and it’s clear it’s helping him tap into something more instinctive.
With new music dropping soon and a bigger analog-focused push on the horizon, he’s laying out a pretty convincing case for why sometimes, less really does get you further.
Notes from Martin about the free sounds and kit
Free sound pack: Anyone with Maschine+ or the Maschine Controller can play it right away with the Chords and Arp Sequence already selected – all the others with other Maschine versions or just the software can at least play the sound and make their own progressions.
Free Maschine kit: I made a Kit from my track “Synth City” and ported the most important parts of the song into Maschine software so you have all the chords, the polysix sampled bassline, the sequence and of course the drum sounds from the song. This is also attached as a full Maschine 2 Project incl. samples.
The post Martin Roth on going DAWless: “Touching knobs and keys is the main craft” first appeared on Native Instruments Blog.
[ad_2]
Source link
Florian Kruse shares his drum programming process for melodic techno – and his free essential Battery kit
[ad_1]
Wrapping it all up
Big thanks to Florian for breaking down how he works inside Battery 4. What stuck with us most was how dialed-in his process is without being overly complicated. It’s clear he’s spent years refining what actually works – separating key elements early, curating his own sample banks, using humanization where it matters—and now it’s just muscle memory.
You can hear all of it on Clockwork Mind / Mother Nature. The drums hit, but they stay out of the way. The groove moves, but nothing feels forced. It’s the kind of balance you only get when you trust your tools and don’t let the process slow you down.
For anyone building melodic techno, this is a solid reminder that tight drums don’t come from throwing more at the mix—they come from making clear decisions early and letting those small moves stack up.
[ad_2]
Source link
10 iconic songs that use the Wurlitzer electric piano sound
[ad_1]
What is a Wurlitzer electric piano?
The Wurlitzer electric piano is an electro-mechanical keyboard instrument produced from 1954 to 1983. Wurlitzers (or “Wurlis”) produce sound using flat steel reeds struck by felt hammers, and these reeds are housed within a comb-like metal plate, forming an electrostatic pickup system. This design creates a signature tone that’s soft when played gently, but gaining a rough, resonant character with increased key pressure.
What does a Wurlitzer piano sound like?
Wurlitzers arguably sound more harmonically abundant than the bell-like Rhodes, with a richer and more jangly tone. Soft playing yields a vibraphone-like sweetness, but harder keystrokes produce a gritty, growling sound.
[ad_2]
Source link
How to use Expansions with Leap to create your best music yet
[ad_1]
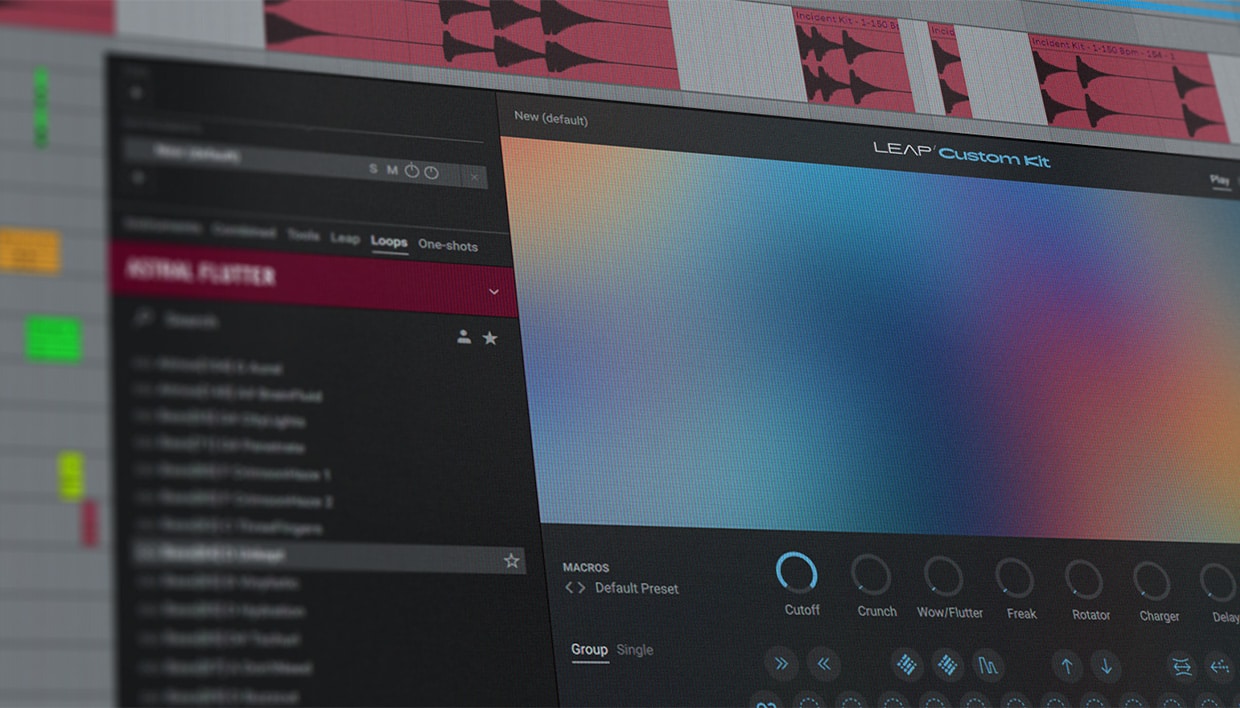
When you find a sound you like, add it to your kit by dragging and dropping the sample onto a key on the Leap interface.
We can start by adding some drum loops to our kit.
We’re exploring the Astral Flutter Expansion, which features future-focused sounds for hip-hop and electronica. It’s available as a standalone package or as part of Komplete.
Like many Expansions, Astral Flutter offers a deep selection of drum loops, often including multiple variations of the same loop. We can drop some of these related loops into Leap and then combine them to create a sophisticated beat.
To do this, we selected the Astral Flutter Expansion in the sidebar, typed “Drums” into the browser search bar, then dragged a few drum loops onto different keys in Leap’s interface.
[ad_2]
Source link
5 ways to supercharge your music production workflow with Leap in Kontakt
[ad_1]
5. Speed up your vocal flow
Leap is ideal for modern vocal production. Its features let you quickly tweak, slice, and layer audio, turning raw vocal takes into expressive electronic hooks – without the need for laborious manual editing.
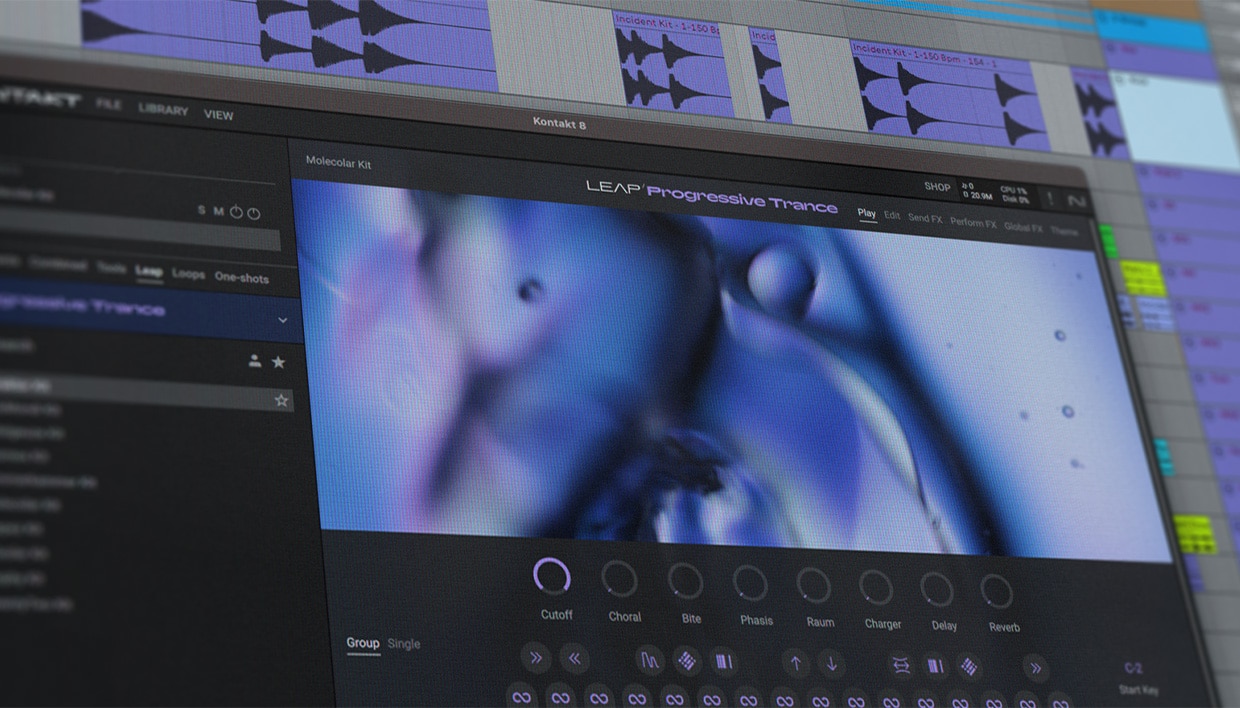
You can get started creating vocals with Leap by exploring the dedicated vocal Expansions. Hot Vocals and Soul Gold, included with Kontakt, offer dozens of polished vocal samples arranged into ready-to-play kits – perfect for glossy backing vocals, or chopped up lead lines in a future pop style.
For the dedicated vocal experts, Leap lets you create custom Kits with your own samples. To add a vocal sample to a Kit, simply drag and drop it onto a key in the Leap interface – either from Kontakt’s browser or from elsewhere on your computer. You can then customize it using Leap’s Edit tab, which lets you adjust playback start and end points, pitch and key, loop behavior, and plenty else besides. With your chosen vocal samples assembled into a kit, they’ll be ready to go next time you need to create a vocal hook.
[ad_2]
Source link
Tips for making MIDI piano sound real: UOAK shares advice for producers
[ad_1]
Wrapping it all up
Once again, a huge thank you to UOAK, label boss at one of the top melodic and progressive house labels in the dance music world, Sekora. He shared invaluable insights on making piano sounds as if they were played in an expensive studio by lifelong pianists.
The key takeaway here is that in music production, it’s not about one major tweak but a series of small adjustments and micro-tunings that make a significant difference.
Many new producers might not even know what to look for, but thankfully, top producers like UOAK pull back the curtain to show where to focus and how to make these small touches that define your sound as a producer.
While top libraries like Alicia’s Keys and Noire can provide a solid foundation, the real difference comes down to how you use them, tweak them, and integrate them into your music.
There’s a lot to learn from studying artists like UOAK. Check out the link below to learn more about Kontakt and achieve a similar sound in your own productions.
[ad_2]
Source link
5 Traktor effects every DJ should use to make sets stand out
[ad_1]
3. Change your sound over time with modulation effects
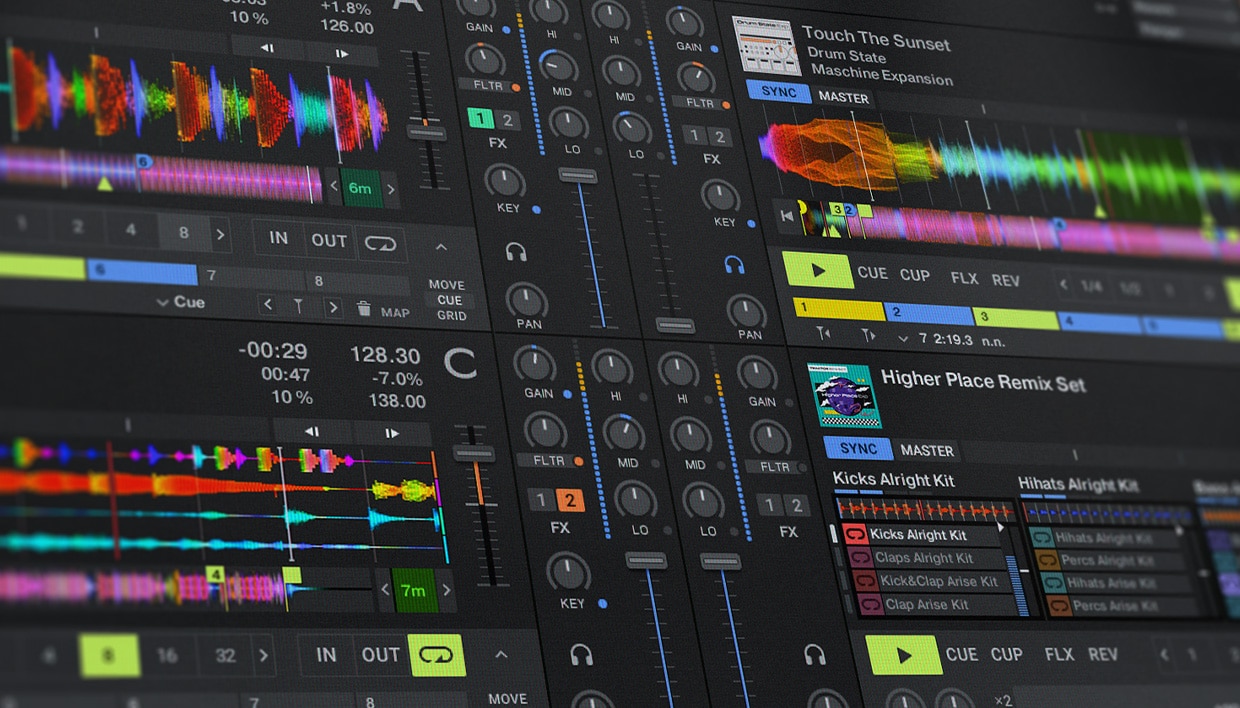
Modulation effects refer to a category of effects that change the sound of audio over time to create pulsating or swirling effects. Common modulation effects include chorus, flanger, phaser, and tremolo, and these allow DJs to add movement and texture to their mixes. Traktor Pro has a large collection of modulation effects, including Flanger, Ring Modulator, Filter:92 LFO, Filter:92 Pulse, Mulholland Drive, Phaser, Phaser Pulse, Phaser Flux, and many more.
To get started with modulation effects, load the Phaser into the FX 1 Slot as a Single FX. (See Delay and Reverb paragraphs above for how to select a Single FX). Load a track into Deck A and play it, and turn on the effect by pressing the button under the D/W knob. Turn on the FX 1 button. Set the D/W to about 50%, and experiment by turning up the Rate, and Feedback.
[ad_2]
Source link
Sound design in Massive: Saad Ayub’s essential techniques
[ad_1]
Start mastering the art of presets in Massive
Huge thanks to Saad Ayub for sharing his workflow and proving that presets are anything but crutches and lazy-ways-out. The biggest takeaway here? Presets aren’t the problem; it’s how you approach them. Treat them as starting points, push their limits, and make them your own.
Modern synths like Massive are packed with deep modulation and customization options, meaning even a stock preset can become something completely unique with a few smart tweaks. Whether it’s layering, modulation, resampling, or external processing, the key is to inject your personality into the sound. Saad’s ability to do this consistently is why his music stands out in the crowded world of melodic techno and trance.
Hopefully, you’ve picked up some practical techniques from this. Be sure to follow Saad and dive into his music – his tracks are proof that knowing your tools inside and out is what really sets producers apart.
[ad_2]
Source link
New in Note 1.3: Sequence Beats, Melodies and Chords
[ad_1]
The latest update to Note, our iOS app for forming musical ideas, is here – and it’s free for all Note users.
The 1.3 update features a comprehensive new MIDI Editor, which lets you sequence notes and beats by adding them directly to the grid. Lay down drums, chords, melodies and basslines with a few taps, listen to the results, and try out different patterns and variations in real time.
Head to the App Store to download Note ›
Sequence drums
Build beats in seconds – sequence drums, tweak note velocities and quantization, adjust the pitch of individual hits, and quickly create fills to add rhythmic variation to your patterns.
Lay down chords
Expand the MIDI Editor out to full-screen mode for precise control. Always choose the right notes with key and scale lock, and create chord progressions with loop duplication and note transposition.
Build a melody or bassline
Tap directly on the grid to create and tweak a bassline in moments. Then, make adjustments to pitch, position, and note length with the MIDI Editor's menu commands to get it sitting just right.
[ad_2]
Source link
Iconic samples in music and where they came from
[ad_1]
What is sampling in music?
Sampling is a technique used by music producers, where a recorded sound is taken and recontextualized into a new track. This is often called “flipping.”
Producers use drum breaks, vocal phrases, instrumental riffs, and more when sampling. This has been a driving force in music production for decades. Some of the most iconic samples in music come from unexpected places, like jazz, funk, and soul records.
Who wrote the most sampled song of all time?
Let’s address a common question: What is the most sampled song of all time? This is undoubtedly “Amen, Brother” by The Winstons. This 1969 track contains the “Amen Break.”
You may have heard of that before. It’s a short drum loop that has been sampled thousands of times across hip hop, jungle, drum and bass, and other genres. It’s one of the most definitive sounds in modern music.
[ad_2]
Source link
