
Modular synthesis: the ultimate guide
[ad_1]
Oscillator
The Oscillator is the starting point of virtually all synthesis. Oscillators generate a fast, repeating signal that we hear as a waveform. It might be a smooth, undulating sine wave, a sharp sawtooth wave, or a boxy square wave, for example. Different oscillator modules offer different waveforms, and different controls for shaping the sound they produce.
In modular synthesis, most Oscillators need to be combined with other modules to create compelling sound. These extra modules will speak to the Oscillator via CV signals, allowing you to control the pitch and envelope of the notes produced.
More sophisticated Oscillator modules give you access to more niche and adventurous forms of synthesis, such as additive and FM synthesis. Depending on the kind of sounds you want to make, you could also explore other sound generators for your modular synth: for instance, a module that plays back samples, or a module that generates drum sounds.
Amplifier (VCA)
An Amplifier module is used to control the volume of other modules – typically Oscillators. In their basic state, most Oscillator modules in modular synthesis just output a continuous tone. You have to tell the module when to play a “note.” You can do this by sending it volume signals with an Amplifier module. This basic task makes Amplifier modules one of the simplest, and most essential, components in a modular rig.
Envelope Generator (EG)
An Envelope Generator can be used to change parameters over time – like the loudness of your synth sound – using editable shapes called envelopes.
Envelopes give contour to a sound. When you hear a synth bassline with a sharp attack that quickly fades away, or a pad that slowly arrives and lingers for a while, you’re hearing an envelope at work.
An Envelope Generator is likely to do at least two jobs in your modular rig.
Firstly, an EG patched to an Amplifier will allow you to shape the loudness of each synth “note” over time. Every time you want a note to play, you’ll need to trigger the Envelope Generator, which sends volume commands to the Amplifier, which in turn changes the volume of the oscillator signal.
That’s right: just to play “notes” with a modular synth, you’ll probably need at least three modules: an Oscillator, an Amplifier, and an Envelope Generator.
The other common job for an Envelope Generator is to control Filter Cutoff. But the flexibility of modular synthesis means you can get creative with how you use envelopes by hooking them up to other parameters. For instance, try patching your EG to the Oscillator’s pitch to make zippy lazer sounds.
The most common form of Envelope is ADSR. But there are many kinds of Envelope Generator module out there, offering funky envelope shapes and deep customization.
Other modulators
An Envelope Generator is a kind of modulator. That means it’s a module that doesn’t generate or process audio itself, but instead sends commands to other modules to make them behave in certain ways. Modulation is an essential part of all synthesizers. By making synth sounds move, modulation helps them to sound alive and unpredictable.
Your modular setup should have at least a few modulation modules. If you’ve used other kinds of synthesizer, you’ll be familiar with the other common modulator type: the Low Frequency Oscillator (LFO), which outputs a slow up-and-down signal, great for making your sounds drift and shimmer.
In most conventional synths, you can only assign your modulators to a few parameters. A modular synth lets you patch in your modulator anywhere that takes a modulating signal. This allows you to create complex routings and surprising sounds. You could even modulate your modulators, by using (for example) one LFO to change the depth or frequency of another LFO. This is when modular synths start to take on a life of their own.
Filter (VCF)
Filters shape the frequency content of a sound. They might do this by removing all the high frequencies above a certain point in the frequency spectrum (in the case of a low pass filter), or cutting unwanted low frequencies (high pass filter).
Filters play a crucial role in all synthesis, by shaping the raw sound that comes out of an oscillator to make it sound smoother and more controlled. Analog (or analog-modeled) EQs can also add character to the sound, particularly when you start turning up the resonance (steepness of the filter peak).
Most modular synth setups will need at least one filter. Preferably a low pass, though many manufactures offer “multi-mode” filters that can adopt different filter shapes for more versatility.
Try controlling a filter with an Envelope Generator to make your synth sound’s frequency profile change over time. But note: if you’re already using your Envelope Generator to control your Amplifier, you might need to get a second EG to control your Filter.
Trigger
One thing that sets a modular synthesizer apart is what it doesn’t have: a keyboard. You can add one if you like, by hooking up a MIDI keyboard to your rig using a MIDI to CV interface (which translates your MIDI notes into messages your rig can understand).
But there are other ways to tell your rig what to do. A Sequencer is a module that outputs a series of predetermined signals to create looping patterns. Sequencers can be used to program melodies, rhythmic patterns, and more – and are great for creating multi-layered music when you only have two hands. The most complex and exciting modular patches rely on clever use of Sequencers.
[ad_2]
Source link
Film scoring with cinematic guitar VST: Kithara
[ad_1]
How to compose a film score
To compose a film score, you need strong musical ideas that will heighten the action on-screen – along with the tools to make them reality. Effective film scoring tools let you conjure powerful, evocative sounds to match whatever scene you’re scoring. That might mean traditional acoustic sounds for a romantic moment, twisted abstract textures for sci-fi, or unusual instruments to evoke faraway times and places.
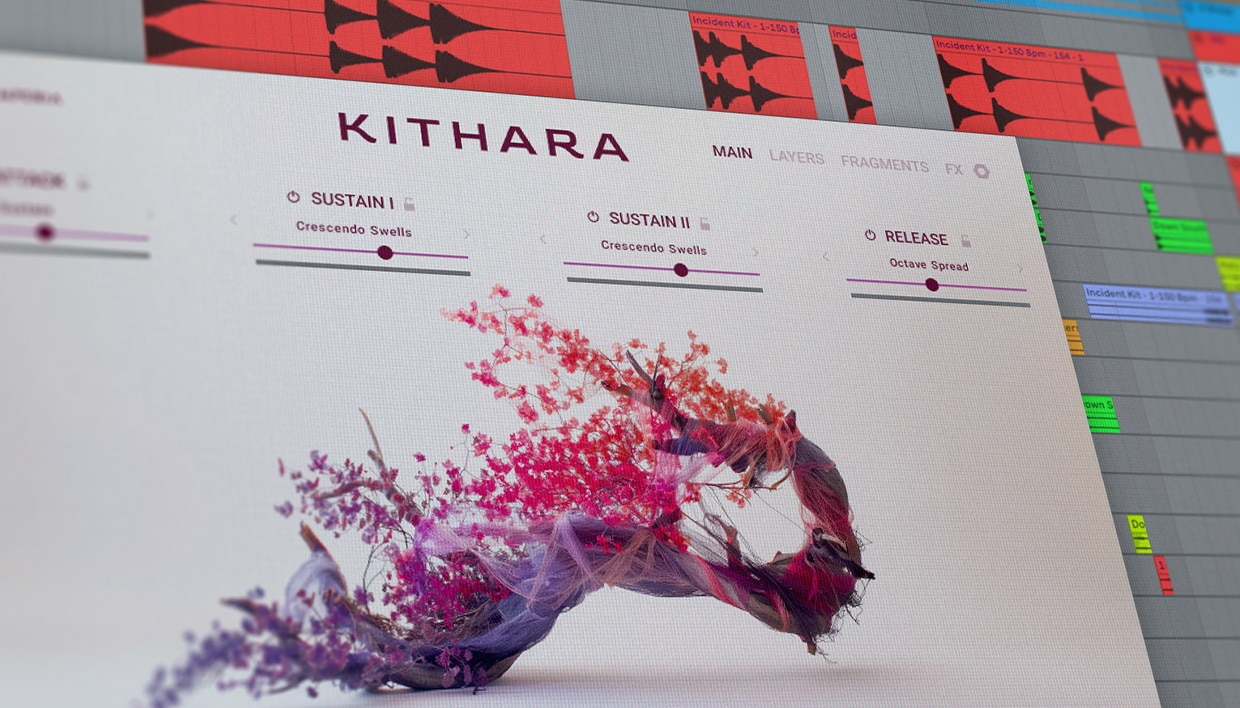
Kithara can do all three. This cinematic guitar library offers an eclectic collection of plucked string instruments from across the world, ranging from beloved classics to intriguing oddities. It also gives you the tools to layer, shape, and transform these samples into a wide range of sounds, so that creating a film score can be quick and easy. Beginners will find Kithara a handy go-to scoring instrument, while more experienced composers will be inspired by its unusual sound palette and innovative shaping tools.
How to create film scoring sounds with Kithara
We’re going to show you how to score a movie using Kithara. In this case, we’re creating a film score for a wistful scene set in a faraway place.
Here’s our cue. It features three sounds: chords, an evocative melody, and an atmospheric layer. Let’s break down each layer in turn.
[ad_2]
Source link
Live 12.1 is Out Now
[ad_1]
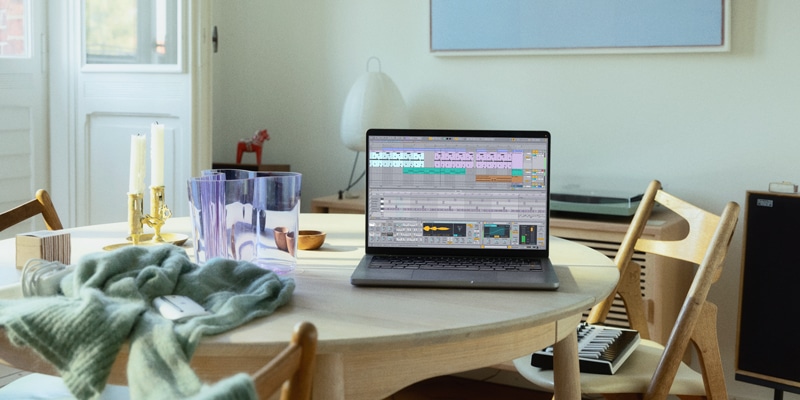
Ableton Live 12.1 is available now.
Free for all Live 12 users, this update brings major additions and improvements to all editions of Live, including Live Lite.
Auto Shift – real-time pitch tracking and correction device
Live 12.1 now allows for native, real-time pitch correction with Auto Shift. Use scales to keep every note in tune with your track, create harmonies from monophonic signals using MIDI sidechain, and add vibrato and modulation to your sound using MPE or the device’s LFO.
Drum Sampler – compact one-shot sampler with built-in effects
This flexible device pairs essential sampling controls with effects such as 8-Bit, time stretch, ring modulation, FM, pitch envelope, and punch: giving you a faster way to flip, mangle and fine-tune your beats.
Auto-tagging for all your samples
Searching your library is faster with Live 12’s filters – and now there’s no need to tag the samples yourself. Live 12.1 automatically assigns new tags to any sample in your library under 60 seconds long, and VST3 plugins will also be assigned tags based on metadata.
Improved Limiter and Saturator
Limiter gets a complete overhaul – with a smoother release curve to reduce distortion, updated metering, and the addition of Mid/Side routing, True Peak, Soft Clip, and Maximize modes. Saturator sees the addition of a Bass Shaper curve ideal for low-end processing, as well as a more focused UI.
MIDI editing improvements
You can now use the MIDI Editor’s toolbar to filter and select notes by time, pitch, velocity, chance, duration, and several other properties. Live 12.1 also introduces two new MPE-specific MIDI Transformations – Glissando and LFO – allowing you to create curves for the MPE parameters of selected notes.
Create more intuitively on Push
Live 12.1 comes with a host of updates to Push. Design sounds with more detail and control with Push 2 and 3 using Macro Variations, and add instant groove to all MIDI clips in your Set with a single twist of an encoder on Push 3.
The new update brings Live 12’s filtering system to the browser on Push 2 and 3, as well as auto-tagging for samples on Push 3 standalone. Plus, you can now save Default Sets and Template Sets on Push 2 and 3, and organize your Sets by moving tracks and scenes.
Check out the Push release notes for more information on what you can do with Push and Live 12.1.
MIDI Tools by Philip Meyer
This Pack of MIDI Generators and Transformations from Max for Live developer Philip Meyer opens up myriad rhythmic and melodic possibilities. Three MIDI Generators let you create tumbling, stuttering patterns (Phase Pattern), work with evolving, multitrack Euclidean rhythms (Polyrhythm), and play with stage-based sequencing (Stages), while Retrigger and Slice Shuffler offer novel ways to repeat, rearrange and refresh existing MIDI clips.
Sequencers by Ableton
This Pack of sequencers from Ableton instrument designers Marco Tonni and Christian Kleine incorporates creative new approaches to step sequencing with fundamental features inspired by hardware systems and classic Live devices.
Apply arpeggiated patterns across several MIDI parameters with StepArp. Use SQ to generate complex sequences through MIDI step recording and its unique Condition feature. And reach for the percussion-focused Rhythmic Steps with its four lanes and nested subsequences – all with the option of individual loop lengths – to generate endlessly evolving and polyrhythmic patterns.
Please note that both the MIDI Tools and Sequencers Packs are only available for users of Live 12.1 Suite or Live 12.1 Standard with Max for Live.
Take the tour to learn more about Live 12, and head to the Ableton shop to get your license now.
Live 12.1 is a free update for all Live 12 users and will be installed the next time you open Live. If auto-update is turned off, go to your user account to download.
For full details on Live 12.1 check out the release notes*
*Note: Release notes are only available in English
[ad_2]
Source link
See What Ableton Move Can Do
[ad_1]
[ad_2]
Source link
Say Hello to Ableton Move
[ad_1]
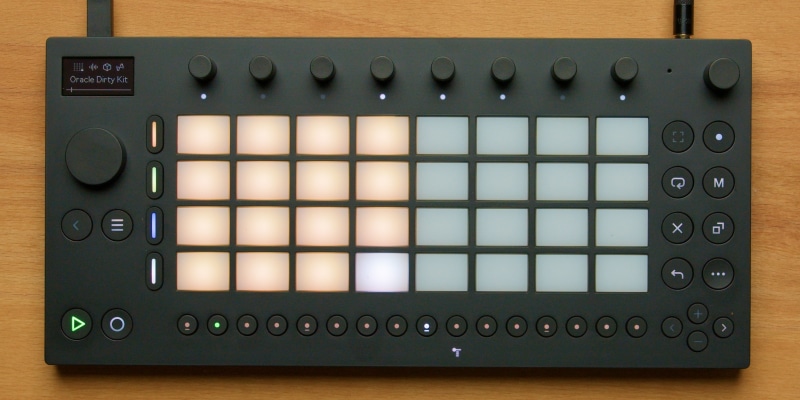
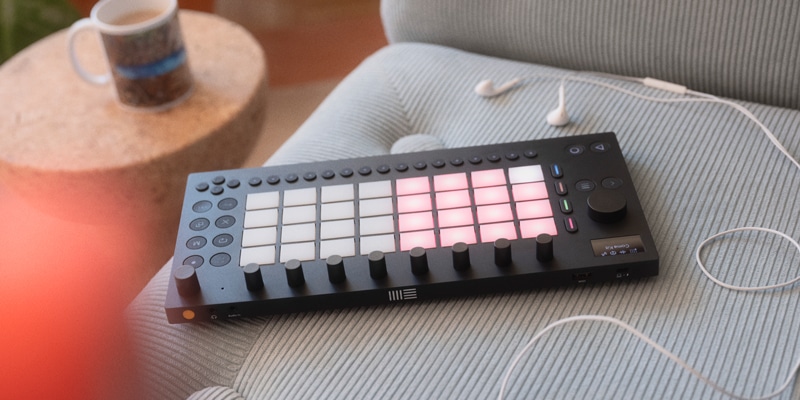
Ableton Move is a compact, standalone tool for instinctive music making.
With a rechargeable battery and a built-in processor, microphone, and speaker, it’s the ideal companion for creating on the go. Pick it up, get an idea down, capture and shape sounds in seconds. Move is ready when you are. Take a first look.
Head to the Ableton shop to get yours now.
[ad_2]
Source link
Creating beats with Leap, modern loop engine
[ad_1]
What is sample manipulation?
Sample manipulation involves altering digitally recorded audio (samples) to create new sounds. Techniques include time-stretching, pitch-shifting, reversing, chopping, looping, filtering, and layering. Producers often use these methods to fit samples into new tempos, keys, or styles, transforming them creatively for unique compositions.
How do you loop a sample?
There are various ways to loop a sample depending on the software that you use. Most samplers and audio editors feature one or more loop modes that allow you to repeat a sample indefinitely.
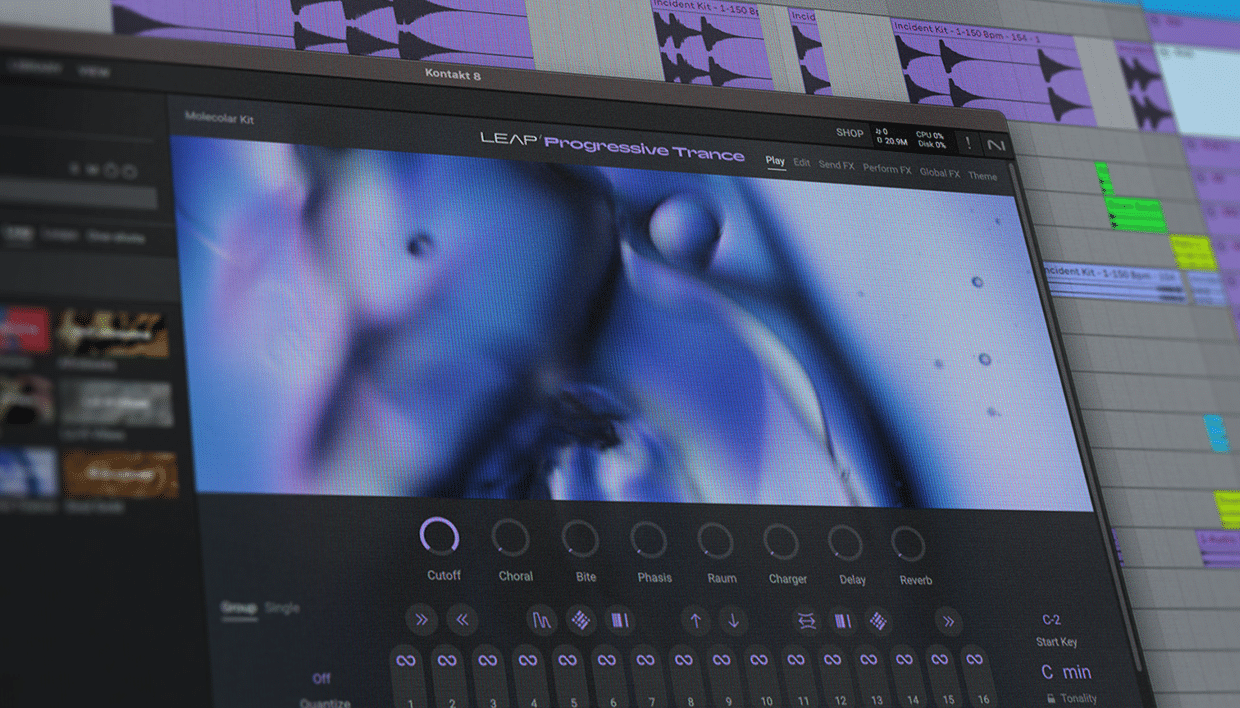
In terms of jamming with live sample loops, many musicians use dedicated “looper” hardware or software, and Kontakt 8’s Leap feature is a dedicated looper feature that makes looping samples easy whether you’re a beginner or seasoned pro.
Creating a beat with Leap
1. Selecting a Leap kit
Load up Kontakt 8 on a MIDI track in your DAW. To see the Leap Expansions that are available to you, click the Leap button below the search bar.
[ad_2]
Source link
How to write a disco song using Komplete 15 Select (Band Edition)
[ad_1]
What is the structure of a disco song?
Disco songs usually follow a traditional verse-chorus structure. They often begin with an intro before introducing the groove, which is followed by verses and a catchy chorus. Later in the song a bridge or instrumental breakdown adds variation. Repetitive hooks and groove are central to maintaining an energetic feel throughout, and disco songs will usually end with a danceable, extended outro.
What makes a song a disco song?
A disco song is characterized by a steady four-on-the-floor beat, syncopated bass, and use of instrumentation such as strings, horns, and electric keyboards. Their tempo is upbeat, designed for dancing, with a repetitive, groove-oriented rhythm. Disco emphasizes lush orchestration, catchy melodies, and soulful vocals.
How to write a disco song
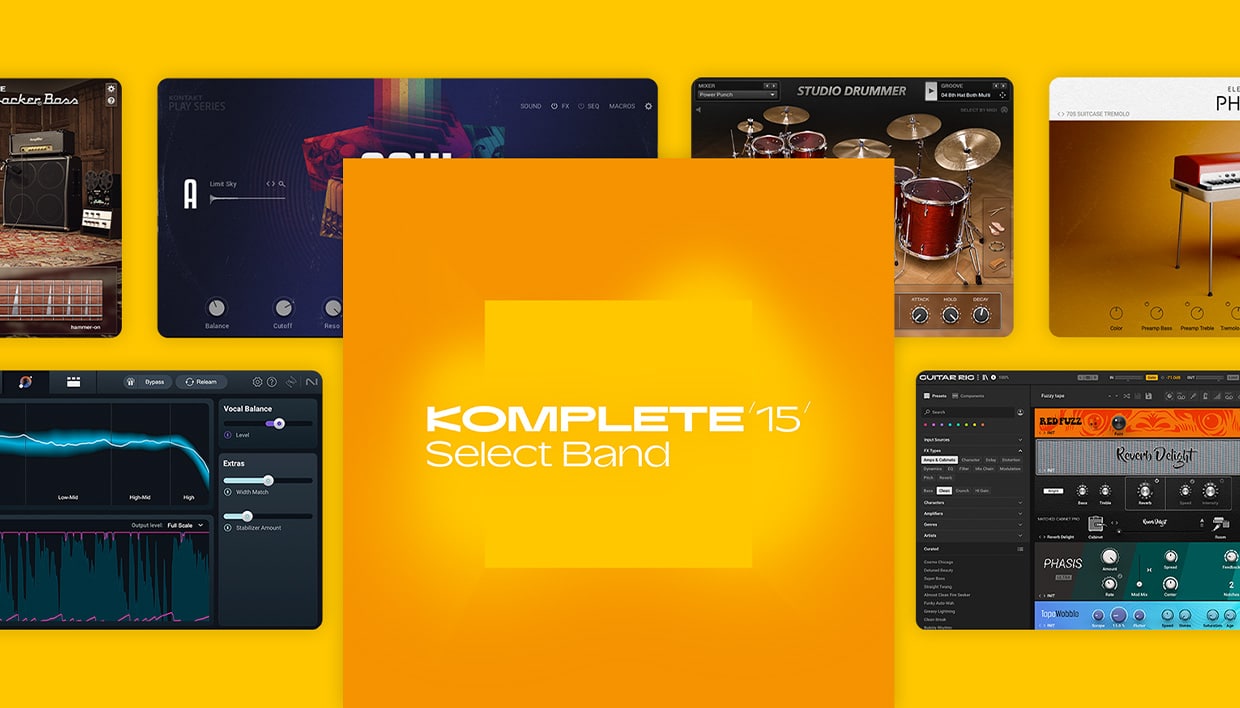
1. Starting with samples
Let’s get a headstart on this project by using a string loop from the Disco & Funk Leap Expansion. Create a new MIDI track, then add Kontakt and select the Leap category. Click the Disco & Funk Expansion, and double-click the Leapadelic Kit preset in the list on the right-hand side of the interface.
[ad_2]
Source link
How to produce a tech house track
[ad_1]
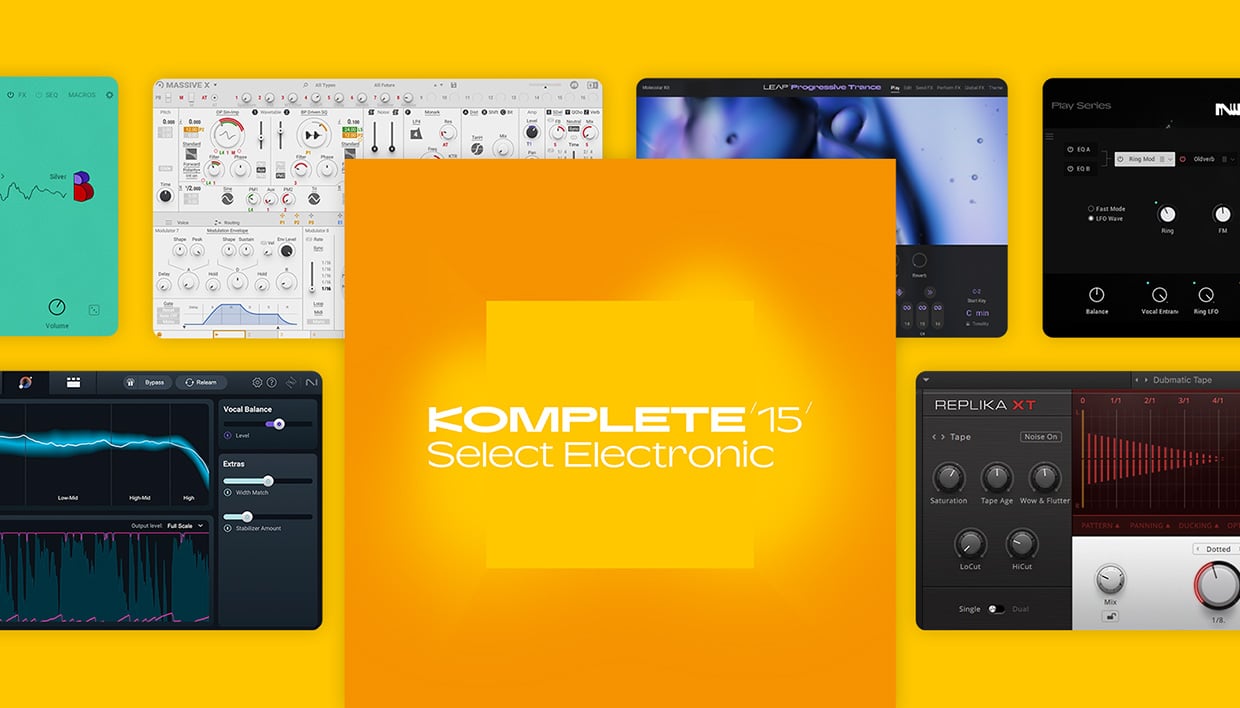
How to create a tech house track
Most tech house producers use DAW (Digital Audio Workstation) software to make tech house tracks. In this walkthrough we’ll demonstrate how to make a tech house track using the DAW Ableton Live, along with instruments and effects from Komplete 15 Select Electronic Edition.
How to structure a tech house track
Tech house tracks are often based around a rhythmic “DJ-friendly” intro, which leads into a beatless breakdown, followed by a drop where the beats and bass kick in. This guide will show you how to make tech a house arrangement in addition to crafting each element.
What makes a good tech house track
A good tech house track features an energetic house beat, an infectious bass line, and some kind of catchy vocal or melodic hook.
[ad_2]
Source link
How to make a Latin trap beat
[ad_1]
What is a Latin beat?
Historically a Latin beat refers to rhythmic patterns commonly found in Latin music, though today, when people talking about a “Latin beat,” they might be referring to genres like Latin trap or reggaeton. Latin trap, in particular, has gained global popularity, characterized by its syncopated rhythms, heavy bass, and urban influences, while still drawing from Latin musical roots. Latin trap is sometimes called “trap Latino” or “trapeton,” a nod to its reggaeton roots.
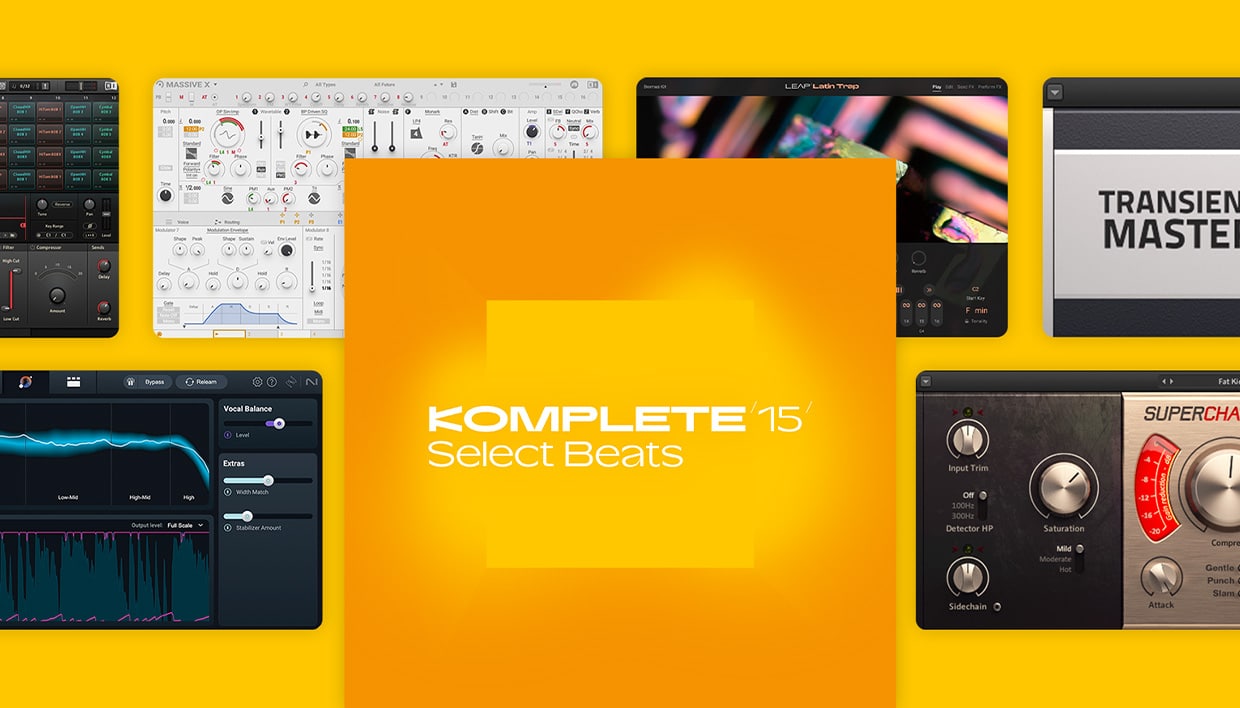
How to make a Latin trap beat
1. Programming a drum part
Begin by setting your DAW to 100 BPM.
[ad_2]
Source link
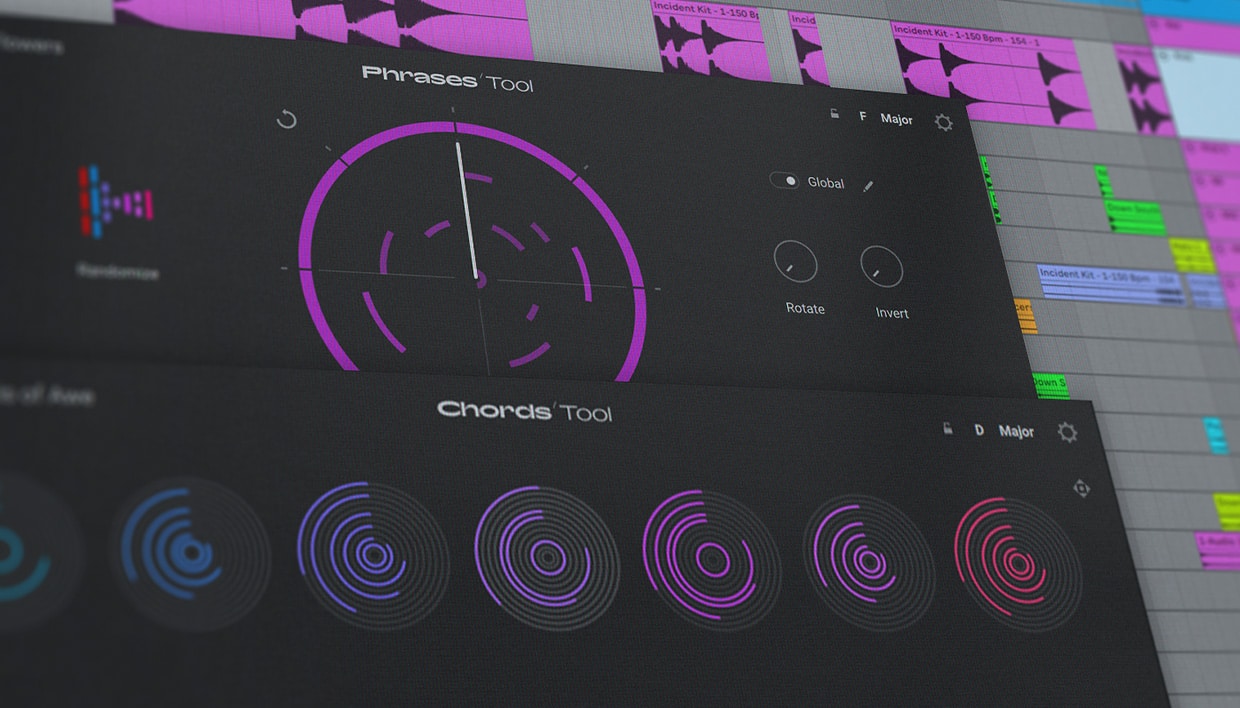
Instant sonic inspiration with Phrases & Chords Tools
[ad_1]
Tools are sophisticated MIDI effects that can be used with any Kontakt instrument – old or new. This adds a whole new layer of creativity to Kontakt. Whether it’s high quality curated MIDI content, smart randomization features, or innovative new ways to transform material, Tools can help jumpstart your creative process.
The first two Kontakt 8 Tools to be released are Chords and Phrases. Chords lets you quickly write and customize chord progressions, while Phrases is an inspiring melody creation tool. Both are designed to be fast and fun to use, but with deep customization options that will satisfy producers of any experience level.
How do you get creative with chord progressions?
One easy way to get creative with your chord progressions is by exploring the Chords Tool for Kontakt 8. Writing interesting chord progressions is one of the most challenging tasks in music production – particularly if you haven’t had years of music theory training. But Chords makes the process painless.
Over 100 sophisticated preset progressions get you started quickly. From there, you can get creative by using advanced customization features to transform your chord progression in smart and surprising ways. With the Chords Tool, you don’t need to labor over a MIDI keyboard for hours to come up with a good chord progression. It’s right there at your fingertips.
Writing effective chord progressions with Chords
Here’s how to create fun chord progressions with Kontakt 8’s new Chords Tool. We’re going to use these chords as the basis for a new sketch – we’ll add a melody after.
To start, pick a preset from the Chords menu. There are over 100 to choose from, each with seven chords that can be played in any order you choose.
[ad_2]
Source link