Making retro synth presets sound fresh: Hyunji-A shares her workflow
[ad_1]
Oftentimes I browse through presets and jam around to feel inspired. One of the presets I like to use for that is “Volcano Eruption.” What I like to do is to remove its “B” synth (“Broken Subs”) since I like the pluck-y sound of “Wooden Square” and its arpeggiated rhythm; I love plucks and I incorporate them in my music a lot.
“Bright Glamour” is another of my favourite presets in Analog Dreams. It has a marimba-like sound that reminds me of my childhood. I used to play a lot of fantasy RPGs, and the music made the gaming experience so fun (and now nostalgic). The game had soundtracks similar to “Bright Glamour”, so this preset brings back many fond memories. Music plays such a huge role in any visual experience, whether through games or cinema.
The presets in Analog Dreams are already rich in their sounds, so when it comes to freshening them up, I actually do minimal adjustments – I don’t feel the need to do much to them, other than adding a few effects here and there, or changing the ADSR a bit. Oftentimes, less is more.
Pro tip from Hyunji-A: Due to their rich and warm sounds, some patches in Analog Dreams are wide to begin with. For extra emphasis on nostalgic vibes in your music, further widen the stereo field of some of the sounds, such as pads. You can use a plugin such as the iZotope Ozone Imager to achieve this.
[ad_2]
Source link
How to create dynamic, expressive sounds with polyphonic sequencer Circular
[ad_1]
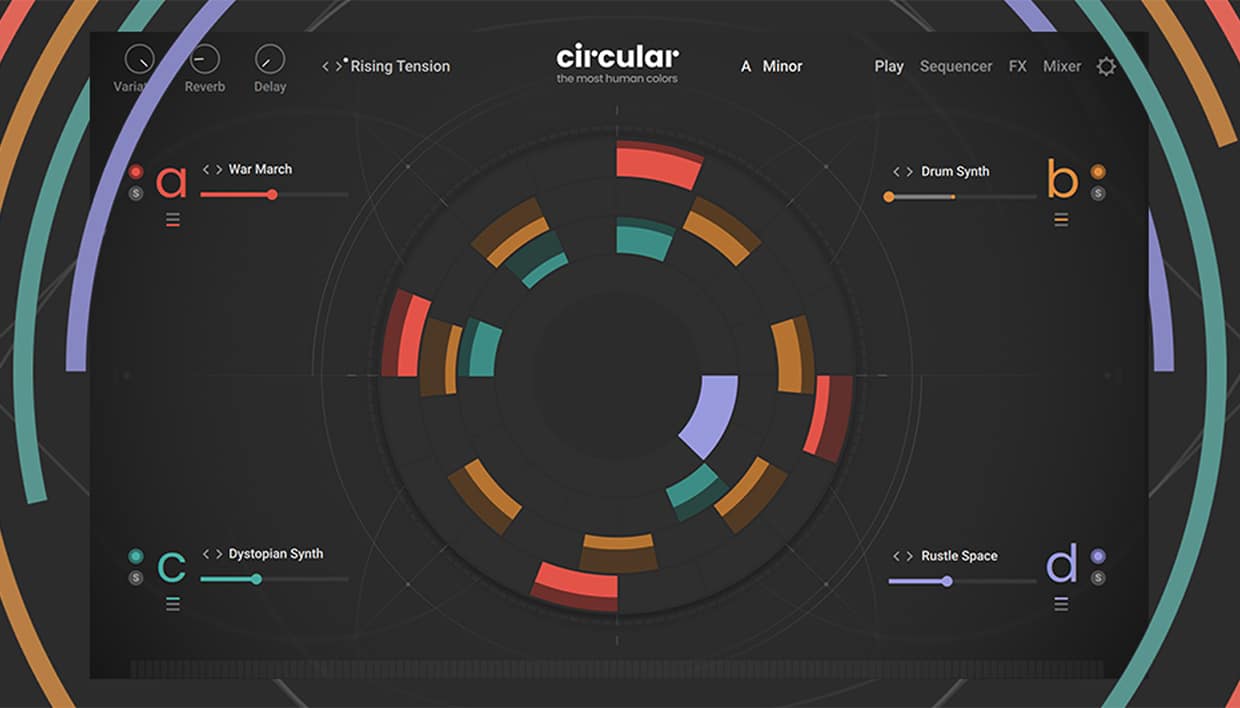
What is Circular, and how does it create dynamic sequences?
Circular is a polyphonic sequencer with four independently modulated layers with real-time step controls. Each layer has a step-sequencer with three lanes; Sound Lane, Parameter Lane and Step Duration.
The Sound Lane is where the step’s sound source is chosen for each step from a palette of over 100 experimental sources.
The Parameter Lane where velocity, note probability, note pitch, note length and up to three step FX can be applied. The step FX available include arpeggiator, grain, gate and unison, amongst other effects.
The Step Duration controls where the length of each step and the length of each sequence can be defined. This ability to control both step length and sequence duration mean it’s possible to create both polyrhythmic and polymetric patterns.
Circular also has the ability to control sound design parameters for each note, which along with assignable polyphonic aftertouch modulation makes it a flexible tool for creating expressive and dynamic sound sequences.
[ad_2]
Source link

How to make VST strings sound real: how Paradoks got authentic orchestration in C’est Toi
[ad_1]
What’s the biggest challenge in making virtual strings sound as expressive as a live performance?
In general, and I think this applies to other instruments beyond strings (take a synth melody for example), the biggest challenge is to capture the nuances of human expression. Talking about strings specifically, a human can have slight pitch fluctuations, bow pressure variations, dynamic movement and all kinds of organic imperfections.
In my opinion, these “perfect” imperfections and dynamic performances are what create emotional depth in a strings section. If you think from a purely automation standpoint, imagine assigning an automation lane for all these parameters to, let’s say a MIDI violin, and would capture a human playing it, there would be hundreds of slight variations in the automation.
With a sample library, it’s important to replicate that by paying close attention to detail and automating dynamics, articulations, velocity layers, and expression. If we don’t focus on these, it’s easy for a string section to sound robotic and emotionless.
It reminds me of how AI-produced music often feels, lacking the emotion that real human composers bring. In my opinion, all the imperfections are what give music its soul, something I think AI still struggles to replicate in a convincing way. I think mainly because music is something genuine – something real. We capture a moment and transmit a feeling, and that’s what we need to translate in order to make not only our strings more expressive, but our music as well. If we don’t add these nuances in virtual strings, the result can feel a bit emotionally disconnected, like an AI generated composition, if you know what I mean.
Of course, no virtual library perfectly replicates the nuances of a live orchestra, but with the right techniques, we can get pretty close.
Pro tip from Paradoks: When automating string dynamics, imagine how a bow moves naturally: longer phrases need smoother mod wheel curves, while shorter notes benefit from sharper moves.
[ad_2]
Source link
5 free hip hop libraries for Kontakt
[ad_1]
Are Kontakt instruments free?
Not all Kontakt Instruments are free, but Native Instruments and other developers offer many free Kontakt libraries. Whether it’s loving captures of acoustic instruments, innovative sound design libraries, or lush-sounding synths, you can build a formidable Kontakt collection with free instruments alone.
Before you start, though, it’s worth getting familiar with the two versions of Kontakt that are available. The Kontakt Player is entirely free to download, and will run all Kontakt instruments and many more instruments from third-party developers.
Be aware, though, that not all free Kontakt libraries will run on the Kontakt Player. For some of them, you’ll need the full version of Kontakt 8. This paid-for software also offers powerful creation tools, making it a good choice for producers wanting to explore the Kontakt universe more deeply.
[ad_2]
Source link

Patterns in Kontakt: How to add rhythm to your music
[ad_1]
What is the Patterns Tool in Kontakt and what does it do?
Patterns is a polyphonic step sequencer and arpeggiator that creates evolving melodies and rhythms. It includes more than 40 unique pattern presets designed to spark movement and creativity, making it ideal for beat creation in Kontakt.
Adding the Patterns Tool is easy. You can simply drag it onto an instrument in Kontakt, and then when you play a note with the instrument, it will trigger the pattern sequencer, allowing you to play complex rhythmic, melodic or harmonic ideas easily.
How do I access the Patterns Tool in Kontakt?
You can access the Patterns Tool from the Tools tab, where it can be dropped onto any Kontakt instrument. We’ll show you how to do this step-by-step in this guide.
[ad_2]
Source link

How AMÉMÉ uses Maschine to make Afro-house drums that are shaping the future of the genre
[ad_1]
What’s your approach to remixing Afro-house tracks or blending the genre with other styles?
I always try to approach each record & situation with a unique take. I start by finding the general direction of where I want to go with a track and then allow my Afro-style to vibe with it without too many rules or restrictions.
Pro tip from AMÉMÉ: Putting your melodic settings to minor key, setting note repeat, to up and down, and 1/16, then hit with 3–4 fingers and place the notes randomly, is a fun tool to play with, for inspiration.
How do you develop a unique sound in Afro-house, especially when so many producers are using the same tools?
The key ingredient is integrity.
There is a “cheat code” within Afro-house right now as to what’s working, but it’s also very obvious/commercial + not the most credible.
When you go against the flow of the masses by using sound pallets that are not popular, building beats off self recorded drums/percussions, and utilizing original materials such as vocals which carry real meaning + connection to the continent – that’s where you find the REAL magic.
[ad_2]
Source link

How Helang uses EQ, panning, and Ozone Imager for stereo balance
[ad_1]
Do you think today’s streaming platforms and modern playback systems have changed the way producers approach stereo width?
I don’t think so. In my opinion, it is probably us who are adding more stereo-width than we realize, and probably have a lot of non-mono elements, etc., overall making it pretty thin and hollow.
Many samples and presets on VSTs have a good amount of width that only actually ‘sounds good’ in isolation.
For example, a lot of sampled kicks you can get online are stereo and have a weird spread to them (I just mono them). I’m still figuring it out, and I’m not a pro, but having primarily mono elements and getting our width through tasteful panning, delay, and reverb is the way. Maybe we’d have one or two broad elements, but nothing is if everything is wide.
[ad_2]
Source link

Meet Nick Williams, the CEO of Native Instruments
[ad_1]
Your vision for NI emphasizes innovation, accessibility, and collaboration. What does that mean in practice for our users?
For us, innovation means giving creators new tools that are both powerful and intuitive – helping you unlock ideas you didn’t even know you had. Accessibility means breaking down barriers: price, platform, skill level, or hardware preferences. And collaboration is about building bridges – not just between people, but between platforms, tools, and technologies.
A recent example is our expansion of the NKS (Native Kontrol Standard) ecosystem. With partners like Akai Pro, Novation, Nektar, Korg and M-Audio now integrating NKS into their controllers, we’re opening up our professional grade sounds and instruments to more creators than ever before. Whether you’re using our own hardware or third-party gear, we want the experience to feel seamless – because the tech should never get in the way of the music. We are also excited to be announcing a new hardware partner to NKS very soon.
Diversity and inclusion are priorities for you. How do you plan to expand opportunities for underrepresented creators in our community?
Music is one of the most powerful, universal forms of expression – and it should reflect the full spectrum of human experience. That means working intentionally to make sure people of all backgrounds, identities, and skill levels feel welcome and supported in our community.
We’re looking at this holistically: from how we build our teams and partner with artists, to how we design tools and distribute content. We’ve already made strides – and there’s much more to do. One example is our focus on gender diversity in music production. It’s not just about representation; it’s about rethinking how we design for inclusivity, how we tell stories, and how we help people see themselves in this space.
What’s a piece of feedback you’ve heard from the community that’s stuck with you?
One theme that’s come through consistently is: “We love what you make – just make it easier to access, use, and integrate.” That really resonates with me. We’re incredibly proud of the quality and creativity of our products, but we also know that installation issues, compatibility hurdles, or friction in your workflow can get in the way.
We’ve made progress – with improvements to Native Access, better onboarding in Kontakt, and expanded cross-platform compatibility – and we’re just getting started. Every update we ship is about helping you get to the music faster.
[ad_2]
Source link
Making lo-fi hip hop beats: the essential guide for beginners
[ad_1]
What defines lo-fi hip hop?
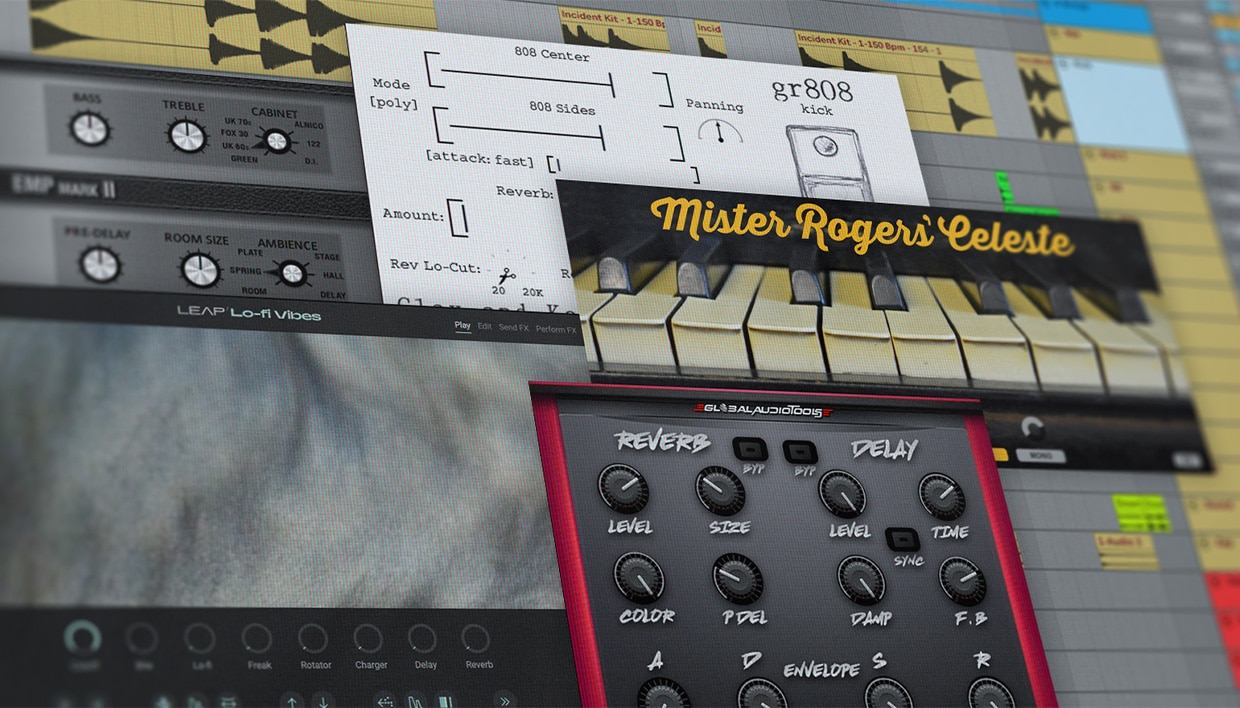
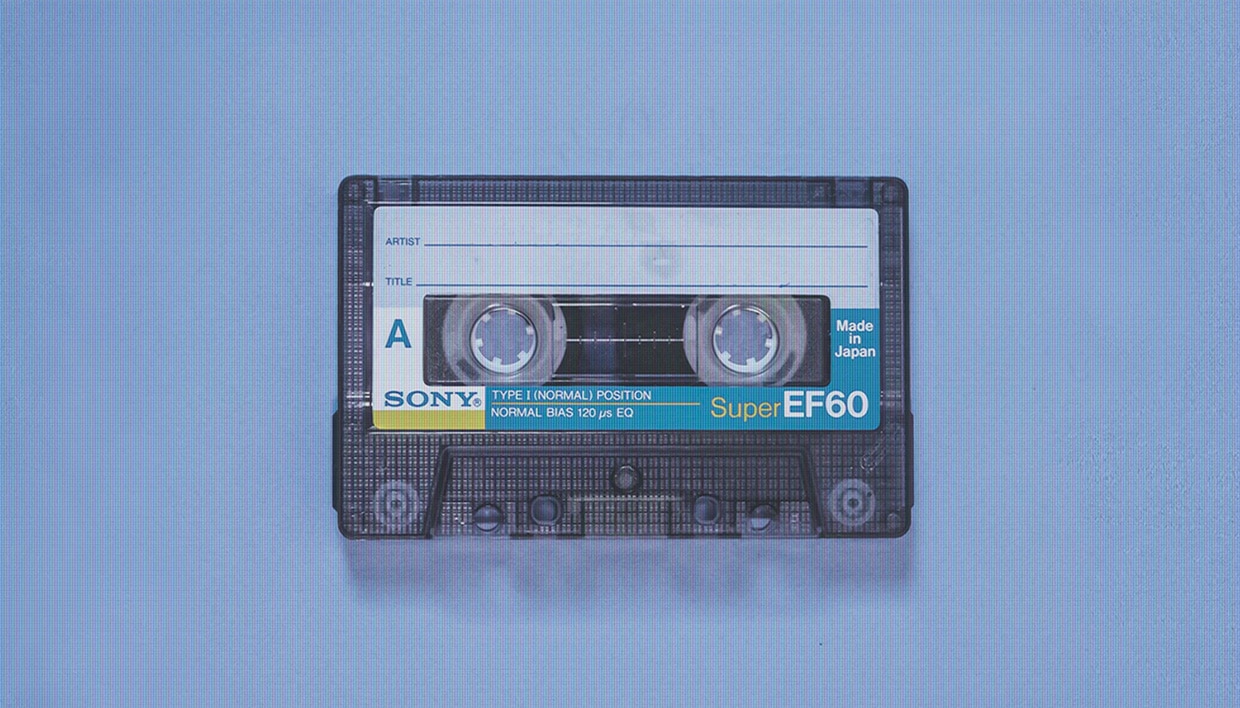
Lo-fi hip hop gets its name from the term “low-fidelity,” meaning low-quality sound. The genre embraces imperfections that were originally created by malfunctioning pieces of gear. Perhaps the lo-fi movement is a response to a digital era where all sound can easily be “perfected”.
Because of this, the genre leans heavily into detuned samples, vinyl crackle, wobbly tape sounds, and relaxed drum grooves. Unlike polished hip hop, lo-fi doesn’t aim for sonic perfection. It rather thrives on texture, warmth, and a sense of nostalgia. The genre often features jazzy chord progressions, simple drum patterns, and melodic loops that feel more like background ambiance than a club anthem.
You’ll also notice that lo-fi beats often sit around 60–90 BPM, with plenty of space between the drums, leaving room for a minimalist groove. Effects like reverb, delay, chorus, and bitcrushing are used generously to up the nostalgic ante.
Lo-fi is a subgenre of instrumental hip hop, and generally lacks vocals apart from the occasional reverb-drenched sample.
[ad_2]
Source link

Organic house music: exploring the genre and how to make it
[ad_1]
What is the difference between deep house and organic house?
Deep house and organic house both feature mellow vibes and soulful instrumentation, so how exactly can we tell the difference between these two genres?
Their aesthetics are a key distinction here. Deep house leans into a fully electronic sound with synthesized instruments, while organic house includes acoustic elements and natural soundscapes.
The atmospheres each genre creates are, therefore, quite different. Deep house often leans sonically towards urban and nocturnal sonics and features a club-ready feel. Organic house, on the other hand, tends to feel more “earthy.” It’s a perfect sound for daytime sets and outdoor festivals.
Rhythmically, both genres maintain steady, hypnotic grooves, but organic house stands apart in its use of live percussion. It also often incorporates non-Western influences. These elements bring a distinctly natural quality to its electronic foundation.
The foundations of these genres are quite similar, and they share a core of their DNA. Indeed they live in the same “family” but are, ultimately, sonically distinct.
[ad_2]
Source link